


Page 63
STEP 14.
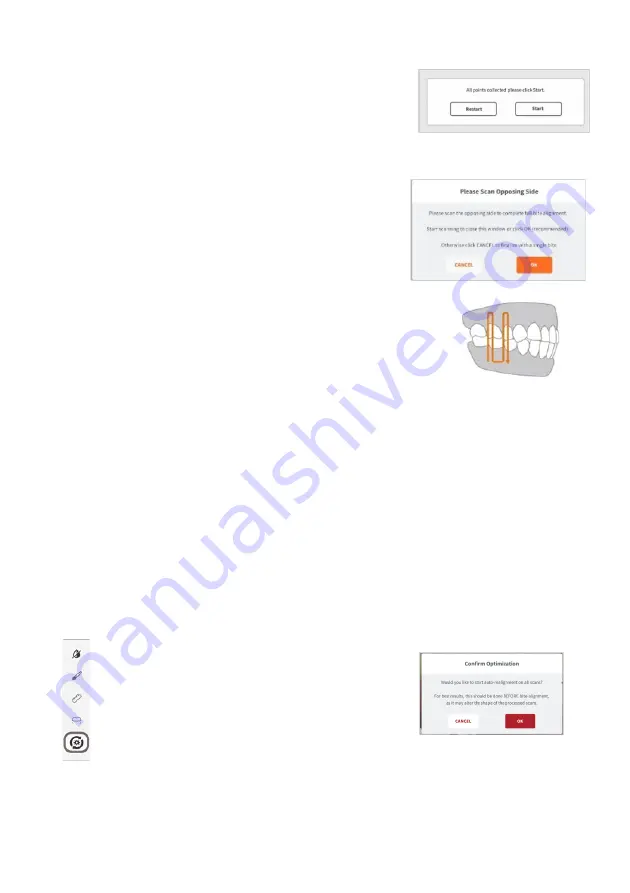
You
will be invited to start the Bite
Alignment based on the chosen
paired-points:
click
Start
.
C.
Scan a
molar/pre-molar
bite segment on the opposing side
When you have finished manually aligning one side
of the bite, you will be prompted to scan the
opposing side.
Carry out the same procedure as described above in
steps 2-14
.
STEP 15.
Scan a 2-3 teeth and 7-8mm gum segment
on the RIGHT molar/pre-molar region in
Occlusion…
NOTE
: While it is
recommended,
when carrying out full-arch scans,
to scan
both left
and right bite segments
, it is possible to carry out bite alignment by scanning a
single bite segment.
See above:
Bite-alignment using a single bite segment
7.17
Auto-Realignment
The
Auto-Realignment
feature enables you to optimize the scans of the maxillary
and mandibular arches. The EzScan-i software’s AI will recalculate the results using
specially developed imaging algorithms, retaining only the most accurate frames for
3D image reconstruction.
STEP 1.
In
the
Tools
menu, click on the
Auto-
Realignment
icon. You will be prompted
to confirm the optimization.
STEP 2.
Click
OK
to start
Auto-Realignment
optimization of the scans.
NOTE
:
Auto-Realignment
may take a couple of minutes.


