


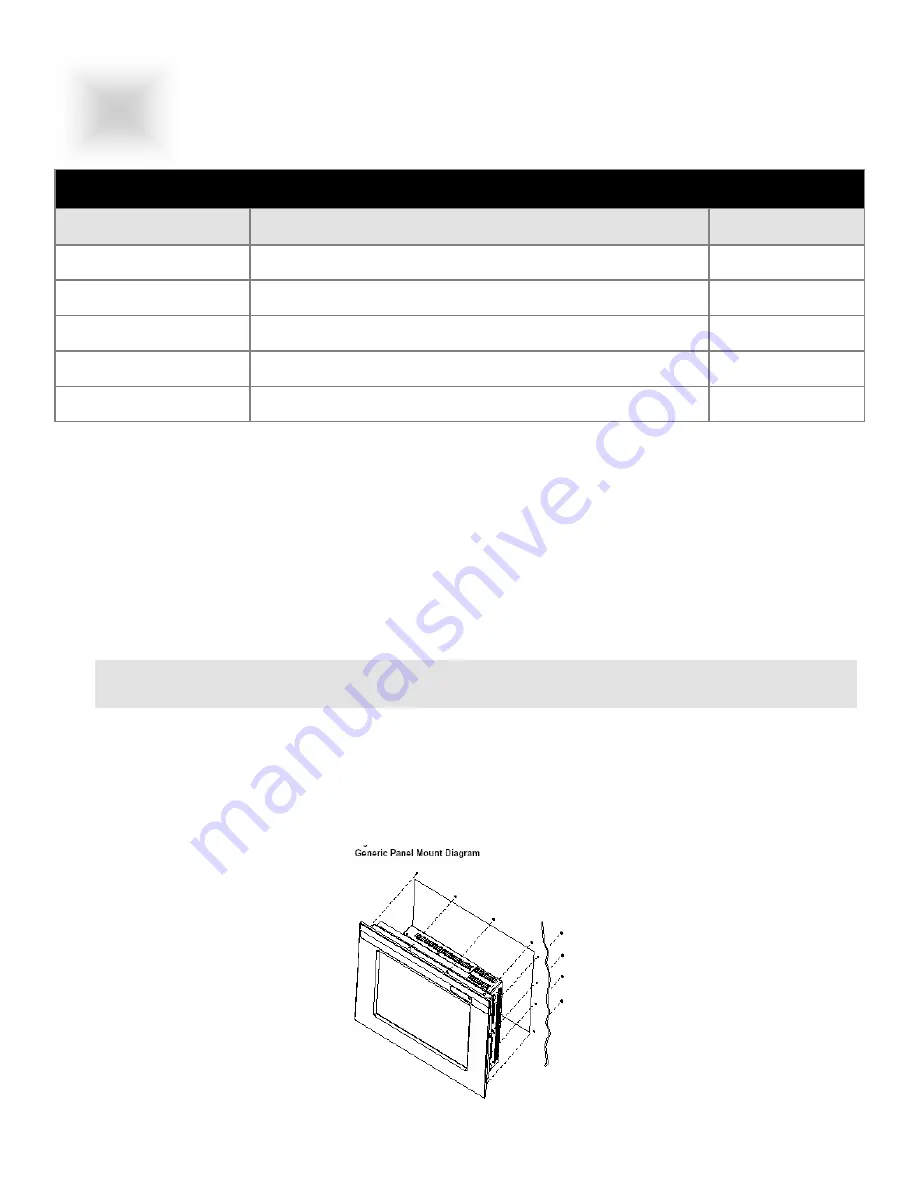
Panel Mounting Procedure
1. Cut and drill the panel (refer to panel mount drawing). Measurements are in inches.
Panel Mounting Cutout
2. If access to the side of the monitor is not available following installation, attach the power and video
cables to the side of the monitor at this time.
3. Install the monitor in the prepared cutout.
4. Install the lock nuts and washers, supplied with the monitor, behind the holes running along the sides
and top/bottom of the cutout in the panel. Extra lock nuts and washers are provided.
MOUNTING INSTRUCTIONS
MOUNTING INSTRUCTIONS
7.1
Panel Mount Procedure
14
7
Section
Mechanical Drawings
Model
Description
Page(s)
VT201C
20.1” DiamondVue Chassis Mount Mechanical Drawing
15-18
VT201P
20.1” DiamondVue Panel Mount Mechanical Drawing
19-20
VT201R
20.1” DiamondVue Rack Mount Mechanical Drawing
21
VT201W
20.1” DiamondVue Wall Mount Mechanical Drawing
VT201MF
20.1” Foxboro Configured Mechanical Drawing
22
Note:
Use #10-32 nuts for mounting.
5. Tighten all mounting nuts evenly to a torque of 24 inch-pounds.
ATTENTION:
Mounting nuts must be tightened to a torque of 24 inch-pounds to provide panel seal and
avoid potential damage. Vartech Systems assumes no responsibility for water or chemical damage
to the monitor or other equipment within the enclosure due to improper installation.
6. Attach the power and video cables to the side of the monitor if you have not already done so.


