background image


- 4 - 


The “cancel” button is used to cancel the last item changed, or to back out of a sub menu.  
Pressing  “cancel” twice will always return to the main screen. 
The “Q” button is basically a shift key, and is used to change the function of other 
buttons.   
The “Record” “rev” “stop” and “play” are used for the motion control features.  This will 
be addressed later on. 
 
The main menu screen will show pan, tilt, zoom, and focus positions.  It will also display 
which take is enabled, which go to mark is enabled, as well as a few basic functionality 
adjustments. 
 
When changing the value of a parameter, the setup knob will increase or decrease the 
value in increments of 1.  Hold the “Q” button while moving the setup knob, and the 
values will move in increments of 10.  Hold the “menu” button while moving the setup 
knob, and values will move in increments of 100.  Hold both the “Q” and “menu” buttons 
while moving the setup knob, and the values will change in increments of 1,000. 
 
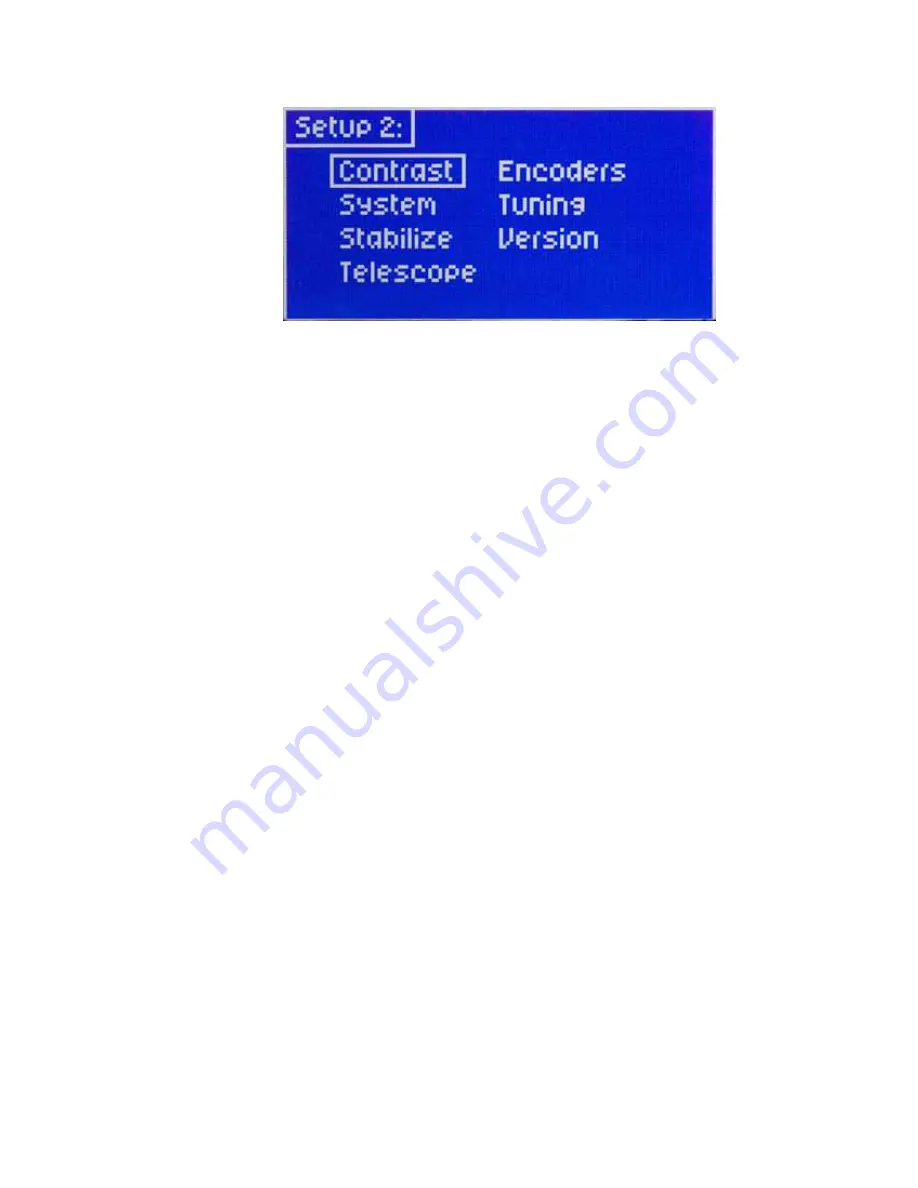
Display Contrast can be adjusted from the second setup menu.   
While in the main screen, press the “menu” button twice. 
Select the “contrast” option. 
Contrast can be adjusted from 0-100 


2. Basic Setup 

 
Secure Cinema Pro head to crane, tripod, or solid mounting beam 
Plug the FACTORY POWER SUPPLY into AC mains 
Connect XLR cable between the Cinema Pro head and FACTORY POWER SUPPLY 
Connect in Green LEMO connector between the Cinema Pro head and the plug marked 
“CTRL” on the controller 
 
Connect camera control (if applicable) between the camera and the 12-pin LEMO 
connector on the back of the tilt arm on Cinema Pro head . 

Содержание Cinema Pro

Страница 1: ...0 Cinema Pro Operations Manual...

Страница 2: ...2PIN JACK ON THE CAMERA BODY WHEN IN DOUBT CONSULT VARIZOOM OR YOUR LENS MANUAL 4 THE ADVANCED CONTROLLER DOES NOT REQUIRE SEPARATE POWER IT RECEIVES POWER THROUGH THE GREEN CODED CONTROL CABLE THAT C...

Страница 3: ...pensive controller designed for one man jib operation The jibstick only offers joystick pan tilt with smoothing and speed control The Cinema Pro s lens interface controls zoom focus and iris It provid...

Страница 4: ...the right of the axis names are the motor positions pan and tilt are shown in degrees and zoom and focus are shown as an unscaled number from 0 to 1000 1 Navigating the menu screens Use the knob abov...

Страница 5: ...the setup knob and the values will move in increments of 10 Hold the menu button while moving the setup knob and values will move in increments of 100 Hold both the Q and menu buttons while moving th...

Страница 6: ...to connecting to the head This can result in damages to the control console The MDR2 will get all necessary power directly from the head Balance the Camera Although the head will hold position very w...

Страница 7: ...latform tubes After all connections have been made and the camera is balanced the head will be ready for initial calibration Switch on power located on the power brick Switch on the Cinema Pro head po...

Страница 8: ...tion Preston If you are using a Preston MDR2 press the enter button until the box reads Preston Canon or Fujinon Analog Servos If you are using a Canon or Fujinon lens with an analog zoom servo press...

Страница 9: ...nu there is also a set of head speed options S Standard HS High Speed and HSX Ultra Speed DO NOT CHANGE THIS SETTING FROM S Standard THE CP SHOULD ALWAYS BE SET TO S Standard unless you special ordere...

Страница 10: ...tion response From the main screen press the menu button Select the response menu Here you can adjust parameters for Pan Tilt zoom and focus Select the axis that you d like to adjust Smoothing will ad...

Страница 11: ...able To enable or disable control of pan tilt zoom or focus or to place pan or tilt in neutral while in the main screen select the ENL option The cursor box then appears in the top right corner and le...

Страница 12: ...ght Select the zero option All axes will then reference their current position as zero If using the TOC system Preston MDR2 or any Canon of Fujinon lens with digital servo control Setting zero will on...

Страница 13: ...tion This is just for a quick limit set that doesn t require the operator to have the head in any direction Reference is the point from where the soft limits are set You can change this to sensor or z...

Страница 14: ...s To recall a mark position select the Mark number you wish to recall from the main screen The axis positions will be displayed in the lower right Select the Go To option From the sub menu select Mark...

Страница 15: ...t Once you hit record it will instantly begin recording the moves for all applicable axes pan tilt zoom focus and iris When you are done press the stop button Note You can record a go to mark maneuver...

Страница 16: ...e When selecting a take for playback or recording hold the stop button while turning the setup knob This will skip to the next take that has a move recorded I E if you have a move recorded on take 2 a...

Страница 17: ...at of the selected take PB Ratio Mode This mode allows you to change the playback of a move according to the frame rate The Rec FPS will adjust the invervalometer to record the move at this specified...

Страница 18: ...c is turned on the head will synchronize the move according to the frame pulse If there is any lag in this you can use the cam phase to adjust the difference Virtual sync is used to generate a virtual...

Страница 19: ...the zoom axis When 0 is selected zoom will not affect the pan and tilt axes Note This is only accurate when using the Varizoom TOC system Preston MDR2 Canon lens with digital servos or Fujinon lens w...

Страница 20: ...l and stop button simultaneously While holding both buttons turn console power on The screen will then read Accept reset all motors Press the enter button and all motor parameters will be reset To era...

Страница 21: ...it back up then try again 8 Perform all of the system resets Head is jerky or too responsive 1 If using handwheels or panbars check the inputs menu and make sure that the proper controller is selected...

Страница 22: ...ables are available in 30 or 75 increments 2 head extension blocks are available and will increase the underslung clearance range from 16 5 18 5 to 18 5 20 5 A maximum of two can be installed This wil...

Страница 23: ...5 w 2 Extensions 19 5 21 5 Mechanical travel unlimited unless hardwired Camera Plate dimensions From Center mounting hole tilt arm 5 with standard nodal line plate installed This may be offset by or 1...

Страница 24: ...vanced Controller connectors not pictured CTRL 7Pin LEMO Head control cable green SERIAL 8pin LEMO TOC or Preston Lens Drive Hand Units gray ANALOG 5pin LEMO Pan Bars zoom focus controls white WHEELS...

Страница 25: ...IF YOU USE A NON APPROVED POWER SUPPLY IF YOU MUST POWER IT USING A BATTERY SYSTEM MAKE SURE THE SETUP IS APPROVED BY VARIZOOM AND EXECUTED BY A QUALIFIED TECHNICIAN Cinema Pro Head Base Connectors 1...

Страница 26: ...rection 7 Clock out 8 Sync out 9 N C 10 N C 4 Optional Peripheral Connector EGG1B308CLL Pin Function 1 Common 2 1 RS 232 RXD 3 1 RS 232 TXD 4 5 VDC 5 24 VDC 6 2 RS 232 RXD 7 2 RS 232 TXD 8 24 VDC Cine...

Страница 27: ...lup 12 volts 4 Run O C to com 5 Run pulse 5 VDC 6 Clock out 5 VDC 7 Clock out 12 VDC 8 Clock return 9 RS 232 TXD 10 RS 232 RXD 3 Lens Control orange Tilt Board Version 2 LEMO EGG2B316CLL Final Version...

Страница 28: ...J 12P HR25 9P 20P HR25 9P 20P 1 RS 232 RXD 3 2 RS 232 TXD 2 3 Iso Vcc 4 4 IsoCom IsoCom3 5 19 20 Green 5 RS 422 RXD 17 Orange 6 RS 422 RXD 18 Yellow 7 RS 422 TXD 15 Brown 8 RS 422 TXD 16 Red 9 Common...

Страница 29: ...308CLL Pin Function 1 Common 2 1 RS 232 RXD 3 1 RS 232 TXD 4 5 VDC 5 24 VDC 6 2 RS 232 RXD 7 2 RS 232 TXD 8 24 VDC 3 ANALOG Panbars Option Zoom and Focus Control Input white EGG1B305CLL 1 Common 2 Mot...

Страница 30: ...bstick Connectors 1 Cinema Pro Control Green LEMO EGG1B307CLL Pin Function Wire Color Cable 1 Common Brown 2 RS 422 RXD Red 3 RS 422 RXD Orange 4 RS 422 TXD Yellow 5 RS 422 TXD Green 6 24 VDC Blue Pow...

Отзывы: