


Code
Description
Part Number
1
CIK assembly
4007926AZ
2
Left door
4002957AZ
3
Right door
4002959AZ
4
Cover plate
4007931AZ
5
Barrier screen
4007929
not shown #8 x 3/8 s/t screws (4)
100A757
Repair Parts List
1
2
3
4
5
Designed and Manufactured by / for Miles Industries Ltd.
190 – 2255 Dollarton Highway, North Vancouver, B.C., CANADA V7H 3B1
Tel. 604-984-3496 Fax 604-984-0246
www.valor
fi
replaces.com
Because our policy is one of constant development and improvement, details may vary slightly from those given in this publication.
Maintenance
To clean the
fi
replace trim, use mild soap and water. To
clean the barrier screen, dust with a soft brush.
If the barrier becomes damaged, the barrier shall
be replaced with the manufacturer’s barrier for this
appliance.
To clean the window and ceramics inside the
fi
rebox,
see the
Homeowner’s Manual
supplied with the
fi
replace.
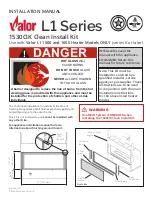
WARNING
DO NOT TOUCH THE BARRIER SCREEN OR
FIREPLACE WHILE THEY ARE HOT! Let the
fi
replace cool
fi
rst before cleaning it.
FOR SAFETY PURPOSE, ensure the barrier
screen is re-installed on the
fi
replace front
after maintenance if it has been removed.
4


