5.2.4 ROTOR DRIVE
5.2.4.1 BELTS TIGHTENING
When the rotor drive is engaged, an idler pulley is
moved into position to tighten the belts and transmit
power. As the belts wear and stretche, it will be nec-
essary to adjust the turnbuckle to maintain proper
tension. To set belts tension, follow this procedure:
1. Clear the area of bystanders, especially small
children.
2. Stop engine, shut off fuel supply lever, remove
ignition key (electric models only), disengage all
drives and wait for all moving parts to stop.
3. Engage the rotor drive control.
4. Check the tension of the belts by applying a
small force to the center of the belt span. It can
deflect 1/2 to 1 inch (12 to 25 mm) in either direc-
tion.
5. If the belt deflection is greater than 1 inch (25
mm) or the drive slips during operation, the idler
should be adjusted to provide more movement.
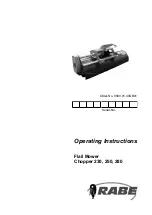
6. Turn the turnbuckle on the control lever to pro-
vide more movement on the idler pulley (fig. 25).
7. Recheck the belts tension. If the turnbuckle
does not provide sufficient adjustment to tighten
the belts, the belts will have to be replaced.
5.2.4.2 BELTS REPLACEMENT
To replace the belts, follow this procedure
1. Clear the area of bystanders, especially small
children.
2. Stop engine, shut off fuel supply lever, remove
ignition key (electric start models), disengage all
drives and wait for all moving parts to stop.
3. Move the turnbuckle until the idler pulley is in its
highest position.
4. Loosen speed reducer mount holding bolts and
remove all rotor V-belts.
5. Install the new belts and reinstall the reducer v-
belt
6. Tension and tighten reducer mount bolts.
7. Adjust the turnbuckles to give the required belt
tension.
8. After 10 hours of running, check the belts ten-
sion. Adjust as required.
24
Fig. 25
Rotor drive turnbuckle
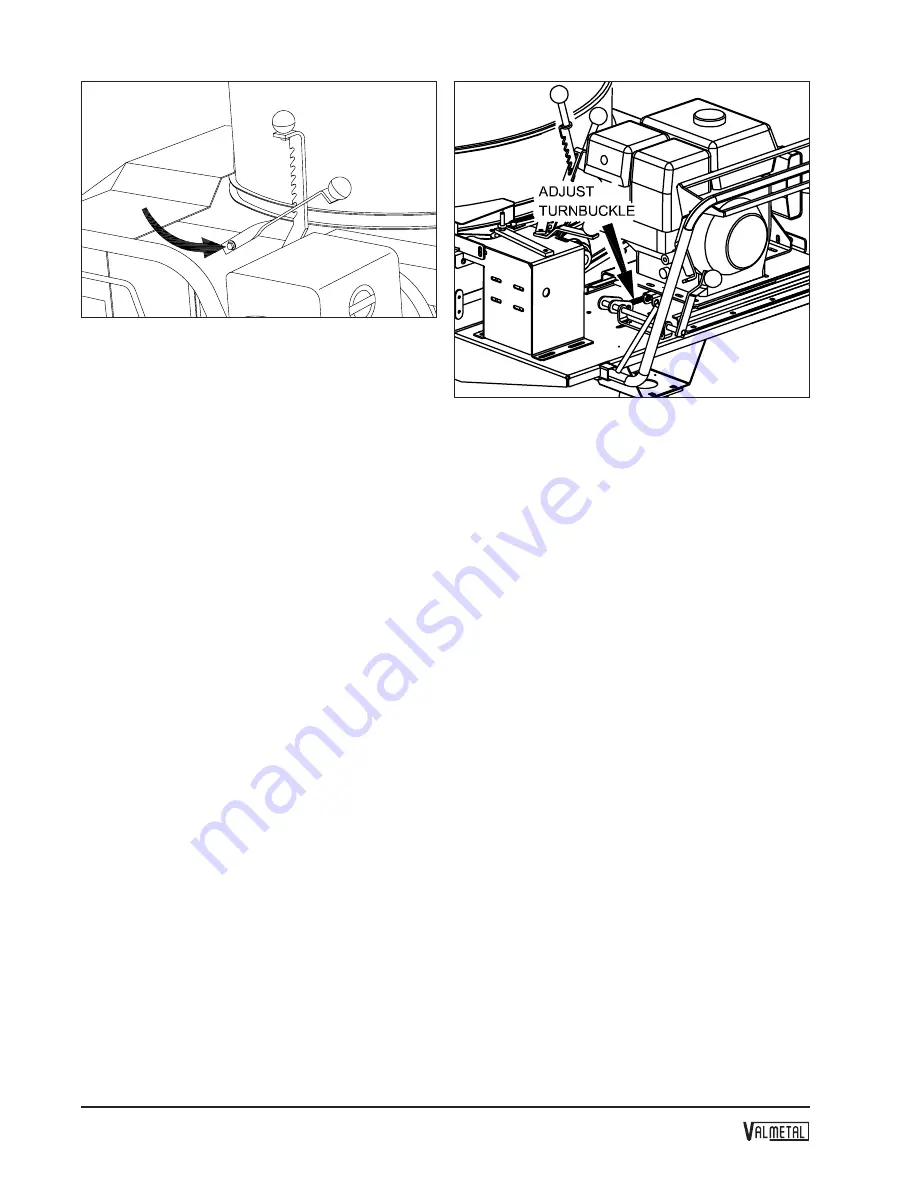
Fig. 24
Grate control lever


