37
Valcom, Inc.
5614 Hollins Road
Roanoke, VA 24019
USA
P. 540-563-2000
F. 540-362-9800
www.valcom.com
Valcom, Inc.
5614 Hollins Road
Roanoke, VA 24019
USA
P. 540-563-2000
F. 540-362-9800
www.valcom.com
The purpose of this section is to get a new digital clock up and running using the manual controls on the
front of the digital clock.
Although
we always recommend that the Digital Clock receive time data from an accurate time
source
, if there is a need for the digital clock to act as a standalone device, the Digital Clock’s internal real-
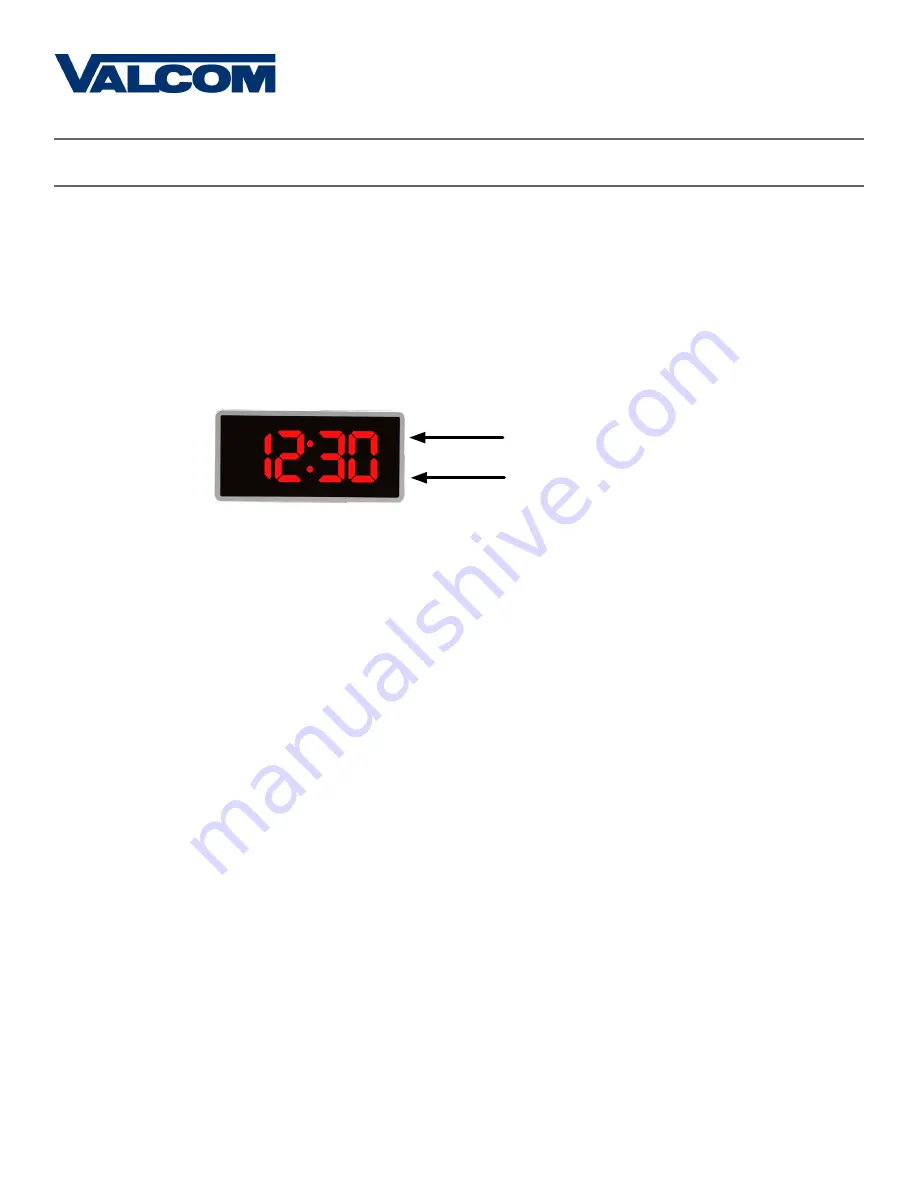
time clock can be set manually. This can be done by pressing the top button to advance the hour, and the
bottom button to advance the minute.
For all other settings, press and release both buttons simultaneously. To return the LED display to showing
the time, repeatedly press the top button until all of the setting codes have been cycled through. The last
code should be 41--99.
The numbers shown on the left are examples. Going down the list and entering every one
of the examples exactly as shown will cause the clock to malfunction or use incorrect data.
Program your clock setting based off of the instructions in the description on the right.
Setting 1 - Set Year
Use the bottom button to scroll from 00 through 99. This permits the user to select
a year from 2000 to 2099.
Setting 2 - Set Month
Use the bottom button to scroll from 01 through 12. This permits the user to select
a month from January (01) to December (12).
Setting 3 - Set Day of the Month
Use the bottom button to scroll from 01 through 31. This permits the user to select
a day from the 1st of the month to the 31st of the month.
Setting 4 - 12/24 Hour Mode
Press the bottom button to switch between 12 and 24.
12 causes the master clock to display time in 12 Hour mode.
24 causes the master clock to display time in 24 Hour mode.
Manual Controls (V-D110XXB Only)
1
--
10
2
--
11
Top Button (Hour)
Bottom Button (Minute)
3
--
28
4
--
24


