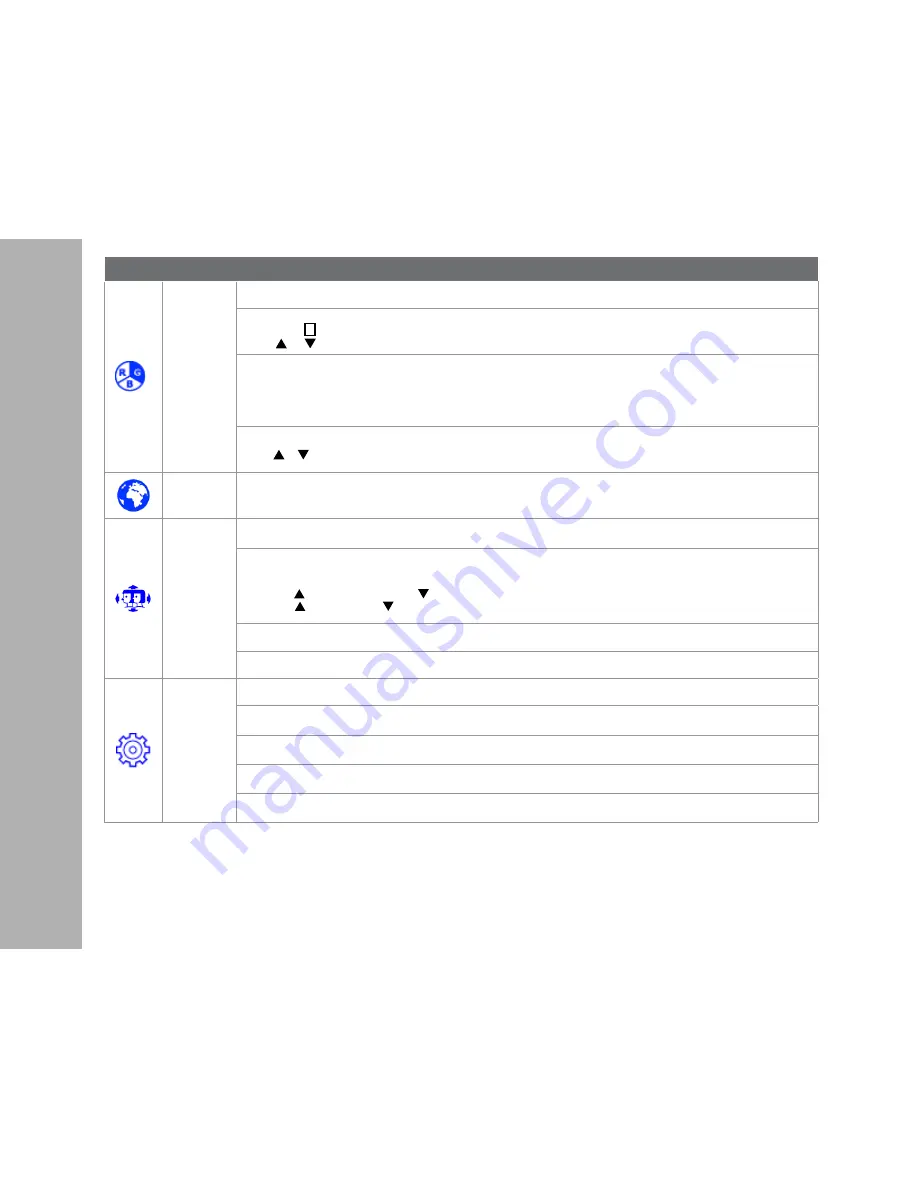
V7 L27HAS2K Скачать руководство пользователя страница 8

ON

 SCREEN

 DISPL

AY

Button Function


Color

Color modes:  cool, normal, warm and user color

User Define:

 Individual adjustments for red (R), green (G), blue (B).

1. Press button 

2

 to select the desired color.

2. Press     or    button to adjust selected color.

Picture mode: 

Provides an optimum display environment depending on the contents displayed. It contains 5 user-selectable presets. 

• 

Standard 

is for general windows environment and monitor default setting. 

• 

Game

 optimized for PC game environment

• 

Video

 optimized for movie and video environment

• 

Scenery

 optimized for displaying outdoor scenery images. 

• 

Text

 optimized for text editing and viewing in a word processing environment

Blue Light Reducer: 

Turn on/off BLR mode. If BLR mode is ON, Blue Light will be restricted

    Press   or    key to adjust the BLR mode strength in three levels

Language

Allows user to choose from available languages

OSD Settings

To manually adjust the Horizontal and Vertical OSD Position, Transparency and OSD Time Out

Horizontal

:

 to horizontally adjust the OSD position

Vertical

:

 to vertically adjust the OSD position

H. Position:   :

 move screen to the right, 

 move screen to the left. 

V. Position:    : 

move screen up,  : move screen down. 

Transparency

:

 to change the transparency of OSD window

OSD Time Out: 

to automatically turn off On Screen Display (OSD) after a preset period of time.

Setup

To set up Picture Format, Power indicator, Information and Memory Recall

Picture Format: 

To select the video mode from Wide Screen or 4:3

Power Indicator: 

To adjust power indicator light ON/OFF

Information: 

To display the information, regarding the current input signal coming from the graphic card in your computer.

Memory Recall: 

To recall factory settings for Video & Audio controls.

Содержание L27HAS2K

Страница 1: ...USER MANUAL L27HAS2K 27 2K QHD LED Monitor...

Страница 2: ...TABLE OF CONTENTS 1 Getting Started 2 Control Panel Back Panel 3 On Screen Display 4 Technical Specs 5 Troubleshooting 6 Safety Info FCC warning...

Страница 3: ...1 GETTING STARTED Package includes AC Power cord DisplayPort cable Quick start guide AC Power Cord DisplayPort Cable...

Страница 4: ...GETTING STARTED Installation 1 Slide on Cable Holder and rotate arm 2 Screw on base 3 Connect Video Cable Connect Power Cord 4 Power on Computer and Monitor HDMI DP AUDIO IN AUDIO OUT...

Страница 5: ...GETTING STARTED Height Adjustment Swivel Tilt Pivot...

Страница 6: ...CONTROL PANEL BACK PANEL Control Panel Back Panel 2 Scroll Up Increase Select Power On Off Scroll Down Decrease OSD Menu Exit Power Cable Audio In Audio Out HDMI DisplayPort 1 2...

Страница 7: ...adjust the foreground white level of screen image increase contrast decrease contrast Over Drive Allows the user to change the Over Drive strength Improve the quality of the motion pictures Press or k...

Страница 8: ...s or key to adjust the BLR mode strength in three levels Language Allows user to choose from available languages OSD Settings To manually adjust the Horizontal and Vertical OSD Position Transparency a...

Страница 9: ...5 W Displayable Resolution Full HD 2560 x 1440 max Vertical Frequency 60Hz max Pixel Dimension 0 2331 x 0 2331 mm LCD Display Color 1 073 B colors Tilt 5 23 2 Active Display Area 596 74 mm x 335 66 m...

Страница 10: ...ll signal cables are installed Power on but no screen image Make sure the video cable supplied with the monitor is tightly secured to the video output port on back of the computer If not tightly secur...

Страница 11: ...d to meet the emission level limits According to WEEE regulation this monitor can t be handled as normal trash in Europe when it is out of usage Please refer to the recycle information from our websit...

Отзывы: