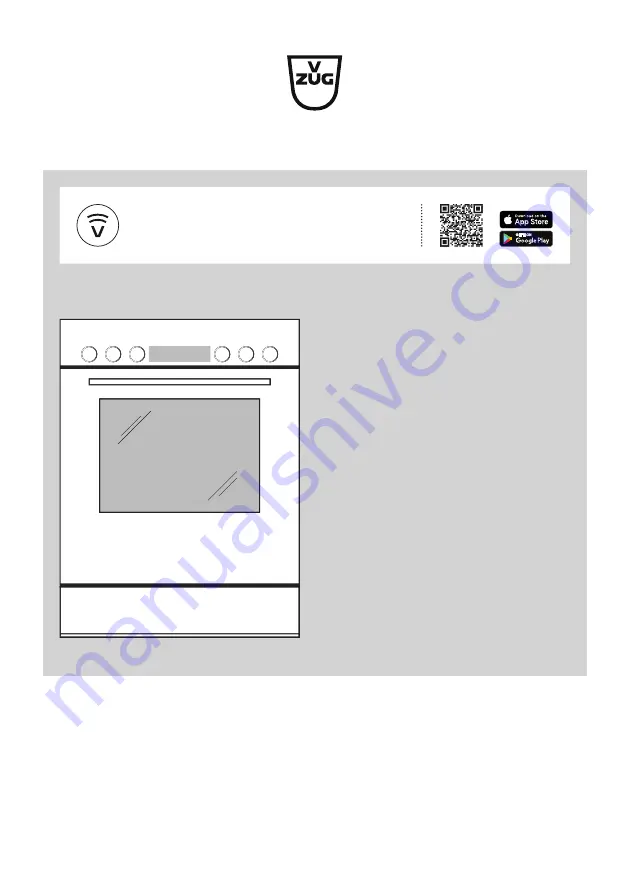
Operating instructions
Combair V200
Oven • Cooker
V-ZUG-Home
Install the app, network your appliances and benefit from a wide range of useful functions.
Страница 1: ...Operating instructions Combair V200 Oven Cooker V ZUG Home Install the app network your appliances and benefit from a wide range of useful functions...
Страница 2: ...for the purpose of the further development of the appliances is reserved Validity These operating instructions apply to Model designation Model number Type Size system Combair V200 21036 C2H576KHN W...
Страница 3: ...et up 14 7 User settings 15 7 1 V ZUG Home 15 8 Hob 16 8 1 Operating and display elements 16 8 2 Cookware 17 8 3 Operating the appliance 17 8 4 Cleaning and care for hotplates 18 9 Care and maintenanc...
Страница 4: ...safe use of the appliance and have understood the haz ards involved Children shall not play with the appliance Cleaning and user mainten ance shall not be undertaken by children without supervi sion...
Страница 5: ...cleaning agents or sharp metal scrapers for cleaning the glass in the oven door and the operating panel as they could scratch the sur face This can destroy the glass Under no circumstances use a stea...
Страница 6: ...se of the appliance is essential to avoid dam age and accidents Please therefore fol low the precautions given in these oper ating instructions Note on use Use the childproof locking facility If the a...
Страница 7: ...s A hob guard can be fitted to protect small children Hob guards are available from specialist retailers Caution Risk to life Danger of suffocation Keep packaging material e g plastic film and poly st...
Страница 8: ...approximately 1 hour If your appliance comes with hotplates heat each hotplate individually without cook ware at full power for about 5 minutes As there is likely to be some smoke and odour given off...
Страница 9: ...ome 3 3 Cooking space Using protective inserts or aluminium foil can damage the appliance Do not place any protective insert or aluminium foil on the floor of the cooking space 1 Appliance door 4 3 1...
Страница 10: ...t will go back to its original form Ensure that the sloped side 1 of the baking tray is to the back of the cooking space 1 Only use the normal way round not upside down Wire shelf For standing roastin...
Страница 11: ...king space is heated by the top and bottom heating elements Uses Classic operating mode for cooking and baking on one level Cakes biscuits bread and roasts Use a dark enamelled tray or a black tray or...
Страница 12: ...erating mode do not preheat This lowers the energy consumption The cooking time can be longer than with top bottom heat Use a dark enamelled tray or a black tray or tin for crispy results 4 4 Top heat...
Страница 13: ...eat Top heat Top bottom heat humid Bottom heat Top bottom heat eco 5 3 Selecting the cooking space temperature Turn the dial to the desired cooking space temperature The and symbols illuminate The coo...
Страница 14: ...lose to your appliance and have the pass word for your wireless network at the ready Installing the app Enable bluetooth and location determination on the smartphone or tablet Search the Google PlayTM...
Страница 15: ...as far as it will go and hold in this end stop position for at least 3 seconds The symbol is no longer illuminated The V ZUG Home operating mode is switched off Resetting to factory setting Turn the d...
Страница 16: ...temperat ure could damage them Under no circumstances attempt to cool hot hotplates down as this could other wise damage them A hob guard can be fitted to protect small children Hob guards are only av...
Страница 17: ...quantity of food to be cooked 8 3 Operating the appliance The individual cooking zones are all operated in the same way Selecting cooking zone Turn the dial to the required power level The power indi...
Страница 18: ...cannot be removed by cleaning 9 Care and maintenance Risk of burns from hot surfaces Allow the appliance and the accessories to cool down before cleaning Incorrect handling can result in damage to the...
Страница 19: ...door seal The joint X and vent hole must be at the bottom in the middle Fit the seal starting in one of the corners at the top Insert the clip from the outside to the inside at a 30 angle into the sl...
Страница 20: ...r as its airing position about 30 Lift the appliance door out evenly and at an angle Reinstalling the appliance door Push the appliance door 3 evenly into both hinges 1 as far as it will go Open the a...
Страница 21: ...s seal 2 Gently push the middle door glass 3 and raise it slightly up and away from the hinges Clean the glass panels and dry well 2 3 Reassemble the glass panels as follows Insert the middle door gla...
Страница 22: ...s Do not scour the surface This can damage the enamel Remove any soiling from the cooking space while still hand warm Use a soft cloth dampened with water and a little washing up liquid Wipe dry with...
Страница 23: ...lb Noise occurs during operation Appliance can make noises during operation e g switching noises Such noise is normal Thick smoke is given off when heating up or cooking If dirty the cooking space can...
Страница 24: ...nical data External dimensions See installation instructions 1 Electrical connection See identification plate 1 12 1 Note for testing institutes The energy efficiency class according to EN 50304 EN 60...
Страница 25: ...V200 Model number 21036 21037 21074 22017 22018 22023 22024 Mass of SMS 55 600 55 762 appliance kg 45 Mass of EURO 60 600 60 762 appliance kg 34 Number of cavities 1 Heat source per cavity Electricit...
Страница 26: ...ctions on how much baking powder to add 13 3 Uneven browning Result Solution The baking has browned unevenly Next time set a lower temperature and lengthen the op erating time Select if baking on one...
Страница 27: ...e carried out by a qualified electrician Then cut the mains cable off flush with the appliance 14 3 Disposal The crossed out wheeled bin symbol requires the separate collection of waste electrical and...
Страница 28: ...27 Door seal 24 E EasyCook 24 Electrical connection 24 Energy efficient cooking 17 Error messages 23 External dimensions 24 H Halogen light bulb 24 Replacing 22 I Identification plate 24 Initial set u...
Страница 29: ...T Tablet System requirements 14 Technical data 24 Temperature sensor 9 Testing institutes 24 Tips and tricks 26 Top heat 12 Top bottom heat 11 Top bottom heat eco 12 Top bottom heat humid 11 Type 2 U...
Страница 30: ...30 16 Notes...
Страница 31: ...d appliance designation to register your appliance You will find them on the identification plate of your appliance My appliance information SN __________________________ Appliance ___________________...
Страница 32: ...king space temperature The and symbols illuminate The cooking space is heated up As soon as the set temperature has been reached the symbol goes out the food can be placed in the cooking space Switchi...