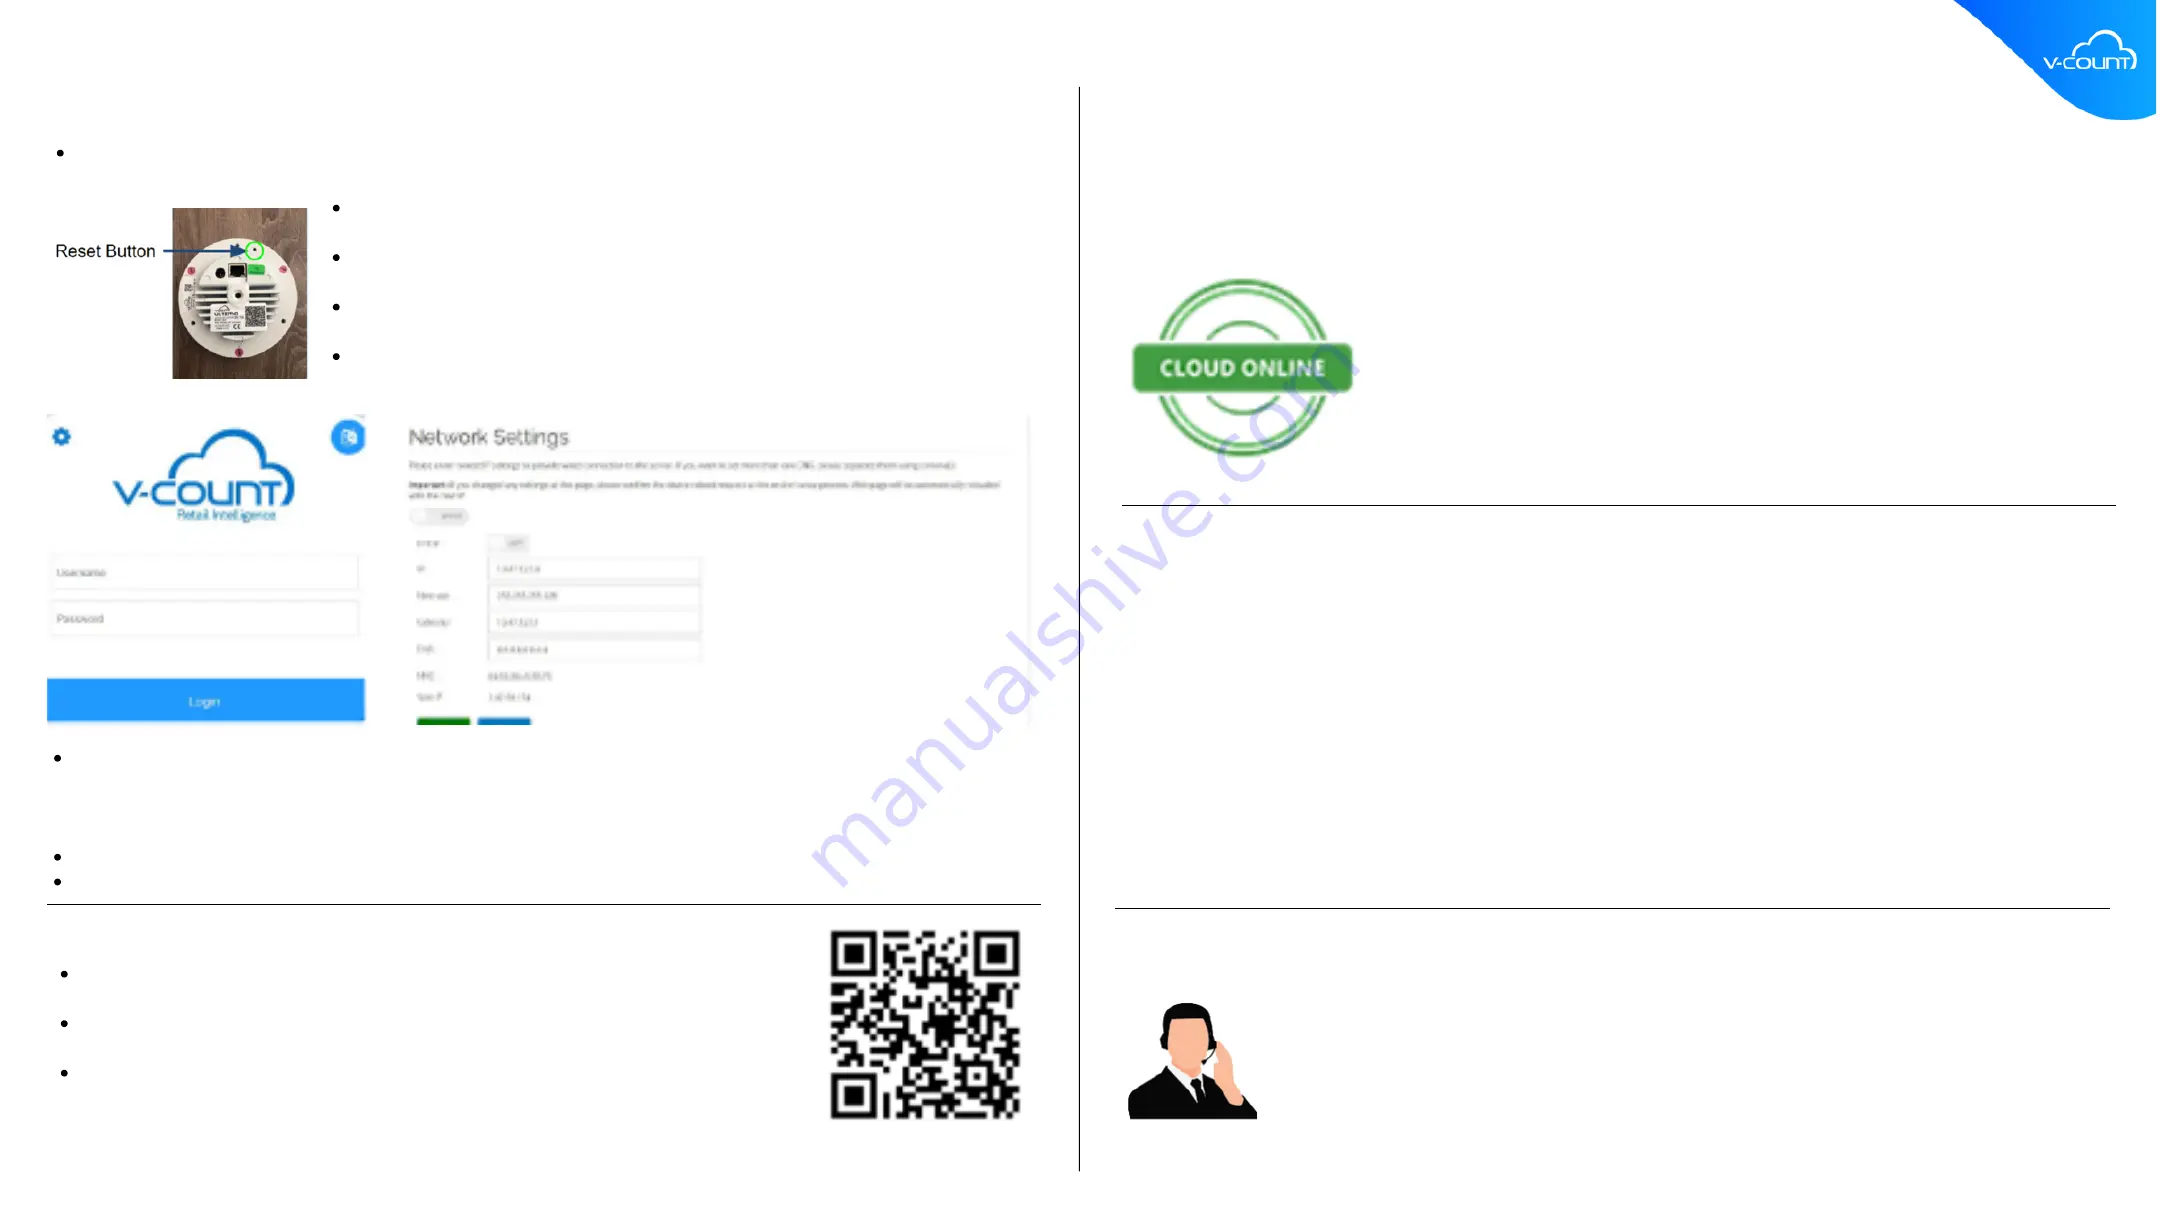
The sensor does not have an IP address by default, so you need to reset the
sensor to have an IP.
The sensors reset button is on the back. Using a thin pin, push the reset
button gently and hold it until the led light turns white color.
Please configure your laptop network with IP of 192.168.1.27, Netmask
255.255.255.0, and Gateway 192.168.1.1
Then you should be able to access the sensor application. Release and wait
for the sensor to boot for about 2 minutes.
V-Count sensors have a web application inside for configurations. You will need to access that
application. That application can be reached from your laptop browser using https://192.168.1.26:12102
address. After reaching the application, login using your credentials and go to >System Settings >Network
Settings.
Configure sensor IP according to your own IP network requirements and save the settings.
Now you can mount the sensor to its location.
Step 4 – Mounting the Sensor to its Location
Ultima AI sensor may be mounted on the marked location in 3 different
methods.
You may install the sensor with a bracket, or you may wish to install it recessed
to reduce the thickness.
Please scan the QR code on the left and you’ll find three different videos for
three different mounting methods.
Step 5 – Checking the sensor connectivity
After mounting the sensor and connecting the ethernet cable, you may connect to the sensor using your
laptop. Connect your laptop to the location switch and use https://”SensorIP”:12102 address to reach the
sensor interface, “Sensor IP” to be the IP of the sensor. If you’re using a DHCP server, you should use an IP
scanner to determine the IP of the sensor.
Login to the application by using your credentials and check if the sensor is
online. You should see the icon on the left on the sensor interface. If the icon is
RED, there’s a problem with the internet connection of the sensor. There may be
a block in firewall if you are using one. V-Count sensors uses some ports (
12100to 12109, 12223 ) to send data to the Cloud. Please speak to your network
administrators to give permissions for these ports.
Step 6 - Request Sensor Activation
After you see the cloud online sign, send an e-mail to V-Count reseller or V-Count to get your sensor activated. If you
are a direct V-Count customer you may write to [email protected] to request the activation of your sensor. Please use
the following format:
Subject: Sensor Activation Request for ( Company Name ) ( Serial No )
Body:
Serial Number:
Ceiling Height:
Company Name:
Location Name:
Contact Email and Phone:
You will receive a response within 24 hours with credentials to access the business analytics application on
cloud.https://cloud.v-count.com/
Need Support?
Please contact your authorised partner or V-Count Global Support Services ( help@v-
count.com ) if you need help.
Step 3 -Setting Sensor IP (Please skip this step if you have a DHCP server)
For this step you need to power the sensor either with an adapter or an injector and connect the sensor to
the laptop via an ethernet cable. When powered on, sensor will have a Green led light.


