English
3
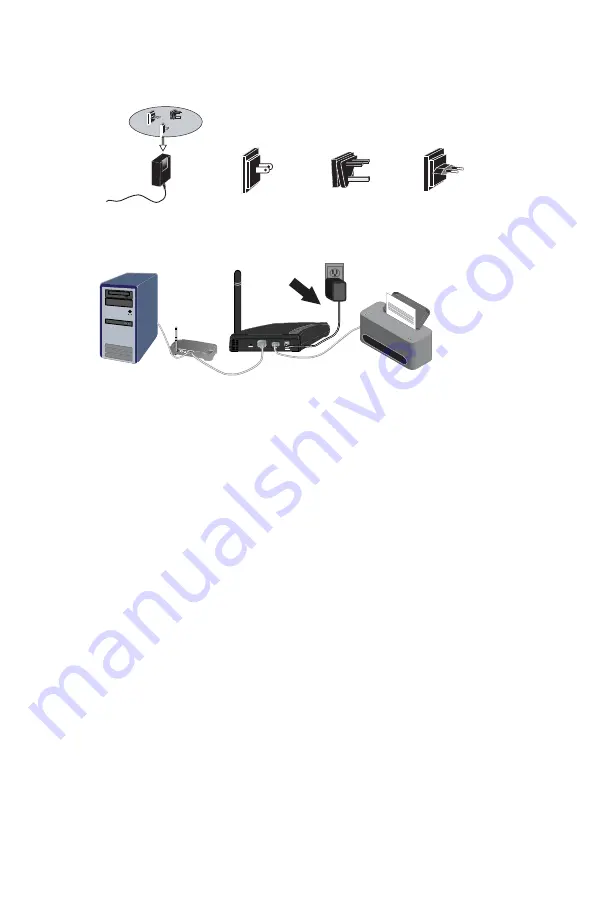
4. Slide the standard power plug for your country on to the power adapter.
Apply enough pressure to cause a click and firmly seat the plug. The power
adapter must be unplugged when you attach the plug.
5. Connect the included power adapter to the
POWER
power port on the print
server and plug the power adapter into a standard power outlet.
Step Two: Configure the Wireless USB Print Server
1. Verify you are logged on to your computer as an administrator. You must be
logged on as an administrator to ensure the software will be properly
installed.
2. Insert the USRobotics Installation CD-ROM.
3. Select
Setup Wizard
and click
Next
.
4. Select the Wireless USB Print Server from the list and click
Next
.
Follow the on-screen instructions to configure the settings for the print
server. Make sure your enter the correct settings for your wireless network,
including SSID, security information, and network type (Infrastructure or
AdHoc).
5. Click
Finish
.
6. When prompted to install the PTP (Peer-to-Peer) driver, click
Yes
. Then,
click
Next
and follow the on-screen instructions.
7. In the Printer Port Setup, select the printer and click
Next
.
"
If you do not see the printer, click
Refresh
until the port name appears.
8. Select the printer from the
Existing Printers
list.
"
If the printer doesn’t appear, click
Add New Printer
and follow the on-
screen instructions.
9. Click
Connect
.
"
If you do not see an asterisk next to the port name in the Printer Port
Setup screen, click
Refresh
. If it still doesn’t appear, refer to the “Trouble-
shooting” section in this guide.
10. Click
Close
to complete the setup.
North America
UK
Europe
LAN


