9
10
UPGRADE thanks you for deciding to purchase this product. UPGRADE loudspeakers
and amplifiers guarantee outstanding performance. The electrical, mechanical and sound
characteristics remain constant over the entire life cycle of this product. We wish you much
listening pleasure.
The operational instructions supplied by UPGRADE are designed to enable you to
correctly install the product.
Please read the operational instructions carefully before you begin with the installation and
connection.
Please also consider that all loudspeakers contain many components that require a break
in phase. The loudspeakers in this set are no exception. After a break in period of about 50
hours the bass reproduction will improve considerably and become deeper. In addition the
loudspeakers will achieve higher capacity and become louder. The components win on
quality and durability by observing the above described measures. Please avoid
excessive volume in the break in period.
Introduction
Montage Lautsprecher Türsystem vorne
7. Schritt
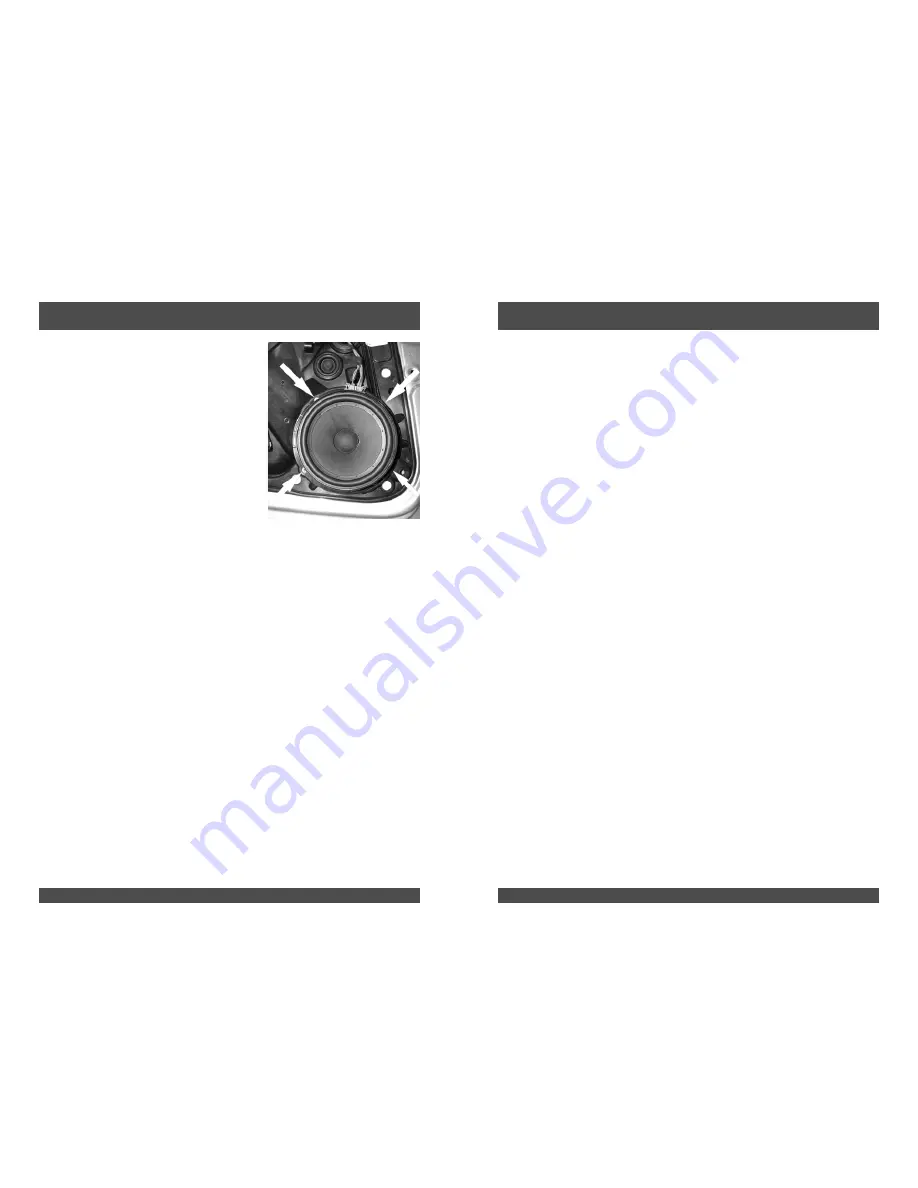
Einbau des Tieftöners:
Der originale Tieftöner ist mit 4 Nieten in der Tür
befestigt. Bohren sie diese vorsichtig mit einem
5mm Bohrer und Bohrmaschine oder Akku-
schrauber aus.
Achtung!
Nachdem Sie den Lautsprecher demontiert
haben entfernen Sie sorgfältig eventuell
übrig gebliebene Rückstände der Nieten
aus der Tür.
Nun platzieren Sie den neuen Lautsprecher und
vernieten diesen wieder mit den beiliegenden
Nieten. Stecken sie zum Schluss den Anschluss-
stecker wieder an den Lautsprecher.
8. Schritt
Montieren Sie die Türverkleidung in umgekehrter Reihenfolge.
Achtung!
Vergessen Sie nicht, alle Kabelsteckverbindungen wieder herzustellen und
den Seilzug der Tür Innenbetätigung korrekt einzuhängen!


