15
INSTALLING THE WATER LINE
4. Flush the tubing. Turn the main water supply on and fl ush out the tubing until the water is
clear. Then, shut the water off at the water valve after about a quart of water has fl ushed
through the tubing.
NOTE:
Ensure that the water line does not get pinched or bent when
installing. This can result in improper water fl ow through the line and will affect the func-
tionality of the fridge - Fig4.
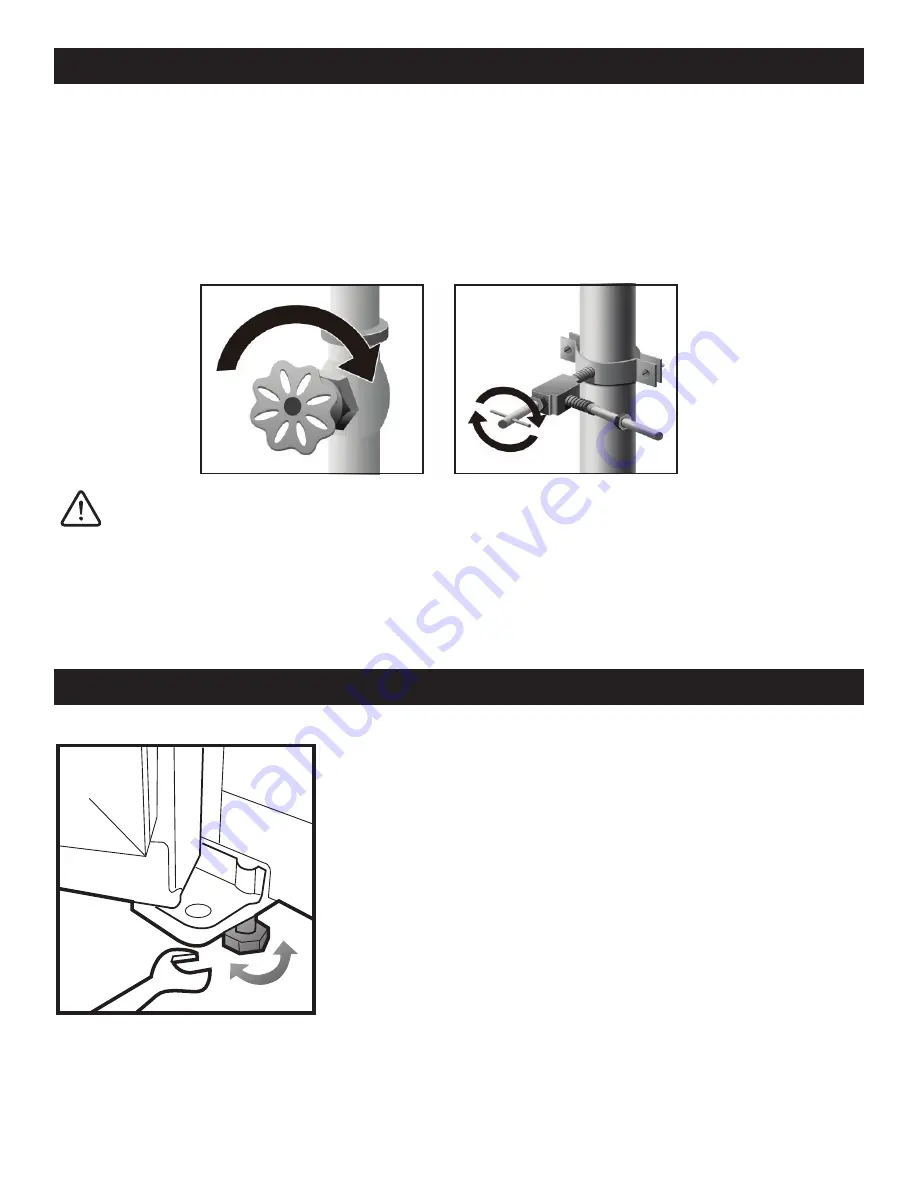
5. Turn the water on and check for leaks - Fig 5.
WARNING
The water line must be connected to the cold water pipe. Avoid contamination of pipe during
installation. Make sure to connect to a potable water supply only.
NOTE:
Leave approximately 8ft of tubing behind the refrigerator to allow for cleaning in pulling
the refrigerator in and out. Secure the line with tape to the back of the appliance.
When the refrigerator stays in the packing box, plastic feet
are in tightened state. After carrying it out from the packing
box for placement, please make sure to adjust two front plas-
tic feet until the height is suitable; just adjust two plastic feet
with a wrench or directly by hand.
Plastic feet and rear rollers must touch the ground to prevent
the refrigerator from movement, vibration or noise. When
moving the refrigerator, adjust plastic feet counterclockwise
to keep them off the ground, and then push the refrigerator
gently to move it.
Fig 4.
Fig 5.
LEVELING THE REFRIGERATOR


