14
PRESSURE FOOT PRESSURE (continued)
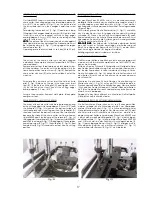
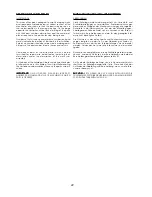
On styles 80800TL and TAL set the collar (D, Fig. 11) on
the right presser bar approx. 2.5 mm (7/64") above the
fork of the presser bar lifter collar (B). This effects, when
lifting the presser foot, that the left presser foot part is
lifted first by approx. 2.5 mm (7/64"), before the right
presser foot part will lift too.
The presser foot lift is limited with the upper stop collar (E,
Fig. 11) on the left presser bar. When the needle is in its
lowest position and the presser foot is lifted with presser
foot bottom tilted up, the needle bar respectively needle
clamp nut should not contact the presser foot bottom.
Set collar (E) accordingly.
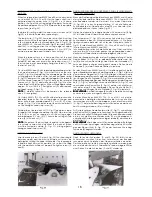
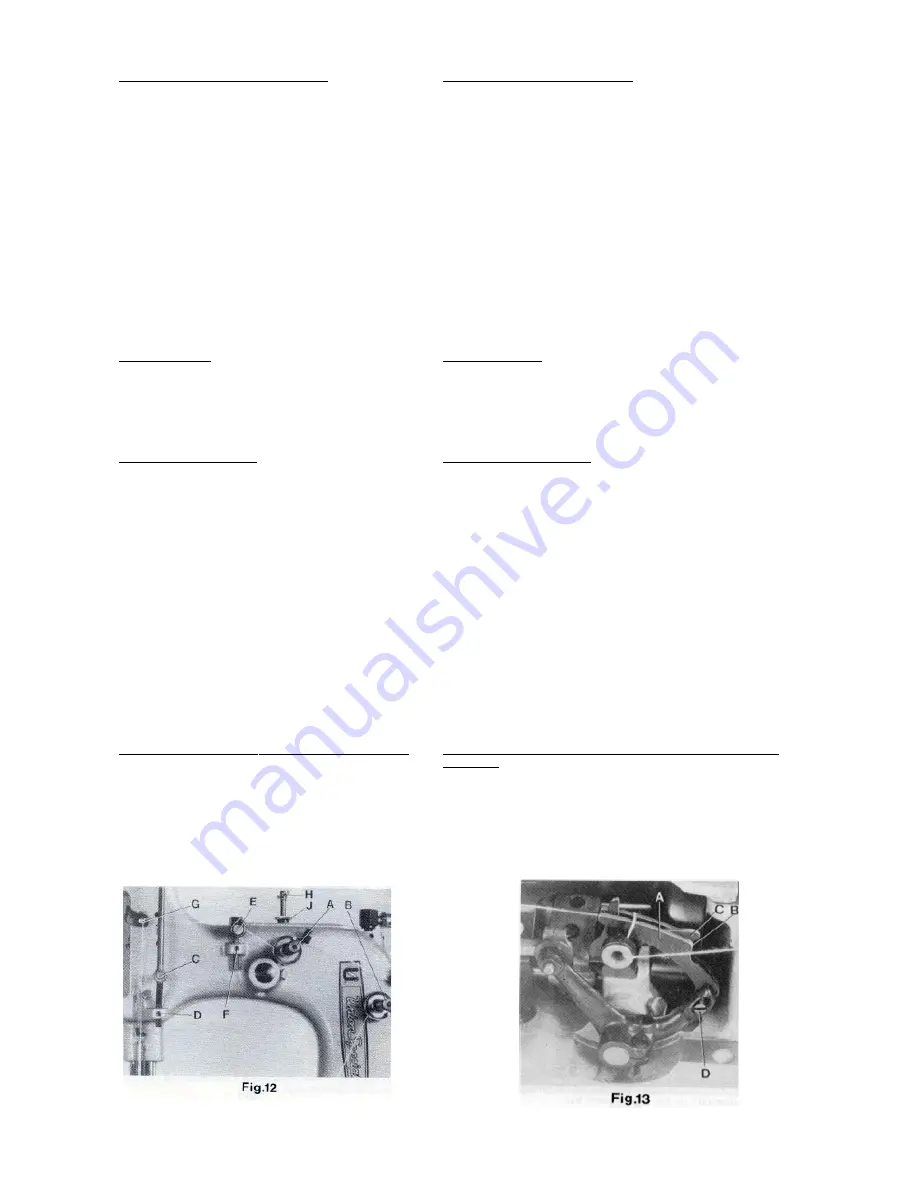
Now turn in T-screw (H, Fig. 12) until the necessary presser
foot pressure for proper feeding is excerted (determine
by sewing tests). Secure this setting with the knurled nut
(J), which simultaneously fastens the upper arm cover.
Remount the face cover.
THREAD TENSION
The tension (A, Fig. 12) on the needle thread should be
fairly strong to produce uniform stitches. On the two
thread double locked stitch styles the tension (B) on the
looper thread should be barely sufficient to steady it.
LOOPER THREAD TAKE-UP
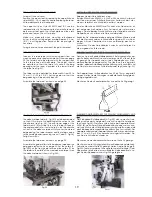
On the two thread double locked stitch styles, the height
of the looper thread take-up (A, Fig. 13) is set so, that the
cast-off hook (C) forces the looper thread over the corner
(B) of the looper thread take-up (A) at the time the point
of the descending needle is flush with the lower edge
at looper or projects up to 1 mm (.040") below the lower
edge of looper.
Draw the looper thread into the machine, rotate pulley
in operating direction and note the position of the needle
point to lower edge of looper at the time the cast-off
(C) forces the looper thread over the corner (B).
For setting the looper thread take-up loosen screw (D,
Fig. 13).
When needle point is positioned above the lower edge
of looper, the looper thread take-up (A) has to be
raised accordingly. When the needle point is positioned
more than 1 mm (.040") below the lower edge of looper,
the looper thread take-up (A) has to be lowered
accordingly. Retighten screw (D).
SETTING NEEDLE THREAD TAKE-UP ROLLER AND EYELET
On the two thread double locked stitch styles 80800R,
RL, TL, TAL, U, UA, UL and UAL, the height of the needle
thread take-up roller (C, Fig. 12) is set so, that the needle
thread on the downstroke of the needle just contacts
the roll at the time the needle thread loop is released
from the looper. Loosen screw (D) and set the needle
thread take-up roller accordingly. Retighten screw (D).
DRÜCKERFUSSDRUCK (Fortsetzung)
Bei den Maschinen 80800TL und TAL stellen Sie den Stellring
(D, Fig. 11) auf der rechten Drückerfußstange etwa 2,5 mm
über die Gabel des Drückerfußstangenlifter-Stellrings (B). Da-
durch wird beim Liften des Drückerfußes zuerst das linke
Drückerfußteil etwa 2,5 mm angehoben bevor das rechte
Drückerfußteil mit anhebt.
Der Hub des Drückerfußes wird mit dem Anschlag-Stellring (E,
Fig.11) oben auf der linken Drückerfußstange begrenzt. Wenn
die Nadel in der untersten Stellung ist und der Drückerfuß mit
dem Drückerfuß-Lifterhebel angehoben und die Drücker-
fußsohle nach oben gekippt wird, darf die Nadelstange
bzw. Nadelstangenmutter die Drückerfußsohle nicht berüh-
ren. Stellen Sie den Stellring (E) entsprechend ein.
Nun drehen Sie die Knebelschraube (H, Fig. 12) so weit ein,
daß der zum einwandfreien Transport notwendige Drückerfuß-
druck erzeugt wird (durch Nähversuche ermitteln). Sichern Sie
diese Einstellung mit der Rändel-Kontermutter (J), mit der
gleichzeitig der obere Armdeckel befestigt wird. Montieren Sie
den Stirndeckel wieder.
FADENSPANNUNG
Die Spannung (A, Fig. 12) auf den Nadelfaden soll so stark
sein, daß eine gleichmäßige Stichbildung erreicht wird. Bei den
Zweifaden-Doppelkettenstichmaschinen soll die Spannung (B)
auf den Greiferfaden ganz gering sein, so daß der Faden
gleichmäßig gleitet.
GREIFERFADENAUFNEHMER
Bei den Zweifaden-Doppelkettenstichmaschinen wird die
Höhe des Greiferfadenaufnehmers (A, Fig. 13) so eingestellt,
daß der Greiferfadenabzugshaken (C) den Greiferfaden zu
dem Zeitpunkt über die Ecke (B) am Greiferfadenaufnehmer
(A) zieht, wenn die Spitze der sich nach unten bewegenden
Nadel mit der Unterkante des Greifers bündig ist oder bis zu 1
mm unterhalb der Greiferunterkante steht.
Fädeln Sie den Greiferfaden ein, drehen Sie die Riemenschei-
be in Nährichtung und merken Sie sich die Stellung der Nadel-
spitze zur Greiferunterkante zum Zeitpunkt wo der Greifer-
fadenabzugshaken (C) den Greiferfaden über die Ecke (B)
zieht.
Zur Einstellung des Greiferaufnehmers lösen Sie die Schraube
(D, Fig. 13).
Steht die Nadelspitze oberhalb der Greiferunterkante muß der
Greiferfadenaufnehmer (A) entsprechend höher gestellt wer-
den. Steht die Nadelspitze mehr als 1 mm unter der Greifer-
unterkante, muß der Greiferfadenaufnehmer entsprechend
tiefer gestellt werden. Ziehen Sie die Schraube (D) wieder an.
EINSTELLUNG DER NADELFADENABZUGSROLLE UND FADEN-
FÜHRUNG
Bei den Zweifaden-Doppelkettenstichmaschinen 80800R, RL,
TL, TAL, U, UA, UL und UAL wird die Höhe der Nadelfadenab-
zugsrolle (C, Fig. 12) so eingestellt, daß der Nadelfaden beim
Niedergehen der Nadel, die Rolle zu dem Zeitpunkt gerade
berührt, wenn die Nadelfadenschlinge vom Greifer freige-
geben wird. Lösen Sie die Schraube (D) und stellen Sie die
Nadelfadenabzugsrolle (C) entsprechend ein. Ziehen Sie
die Schraube (D) wieder an.
Содержание 80800
Страница 24: ...24 ...
Страница 26: ...26 ...
Страница 28: ...28 ...
Страница 30: ...30 ...
Страница 32: ...32 ...
Страница 34: ...34 ...
Страница 36: ...36 ...
Страница 38: ...38 ...
Страница 40: ...40 ...
Страница 42: ...42 ...
Страница 44: ...44 ...
Страница 46: ...46 ...
Страница 48: ...48 ...
Страница 50: ...50 ...
Страница 52: ...52 ...
Страница 54: ...54 ...
Страница 59: ...59 NOTES NOTES NOTES NOTES NOTES NOTIZEN NOTIZEN NOTIZEN NOTIZEN NOTIZEN ...


