NVR Quick Start Manual
第
7
页 共
22
页
6.1 Network Setting
Connect NVR with network cable to the LAN switch,
After power on, click to enter setting menu, set
NVR IP address, subnet mask, and gateway and so on.
Then use PC to run ping command to check NVR IP has
connected with LAN
Notice:
IP address might conflict with each other, please
set the gateway correctly, or NVR might fail to work.
Please ensure all the IP addresses in LAN are unique.
Device port setting:
the default is 5050, if there are several NVRs in the LAN, need to change this
port is for login NVR by IE, CMS. Login NVR by mobile, the port should be +3 based on the device
port.
HTTP port:
the default port is 80, suggest modifying it. This port is for login NVR by IE, input NVR IP
address or domain name; need to add colon and HTTP port number.
Example:
show as the above right picture, access NVR by IE in LAN, first add 2 forwarding rules in the
router, the IP address is 192.168.1.188, the forwarding ports are 5050-5053, 80. Please input
http://192.168.1.188:80 at IE browser and download ActiveX, then close the IE before install the
ActiveX, after installing it successfully, then reopen IE with http://192.168.1.188:80, it will show login
menu, input device port:5050, user name: admin, no password, can access NVR.
If access NVR by IE in WAN, please use static IP or dynamic domain name
,
the operation is same as
LAN.
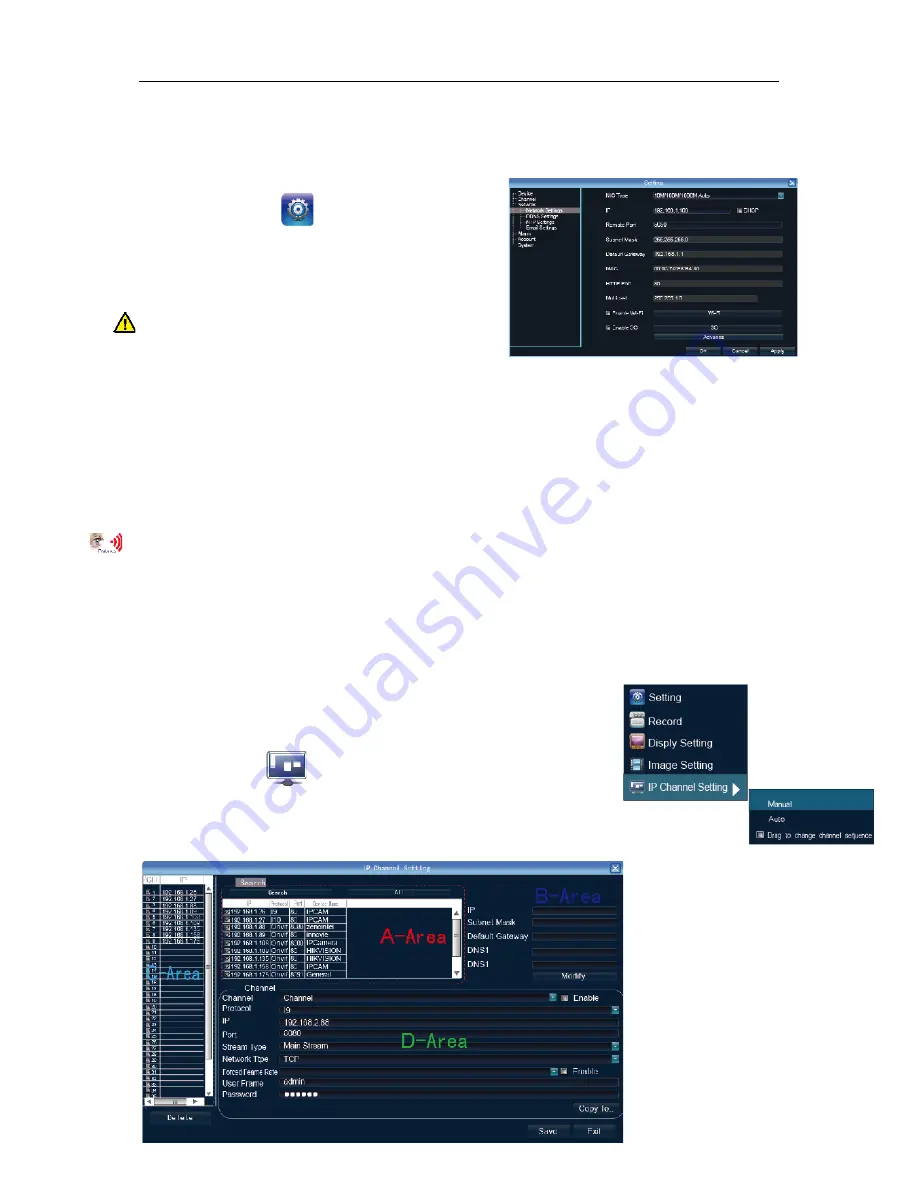
6. 2 Connect with IP Camera
6.2.1 Manual Search
Right click to select
【
IP channelSetting
】
Manual, click
Search
button, NVR will search out all IP cameras in the LAN,it will
take 18-30 seconds, after finishing the configuration, click Save to logout,
then the image will come out.


