


[ 27 ]
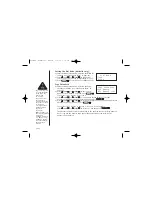
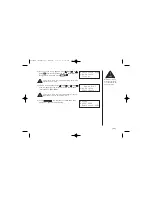
USING ONE TOUCH VOICE MAIL ACCESS
If you subscribe to voice mail service, you can use your phone to access your voice
mailbox. The new message LED flashes whenever you have messages waiting in your
voice mailbox. Just program the handset with your access number, and you can get
your messages at the touch of a button on the handset. (The voice mail service
provider will supply you with the access number. This number may be simply a phone
number. Refer to the provider’s literature).
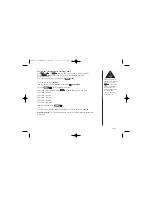
Dialing your Voice Mail Service
Once you’ve programmed your personal access number, you can dial your
mailbox with the touch of a button. When you have messages, simply pick
up the handset and press
. If you have not entered the access
number or it has been deleted, when you press the
,
No Number
Stored To store number press [MENU]
appears and you will hear a
beep. The phone returns to standby mode.
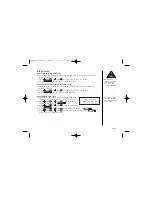
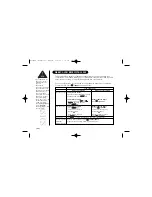
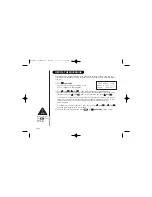
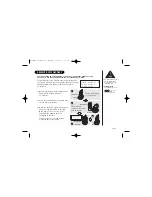
Voice Mail Access
The new message LED on the handset is designed to work with your voice
mail service provided by your local telephone company. The LED flashes
when you have new incoming messages in the voice mail service. You may
need to occasionally reset the indicators if they remain on after you’ve
retrieved your messages. To reset the indicators, when the phone is in
standby mode press and hold
on the base until the paging
sound stops (about 5 seconds).
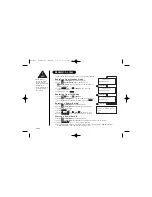
• To program or delete your Voice Mail Access Number, See page 14.
• You must subscribe
to voice mail service
from your telephone
company in order to
use this feature. The
voice mail service
company will
provide you with
the access number.
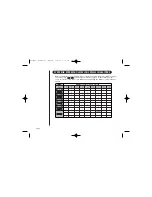
• Voice Mail Access
Numbers :
Australia
Message Bank : 125101
Home Messages : 101
New Zealand
Call Minder : 083210
UP349BH (WDECT2300) ENG OM 1/5/05 1:18 PM Page 27