67
Programming Your Scanner
This setting control whether the system is automatically enabled and disabled
when you connect a GPS to the scanner.
Set Latitude — Enter the system’s latitude using the format you selected in the
system settings.
Set Longitude — Enter the system’s longitude using the format you selected in the
system settings.
Set Range — Set the system’s range using the units you selected in the system
settings.
Set GPS Enable — L/O status is automatically controlled by receiving data from
GPS.
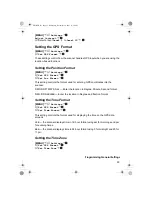
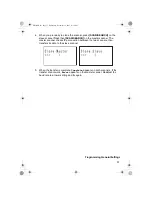
[MENU]
Program System
F
Select a Motorola Type I system
F
Edit Sys Option
F
Edit Fleet Map
F
Preset
— select from the16 most common fleet maps
Custom
— allows you to enter a custom fleet map. Enter the size code (0 to 14)
for each block. Press
F
to select.
For Motorola Type I and Type IIi Hybrid systems, you must enter a system fleet
map in order for the scanner to properly track and display talk group ID’s. The fleet
map is usually included in the same resource that provided system frequencies
and talk group ID lists.
Note:
If you don’t know the fleet map for your Motorola Type I system, check the
Internet such as
www.radioreference.com
or the other websites we reference.
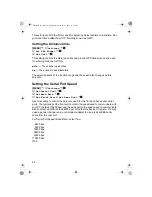
[MENU]
Program System
F
Select a Motorola Type I or II system
F
Edit Sys Option
F
Set Status Bit
F
Ignore
— the scanner rounds all received ID’s down to the next interval of 16.
The default setting is
Ignore
.
Yes
— the scanner treats all received ID’s as unique ID’s.
Setting the Fleet Map
M (Type I Only)
Setting the Status Bit
M
UB356ZH.fm Page 67 Wednesday, December 19, 2007 11:28 AM

