background image

46

47

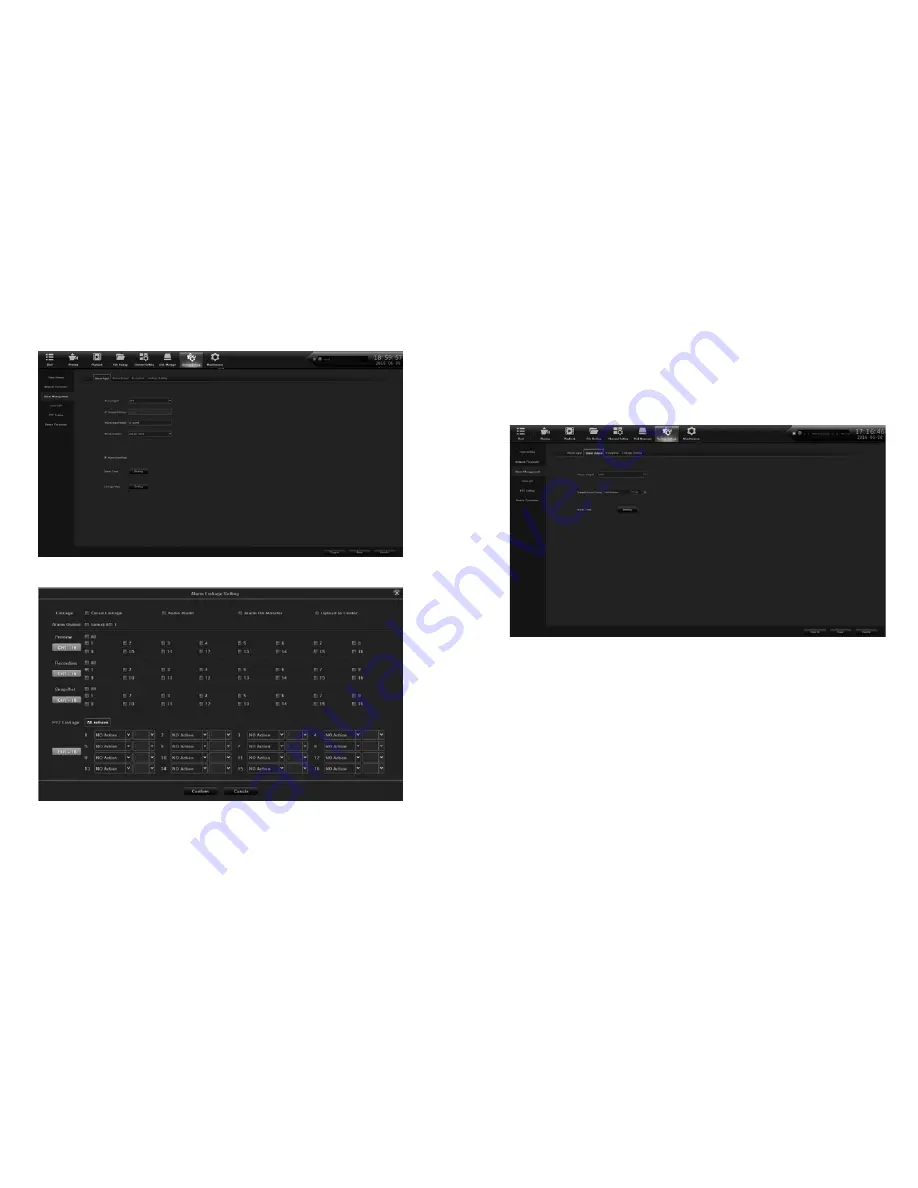
Alarm Input Screen

Alarm Linkage Screen


9.2 Setting Alarm Output   


 The 

Alarm Output

 setting interface is located under 

System 

 Setting

Alarm Management

Alarm Output

.


• Select the 

Channel

 for the Alarm Output.

  • Set the 

Delay Time

 for the Alarm.

  • Set the 

Alarm Time

 conditions.

Alarm Output Screen

Содержание Pro7800N2-5MP

Страница 1: ...Pro7800N2 5MP NVR User Manual...

Страница 2: ...earch 30 6 1 3 Playback by Event Search 33 6 1 4 Playback Pictures 33 6 1 5 Playback External File 36 7 File Backup 37 7 1 Picture Backup 38 7 2 Video File Backup 39 8 Network Settings 40 8 1 Configur...

Страница 3: ...mmended to shut down using the button in the Start menu rather than the external button to avoid damaging the device from a sudden power off 1 2 Login If this is the NVR s first start up or if you hav...

Страница 4: ...s of the NVR If you would like to skip the set up guide click the button You can choose have the guide open the next time you login by leaving the Next time no longer display check box unchecked The f...

Страница 5: ...tion that matches your display screen Click Next to continue Enter your network setting information and click Next to view the QR Code screen Click Finish to complete the guide setup QR Code Screen Ne...

Страница 6: ...ally detect all the IP cameras connected to the NVR 3 Select an IP camera off the list of detected cameras and click the button to add it as a channel directly 4 You can also manually add the IP camer...

Страница 7: ...bottom of each channel that display when you hover over the bottom edge of the channel with your cursor 2 2 Operations in Live View Mode In the Live View alarm information is displayed on the top righ...

Страница 8: ...Functions View 1 Screen Split into 4 Screens Split into 6 Screens Split into 8 Screens Split into 9 Screens Split into 16 Screens Adjust Sound Cruise On Setting Preview Linkage Page Up Page Down Last...

Страница 9: ...recording Channel Connecting Quickly enter the IP Camera Management screen Last Screen View the previous screen Next Screen View the next screen 4 Split Screen Display 4 screens in the preview pane 6...

Страница 10: ...er the Local Channel Name in the text field Click the Save button and the name you entered will show up on the screen to the left You can use the mouse to click and drag the text frame on the viewing...

Страница 11: ...better image You can access this screen under Channel Settings Channel Parameters Select the Channel of the camera you want to configure Select either Main Stream or Sub Stream as the Encoding Type Ch...

Страница 12: ...r mouse draw a rectangular zone on the window You may add up to 4 zones per channel and adjust their size using your cursor To clear all zones and start over click the button Privacy Mask Screen 4 PTZ...

Страница 13: ...reset location to a specific event You can click the Clear button to clear the location information and start over 4 2 2 Customizing Cruise Cruise can be used to move the PTZ to predefined key points...

Страница 14: ...ing button and begin using the direction wheel and zoom buttons to move the PTZ camera Click the Stop button to stop recording your path The movement of the PTZ is recorded under the pattern number 5...

Страница 15: ...ording Delay Set the amount of time after a scheduled time or event for the recording to end Note Use the Copy To function to do transfer the same setting to another channel Recording Schedule Screen...

Страница 16: ...ls at a time Check the box by specific channels on the channel list to view them and double click a date to view it Click to start playback Playback Interface Screen Video Playback Screen Playback Too...

Страница 17: ...Progress Bar Adjust Sound Buttons in the Playback Toolbar 6 1 3 Playback by Event Search Playback files based on event type alarms motion etc using the search function Select the Retrieving Type Coun...

Страница 18: ...t which Channel to search Click the Query button to see results Check the box by a listed picture and click to view the picture Control picture playback with the following functions Icon Operation Ico...

Страница 19: ...Interface Select Snapshot as the playback mode Click the Refresh button to view a list of files Click the button to playback the images using the and buttons to adjust playback speed 7 File Backup The...

Страница 20: ...egin the backup process After finishing click Confirm 7 1 Picture Backup Picture Backup Screen 7 2 Video File Backup Video Backup Screen Select the Channel to backup Define the time span of files to b...

Страница 21: ...ic Setting screen allows you to configure the IPv4 Address IPv4 Gateway and DNS Server 8 2 Configuring DDNS You can set the Dynamic DNS DDNS for your network access by entering the Network Parameter s...

Страница 22: ...the box to enable SSL if the SMTP server requires it Attachment To include an attachment in the emails click the box to enable User Name Select the user s notify of the selected event Receiver Email...

Страница 23: ...pond to an external sensor alarm The Alarm Input screen is under System Setting Alarm Management Alarm Input Select which Channel to configure Create an Alarm Input Name Choose either Always Open or A...

Страница 24: ...9 2 Setting Alarm Output The Alarm Output setting interface is located under System Setting Alarm Management Alarm Output Select the Channel for the Alarm Output Set the Delay Time for the Alarm Set...

Страница 25: ...check box before Enable Motion Detection to turn on this feature Adjust the Sensitivity of the motion detector Use the mouse to draw detection area s Click the button to set up the full screen as the...

Страница 26: ...l Schedule Setting Screen 9 6 Video Lost Alarm Detect when video cuts out on a channel and create an alarm to notify you Enter the Video Lost screen located under Channel Setting Channel Parameter Vid...

Страница 27: ...covered Video Mask is located under Channel Setting Channel Parameter Video Mask Select a Channel for the video mask settings Check the box in front of Enable Mask Alarm Adjust the Sensitivity Use yo...

Страница 28: ...box in front of Enable Check the Show in Preview box to display the information in the preview window Click and draw a virtual line in the preview window You can use the button to clear the existing v...

Страница 29: ...the alarm Schedule Set the alarm Linkage Count Detection Screen Click and draw a rectangle in the preview window by clicking to form four corners of the detection region and right clicking to complete...

Страница 30: ...y cross a set virtual line The direction they cross the line can also be specified The Virtual Cordon Detection screen is located under Channel Setting Smart Detection Virtual Cordon Select the Channe...

Страница 31: ...many local alarm input settings are configured Alarm Output Number Shows the number of local alarm outputs on the device Language Select Shows the language set for the device Resolution Shows the outp...

Страница 32: ...on information of the NVR is stored in log files and can be viewed at any time by going to the screen under Maintenance Log Information Set search conditions to refine your search by Main Type Sub Typ...

Страница 33: ...ort a configuration file select the file from the selected backup device After the import process is completed you must reboot the NVR 11 5 System Upgrade The firmware on your NVR can be upgraded from...

Страница 34: ...mera to a recording group select the recording group and the channel and click 12 2 Disk Grouping Multiple HDDs can be managed as groups Video from specified channels can be recorded onto a particular...

Страница 35: ...t Customer Support 24 7 Videos Pro Series App Remotely view all your devices from your smartphone or tablet Playback video Capture images Receive support directly from your device FREE Uniden Pro Wire...

Отзывы: