28
29
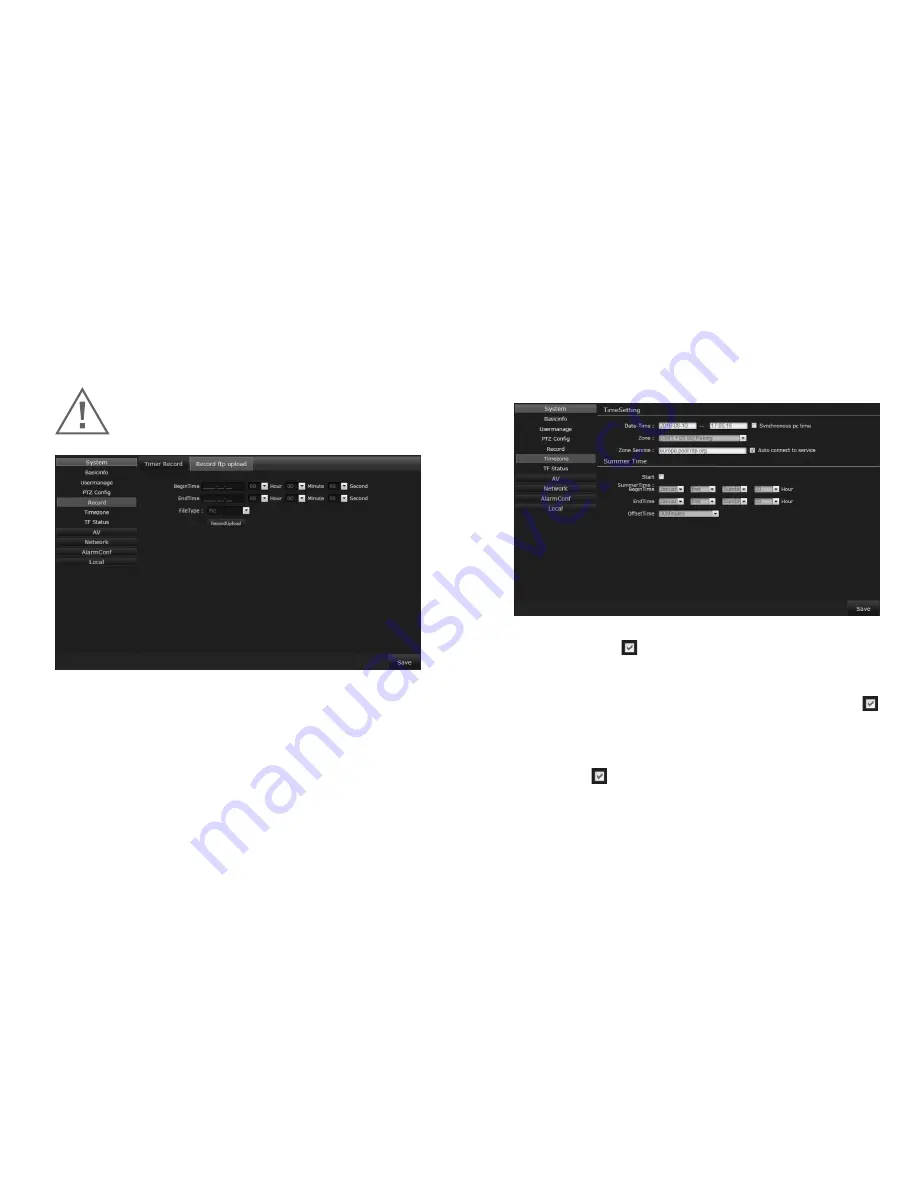
2) Record FTP Upload:
Click
Setting
→
System
→
Record
→
Record
to view the IP Camera
Record FTP Upload
screen.
3.5.1.5 Time Zone:
Click
Setting
→
System
→
Timezone
→
TimeSetting/Summer Time
to view the
Time Setting
and
Summer Time
screen.
Time Setting:
•
Date-Time:
Click in front of
Synchronous PC Time
to make
the IP Camera’s time match your PC’s time.
•
Zone:
Select the corresponding time zone from the drop-down
menu.
•
Zone Service:
Select the appropriate zone service and click
in front of
Auto Connect to Service
to set the IP Camera’s time
zone sync with the PC.
Summer Time Setting:
•
Start:
Click to begin the Summer Time setting.
•
Begin Time:
Set a start time to begin Summer Time.
•
End Time:
Set an end time to end Summer Time.
•
Begin Time:
Set the start time of the video recording.
•
End Time:
Set the end time of the video recording.
•
File Type:
Choose the upload file type (Note: You will first
need to enable FTP upload under
Alarm Conf
→
IO Alarm
→
FTP Upload
and set the FTP settings under
Network
→
Netport
→
FTP Setting
.
For more details please refer to the corresponding
instructions.)
• Once finished, click
Save
.
Warning:
Do not turn the power off while the video
backup is in progress.


