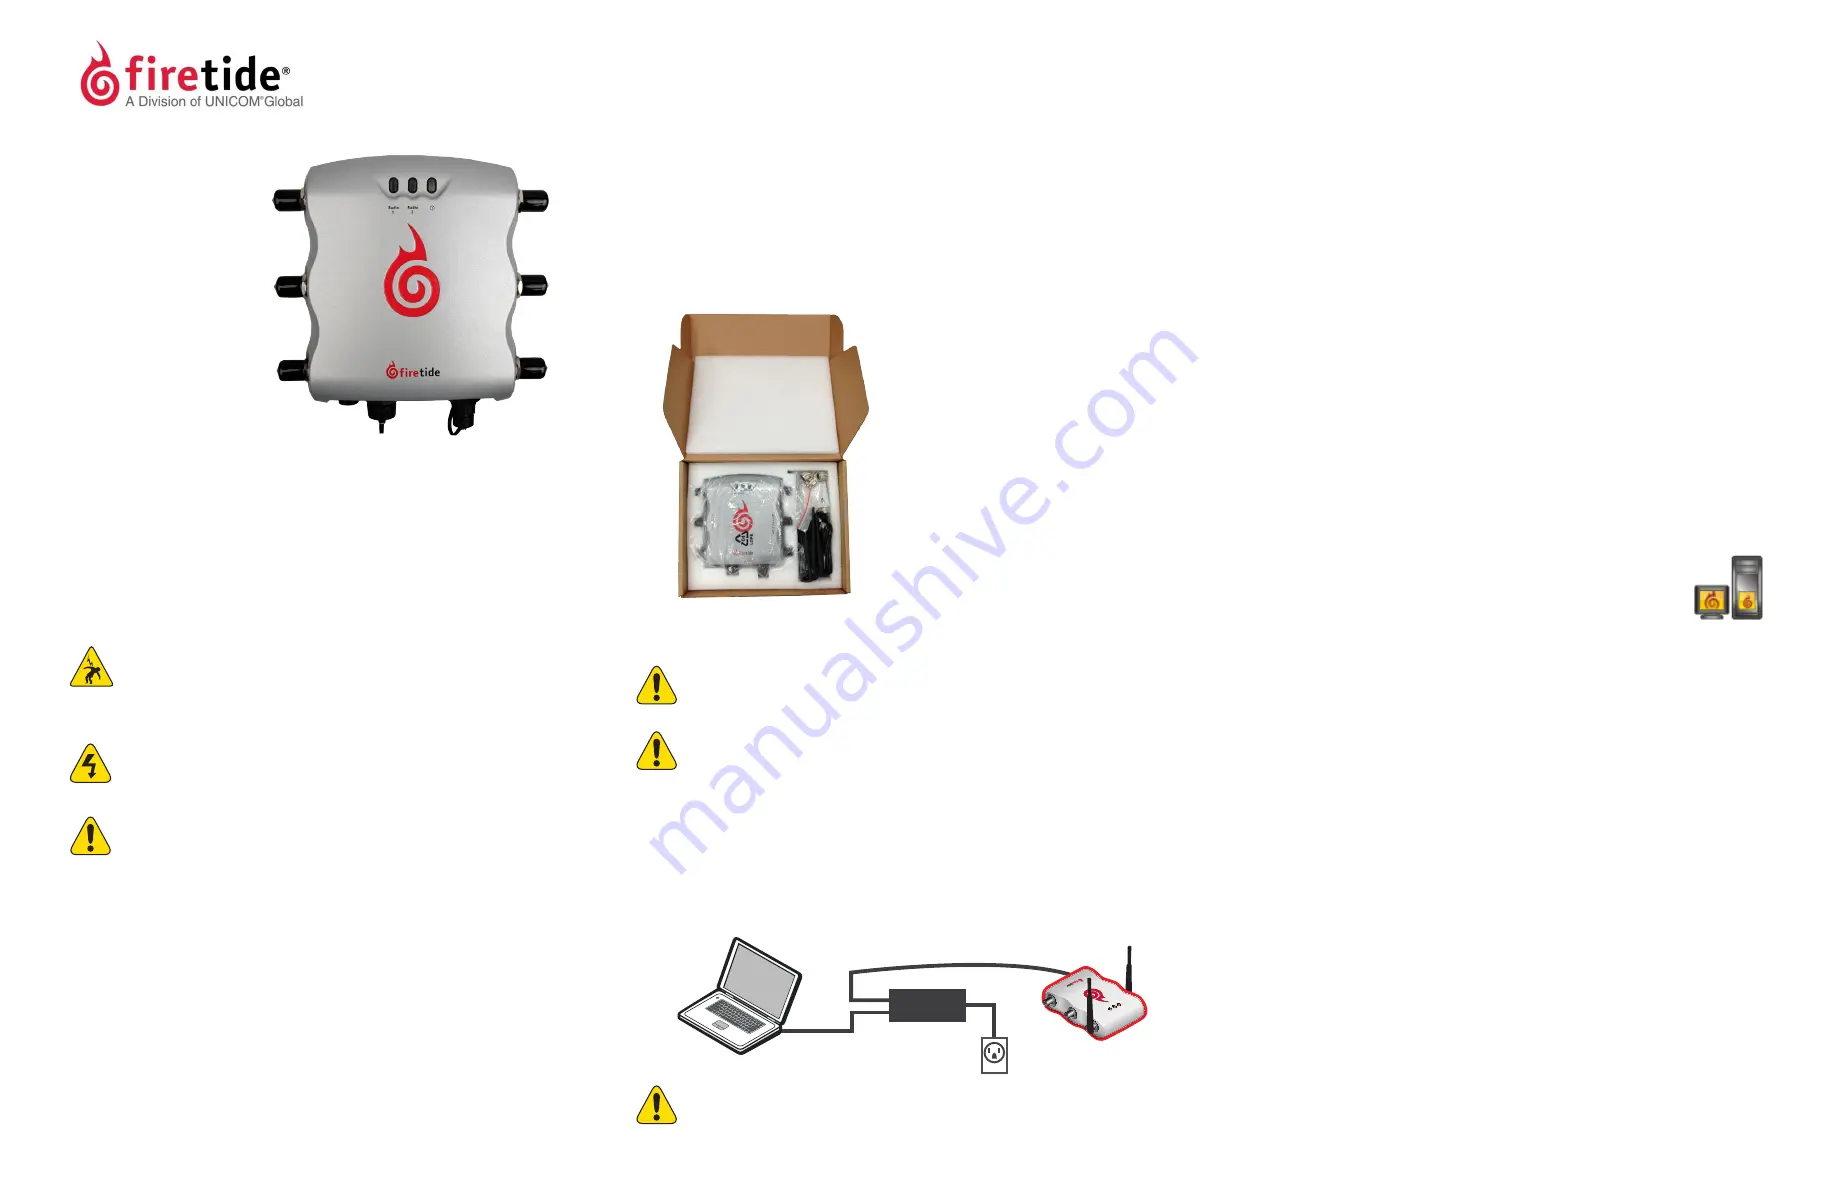
HotPort® 5020-M mesh node
Items to purchase
You need to purchase and install
50 Ohm terminators (Firetide P/N 7020-1002)
on unused antenna connectors.
If you do not already have one, you need to
purchase a HotView Pro™ management license
and install it on the HotView Pro server.
Required tools
• Administrator computer
• #2 Phillips screwdriver
• Small adjustable wrench
• Wire cutters to cut tie wraps on cables
• Weatherproofing kit with electrical
tape and butyl mastic or silicon tape
• Plastic tie wraps (optional)
• Ladder
3
Log into the mesh node with a computer.
You need to connect your computer directly to the mesh node. To do this, you have to
change the TCP/IP4 address of the computer to be an address on the 192.168.224.xxx
subnet. 192.168.224.150 is the default IP address of nodes.
1. From the computer connected to the node, do one of the following:
• Windows 7 users: go to
Start,
and then enter
View Network
Connections
in the search box. Right-click on
Local Area Connection >
Properties
. From the Networking tab, select
TCP/IP4
,
and then click
Properties
.
• Windows XP users: go to
Start > Connect To > Show all connections
> right-
click
Local Area Connection
and select
Properties
. Select
Internet Protocol
,
and then click
Properties
.
• Windows 8 users: go to
Network and Internet > Network Connections >
right-
click
Wired Ethernet Connection > Properties >
Select
Internet Protocol
Version 4
, and then click
Properties
.
2. Enter an IP address for your computer of the format 192.168.224.
xxx
(where
xxx
is
an address on the same subnet as the node), and then click
Apply
. Do not use
192.168.224.150.
3. From a command prompt window, start a continuous ping to verify connectivity.
ping 192.168.224.150 -t
4
Log into the HotView Pro server.
1. Start the HotView Pro Launcher.
2. Single-click to start the Quick Launch feature of HotView Pro, which
starts the server and client software at the same time.
3. When prompted, enter:
• User Name: hv_admin
• Password: firetide
4. Click
Log In
.
5
Load the mesh node into HotView Pro.
1. Go to
Mesh > Add Mesh >
login with the default information:
• Mesh IP address: 192.168.224.150
• User name: admin
• Password: firetide
2. Click
Log In
. The node will appear in the HotView Pro interface within a minute.
6
Configure the mesh node.
After you log into the node:
Apply a saved configuration file compatible with your network settings
—OR—
Set the country code and manually configure the wireless settings
Best practice:
Copy a configuration file from a HotPort 7000 series mesh node already
in your network. You can use a Network Gateway Interface (NGI) or Gateway Server
(GWS) but those settings do not copy to HotPort 5020-M mesh nodes.
Applying a saved configuration
1. Right-click the HotPort 5020-M mesh node.
2. Select
Apply Mesh Configuration
.
1
Unpack the mesh node and accessories.
2
Connect to the mesh node.
Caution!
Do not use port 2 or port 3 of a DC HotPort 7020 mesh node to
power a HotPort 5020 node. A HotPort 5020 node needs PoE+ or 802.3at,
and the ports of a HotPort 7020 mesh node are PoE 802.3af-compliant only.
Caution!
You cannot use a HotPort 7020 power source (12V) to power to a
HotPort 5020-M mesh node, which requires 15V.
HotPort 5020-M mesh node connections:
• Attach the 5dBi omni-directional staging antennas to these connectors:
• Radio 1/Antenna connector 1
• Radio 2/ Antenna connector 1
• Attach the Ethernet cable from the computer to the mesh node
• Attach the HotPort 5020-M mesh node to the PoE+ injector
• Attach the PoE+ injector and AC cable to power
Caution!
You must use the power cable that comes with the node. If you use
a different power cable, you void the product warranty.
Safety Information
Firetide
®
equipment must be installed by qualified personnel.
Follow safe work practices and use approved non-conducting ladders,
shoes, and other safety equipment. Make sure all equipment is in good
condition. For more information about safety refer to the Firetide website.
Warning!
Failure to comply with instructions marked with this symbol
might expose you to non-insulated dangerous voltage that might be
of sufficient magnitude to cause the risk of lethal electric shock to
persons.
Warning!
Failure to comply with instructions marked with this symbol
might result in severe personal injury including electrical shock or
permanent damage to equipment.
Caution!
Failure to comply with instructions marked with this symbol
might result in data loss or minor injuries.
Documentation
This information is subject to change without notice.
For the current version, visit Firetide Partner portal.
Customer support
Contact your Firetide reseller or visit: http://firetide.com/support/
PoE+
IN
OUT
Box contents
• One HotPort 5020-M mesh node
• Two 5 dBi omni-directional antennas
• Two RP-SMA to type-N adapters
• One PoE+ injector
• One AC power cable (USA type)
• One DC power connector (field
installable)
• One weatherized Ethernet RJ-45
connector (field installable)
• One Ethernet cable (shielded Cat5e)
• Mount kit
• Quick start sheet
• Warranty card


