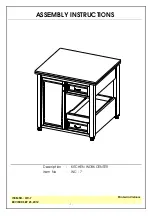
ITEM NO.: WC-7
REVISED SEP 25, 2012
Printed in Vietnam
- 5 -
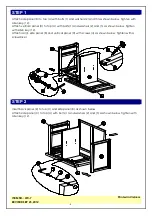
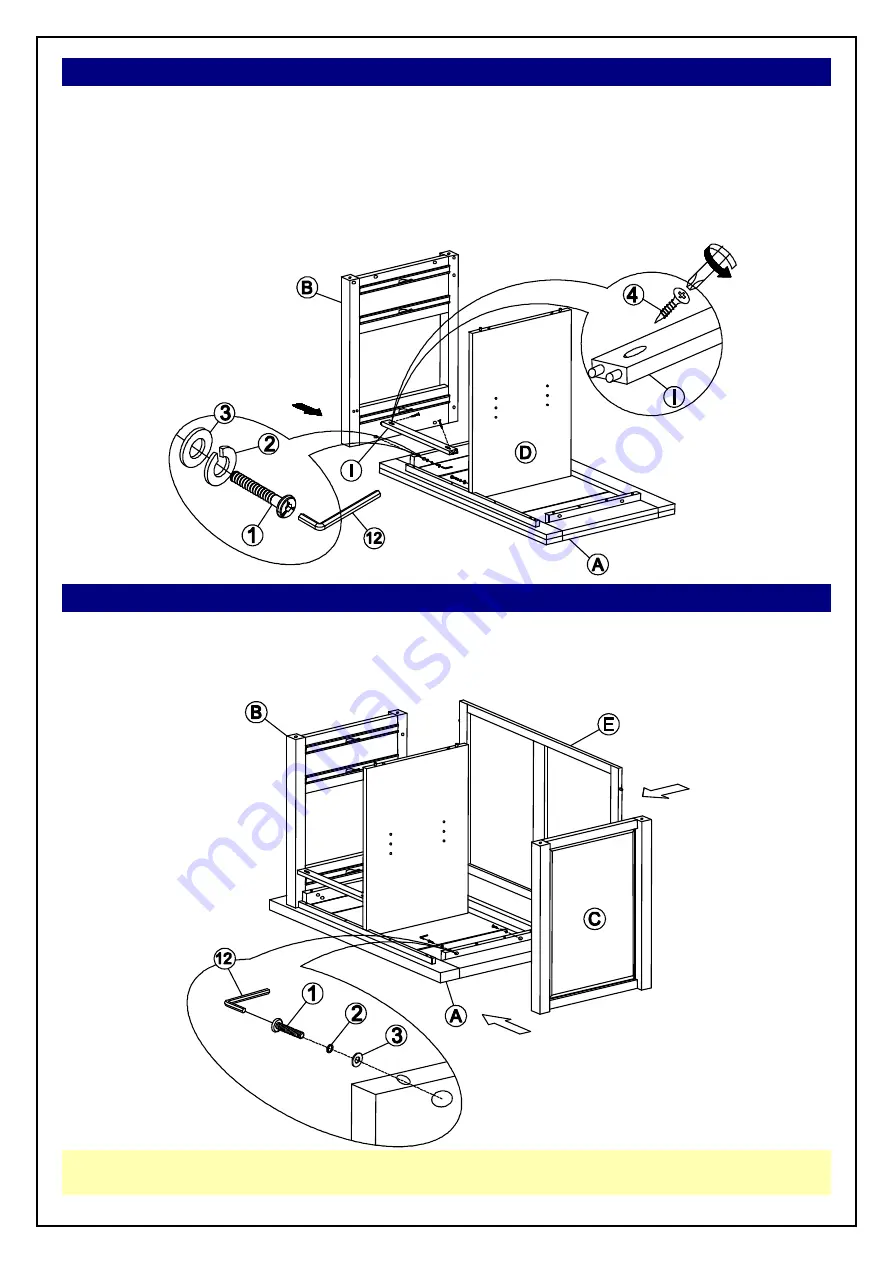
STEP 1
Attach side panel (B) to top (A) with bolts (1) and washers (2) and (3) as shown below. Tighten with
Allen key (12).
Attach vertical panel (D) to top (A) with bolts (1) and washers (2) and (3) as shown below. Tighten
with Allen key (12).
Attach rail (I), side panel (B) and vertical panel (D) with screws (4) as shown below. Tighten with a
screwdriver.
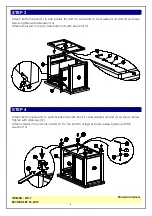
STEP 2
Insert back panel (E) to top (A) and side panel (B) as shown below.
Attach side panel (C) to top (A) with bolts (1) and washers (2) and (3) as shown below. Tighten with
Allen key (12).


