background image

ITEM NO.: BD-2038 
REVISED OCT 09, 2018 

Printed in Vietnam 


 - 7 - 


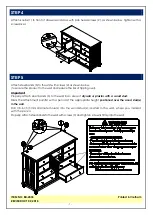
STEP 4


Attach knobs (1) to front of drawers and door with pan head screws (2), as shown below. Tighten with a 
screwdriver. 


STEP 5


Attach steel bands (6) to the unit with screws (4) as shown below.             
(to secure the product to the wall and reduce the risk of tipping over).                 

Important! 


Properly attach steel bands (6) to the wall in an area of 

drywall or plaster with a wood stud: 


Mark the attachment point(s) with a pencil at the appropriate height 

positioned over the wood stud(s) 

in the wall

.


Drill 1/8-inch (3mm) diameter hole(s) into the wood stud(s) located in the wall, w here you marked 
with the pencil.               
Properly attach steel bands to the wall with screws (3) and tighten screw(s) firmly into the wall.         


Содержание BD-2038

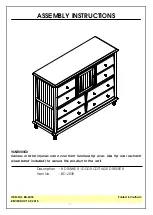
Страница 1: ...d in Vietnam 1 ASSEMBLY INSTRUCTIONS WARNING Serious or fatal injuries can occur from furniture tip over Use tip over restraint steel band included to secure this product to the wall Description Item...

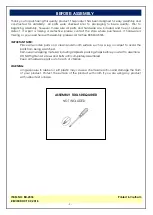
Страница 2: ...d help with assembly please call toll free 888 944 8396 IMPORTANT NOTE Place all wooden parts on a clean and smooth surface such as a rug or carpet to avoid the parts from being scratched Remove all w...

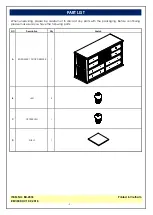
Страница 3: ...Vietnam 3 PART LIST When unpacking please be careful not to discard any parts with the packaging Before continuing please make sure you have the following parts NO Description Qty Sketch A 8 DRAWER 1...

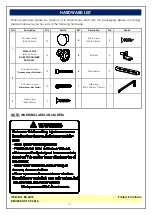
Страница 4: ...u have all of the following hardware NO Description Qty Sketch NO Description Qty Sketch 1 Wooden knob 35 x 35mm 13 4 Short screw M3 5 x 15mm 8 METAL KNOB 32 x 28mm GOES WITH FINISHED ITEM ONLY 13 5 B...

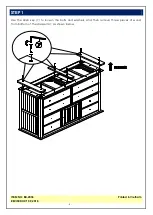
Страница 5: ...ITEM NO BD 2038 REVISED OCT 09 2018 Printed in Vietnam 5 STEP 1 Use the Allen key 7 to loosen the bolts and washers and then remove three pieces of wood from bottom of the dresser A as shown below...

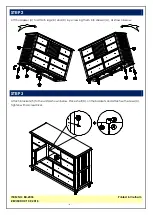
Страница 6: ...in Vietnam 6 STEP 2 Lift the dresser A to attach legs B and C by screwing them into dresser A as shown below STEP 3 Attach brackets 5 to the unit as shown below Place shelf D on the brackets and atta...

Страница 7: ...o the wall and reduce the risk of tipping over Important Properly attach steel bands 6 to the wall in an area of drywall or plaster with a wood stud Mark the attachment point s with a pencil at the ap...

Отзывы: