19
18
17
16
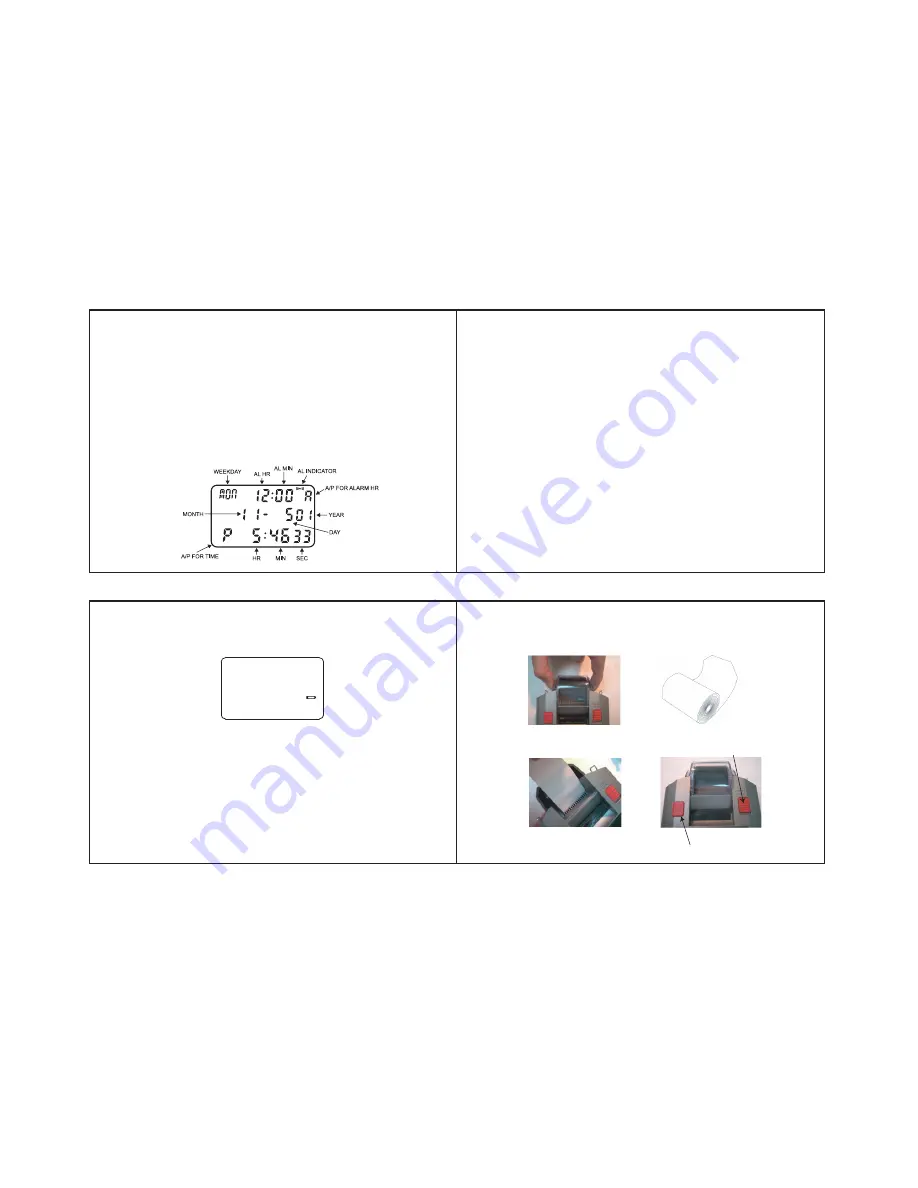
Fig. 24
Pressing B at the
UPLOAD ALL
mode will go to the
UPLOAD RACE
mode with
display as shown in Fig.23.
Pressing A in this mode will only upload the memories in this race. Press B to
select particular race to upload. Pressing C any time during this uploading
process will stop uploading immediately.
** If the chronograph is not reset (i.e. still running or stopped)
, it will not be
possible to upload and the display will show
UPLOAD 0
, there will not be any
action upon pressing A or B.
** If the printer is wrongly turned on during the UPLOAD process, NO or
irrelevant data will be uploaded to the PC.
TIME
Press C to go to the
TIME
mode. The display is as shown in Fig.24.
Press and hold B button for 2 seconds will go into the
TIME SET
mode with the
AL HOUR
blinking. Press A to set the
AL HOUR
. Press B to select digits in the
following sequence:
AL HR
,
AL MIN
first digit,
AL MIN
2nd digit,
AL OFF/ON
,
YEAR
last digit,
YEAR
1st digit,
MONTH
,
DATE
,
12/24HR
selection,
HOUR
,
MIN
1st digit,
MIN
2nd digit and
SECONDS
. Press A to set the blinking digits.
Pressing C any time during this setting sequence will complete the setting
procedure and return to the normal
TIME
display as shown in Fig.24.
If
12HR
option is selected the calendar will be shown as
MONTH/DATE/YEAR
and time will be displayed in
12 HOUR
system. If
24HR
option is selected, the
calendar will be displayed as
DATE/MONTH/YEAR
and time will be displayed in
24 HOUR
system.
The calendar automatically adjusts for weekday and odd and even months
including February of leap years up to year 2089.
Press D in the
TIME
mode to arm or disarm the alarm. When the alarm is armed
the alarm indicator will be turned on and the alarm will sound at the preset alarm
time.
6. Press the ‘ PAPER FEED SWITCH ’(Fig. 29) until the end of paper is about
1 cm out from the paper cutter.
7. Replace the paper cover to its original position.
Fig. 25
BATTERY LOW INDICATION
When the battery low indicator lights up, as shown in Fig. 25, battery
replacement is necessary.
**: Only replace the CR2032 with the 4 pieces AA size alkaline batteries
installed. This can retain the stopwatch’s memories and settings.
LOADING OF PAPER
1. Use thermal paper roll size: Width 37mm x Diameter 30mm max.
2. Pull out the paper cover by pressing both side of the cover slightly,
as shown in Fig. 26.
3. To ensure smooth insertion, cut the corner of the thermal paper as
shown in Fig 27.
4. Switch on the printer by sliding up the ‘ PRINT ON / OFF ’ switch.
5. Insert the end portion of the paper into the paper insertion slot,
as shown in Fig. 28.
Fig. 26
Fig. 27
Fig. 28
Fig. 29
Printer ON/OFF switch
Paper Feed switch


