background image

8

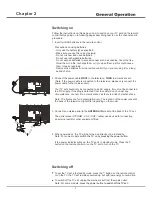
CHANNEL

CHANNEL

Auto Tuning

ATV Manual Tuning

Programme Edit

Move

Enter

Enter

Exit

Menu

1

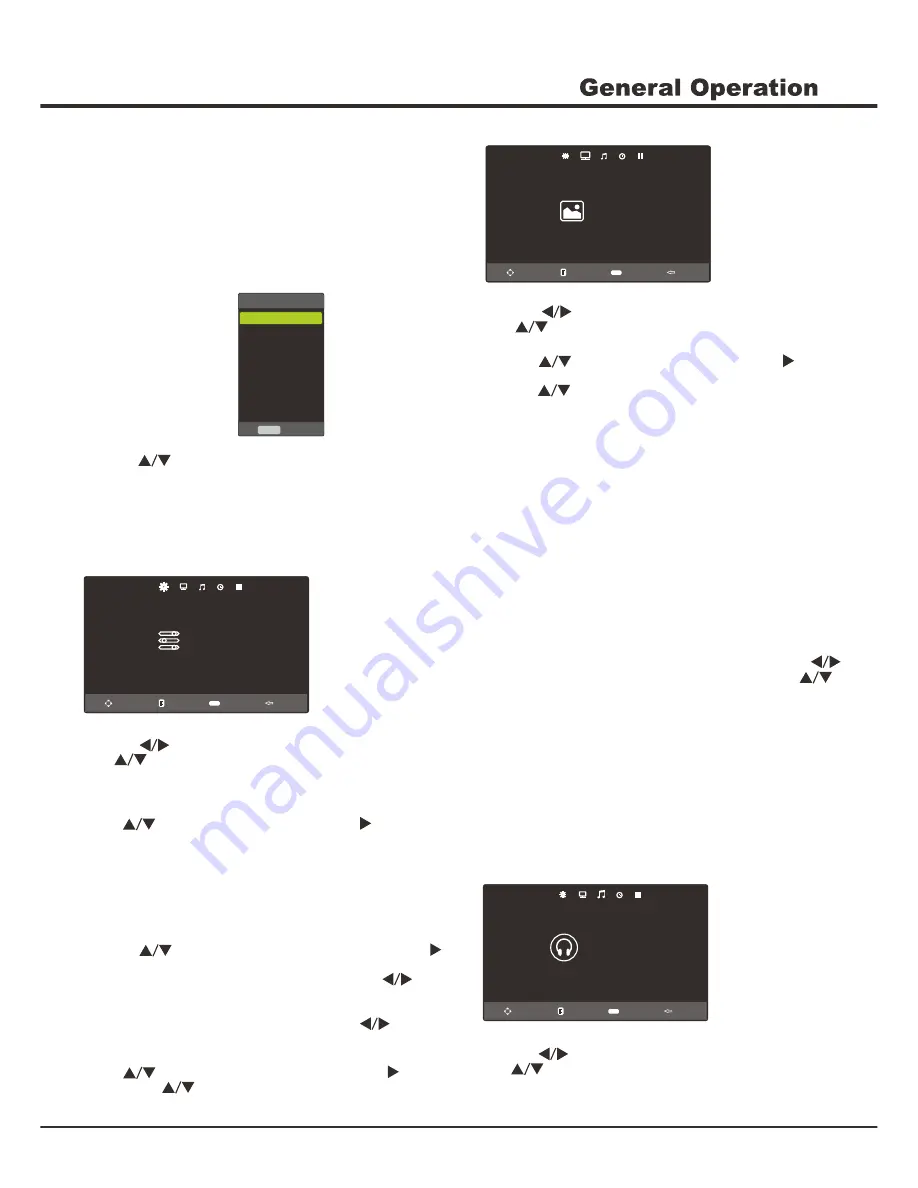
Press MENU on the remote control under TV source.

2

Press          to select CHANNEL, then press OK

    or


      to enter the submenu.

Auto Tuning

Press          to select Auto Tuning, press OK/    to start to 
channel scan automatically.

Note: Depending on the number of channels you receive,
it may take several minutes for the channel search to
finish. If you want to interrupt the process, press MENU
to exit.

ATV Manual Tuning

1. Press           to select ATV Manual Tuning, press OK/    
    to enter. 
2. Select the Current Channel option and press
    to select a channel number to store the channel that
    will be found.
3. Select the Search option and press OK or         to search.

Programme Edit

Press          to select Programme Edit, press OK/     to 
enter, press           to select the desired channel.
Allows you to delete, rename, move and skip channels.

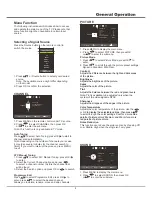
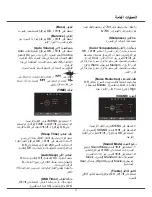
PICTURE

Picture Mode

Color Temperature
Noise Reduction

Contrast
Brightness
Color 
Tint
Sharpness

Move

Enter

Enter

Exit

Menu

Standard

Medium

Middle

50
50
50
50
50

PICTURE

1

Press MENU to


display


the


main


menu

.

2

Press          to select PICTURE, then press OK

    or


      to enter the submenu.

Picture Mode

1. Press          to select Picture Mode, press OK/    to
    enter.
2. Press          to scroll through the picture preset settings:
    Dynamic, Standard, Mild, User. 

Contrast

Adjusts the difference between the light and dark areas
of the picture.

Note: Tint is available to be adjusted only when the 
system of the video signal is NTSC.

to display the selectable options, then press          

to scroll 

the color settings: Cool for a more blue

palette of picture colors; Medium; and Warm for a more
red palette of picture colors

Color Temperature

Adjusts the color temperature of the picture. Use the
or OK 

through 

.

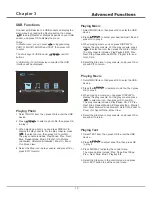
Selecting a Signal Source 

Press the Source button on the remote control to 
switch the source. 

Input Source

TV

AV

YPbPr

HDMI 1

PC

Media 1

Enter

Enter

HDMI 2

Media 2

1. Press           or Source button to select your desired 
    source.


Note: The available source might differ depending 

    on the model

2. Press OK to confirm the selection.

Menu Function

The following instructions will introduce how to access

and operate the main menu of the TV. Please note that
some function might be unavailable in certain input
source.

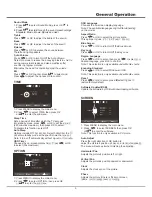
SOUND

SOUND

Sound Mode

Auto Volume

EQ

Treble

Bass

Balance

Move

Enter

Enter

Exit

Menu

Standard

On

50

50

0

1

Press MENU to


display


the


main


menu

.

2

Press          to select SOUND, then press OK

    or


      to enter the submenu.

Note: This function is only available in TV mode. 

Adjusts the brightness of the picture.

Brightness

Color

Adjusts the color of the picture.

Tint

Adjusts the balance between the red and green levels.

Sharpness

Adjusts the crispness of the edges in the picture.

This function can reduce the picture noise by choosing Off, 
Low, Middle, High when the single isn’t very good.

Noise Reduction

Содержание UG55LED

Страница 1: ...OPERATION MANUAL...

Страница 2: ...nd Plug Power Cord and Signal Cable Use Environment Cleaning Hanging the TV Set on the Wall Buttons on the TV Sockets Remote Control Functions Switching off Menu Function Selecting a Signal Source CHA...

Страница 3: ...Where the mains plug or an appliance coupler is used as disconnect device the disconnect device shall remain readily operable Where an all pole mains switch is used as the disconnect device the switch...

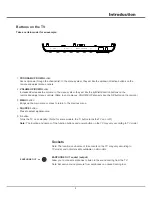
Страница 4: ...ke the right left direction buttons on the remote and adjust menu controls Note In some menus VOLUME UP also acts like the OK button on the remote 1 PROGRAM UP DOWN button Scans up down through the ch...

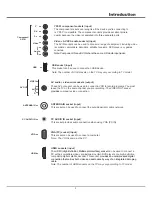
Страница 5: ...Multimedia Interface socket rovides an uncompressed digital connection that carries both video and audio data by way of an integrated mini plug cable PC AUDIO IN socket input This socket provides aud...

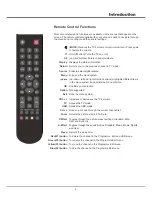
Страница 6: ...Confirms your selection MUTE Reduces the TV s volume to its minimum level Press again to restore the volume USB Access the USB mode Menu Brings up the menu system VOL Increases or decreases the TV s...

Страница 7: ...urned on directly or be in standby Note For some models s If the power indicator lights up the TV set is in standby mode Press the button on the remote control or on the TV set to turn on the TV witch...

Страница 8: ...ifference between the light and dark areas of the picture Note Tint is available to be adjusted only when the system of the video signal is NTSC to display the selectable options then press to scroll...

Страница 9: ...he available languages might differ depending on the model Aspect Ratio Press or OK to select the picture scale This options Include 4 3 16 9 Zoom1 Zoom2 Blue Screen Press or OK to turn On Off the Blu...

Страница 10: ...ress DISPLAY to display the play console For the play console press to select an icon then press OK to confirm The play console includes Play Pause Prev Next Stop Repeat Mode Music Playlist Info Rotat...

Страница 11: ...n when the system is reading or transmitting data avoid damaging the system or the device 3 Pay attention to the power supply of the device when you are using a mobile hard disk or a digital camera If...

Страница 12: ...solution set by the PC Suggest to change to the best resolution or other standard resolutions of the Windows system Snowy dots and interference If the antenna is located in the fringe area of a televi...

Страница 13: ......

Страница 14: ...3 3 4 4 6 7 7 8 11 3 785 6281 7 0 237 21 6 5 1 USB 11 12 13 13 2...

Страница 15: ...3 z z z z z z z z z z z z z z z z z z z z z z z z z...

Страница 16: ...Earphone Out 1 2 OK 3 MENU 4 SOURCE 5 SOURCE MENU VOL PRO...

Страница 17: ...AV RCA 9 1 9 YPbPr 3E 3U VIDEO R L AV OUT AV 9 9 5 9 2 287 VGA VGA 9 3 PC AUDIO IN PC AUDIO IN 9 ANTENNA IN ANTENNA IN 5 HDMI HDMI 0 9 0 Y Pb Pr Video Component AV IN L R...

Страница 18: ......

Страница 19: ...7 ANTENNA IN 9 8 z z...

Страница 20: ...ning f e XWR 7XQLQJ 2 f 0 18 ATV Manual Tuning d c 79 0DQXDO 7XQLQJ 2 f XUUHQW KDQQHO f e 6HDUFK 2 f e Program Edit d c 2 f d c PICTURE PICTURE Picture Mode Color Temperature Noise Reduction Contrast...

Страница 21: ...1 2 d c Sound Mode d c 6RXQG 0RGH 2 f d c 6WDQGDUG 0XVLF 0RYLH 6SRUWV 8VHU Treble f e 2 Bass f e 2 Balance f e 2 Auto Volume f e 2 XWR 9ROXPH 2Q TIME TIME Sleep Timer Auto Sleep OSD Timer Move Enter E...

Страница 22: ...OSD Language Aspect Ratio f e 2 RRP RRP Blue Screen f e 2 OXH 6FUHHQ Key Lock f e 2 H RFN Region Language 2 2 0HGLD Encoding Standard f e 2 LQGRZV 62 0HGLD Reset f e 2 e HV USB Software Updated USB 86...

Страница 23: ...86 6RXUFH d c 0HGLD 0HGLD 86 2 0HGLD f e 3 272 086 029 7 7 2 86 f e d c 2 86 86 86 3 272 2 86 f e d c 2 63 f e 2 2 7 086 2 86 f e d c 2 63 f e 2 2 7 029 2 86 f e d c 2 63 f e 2 2 LW 7 7 2 86 f e d c...

Страница 24: ...12 3 3 03 03 03 03 7 7 86 86 8 6 03 86 86 03...

Страница 25: ...13 VOL VGA...

Отзывы: