background image

www.uctronics.com


12 


A.


Getting started 


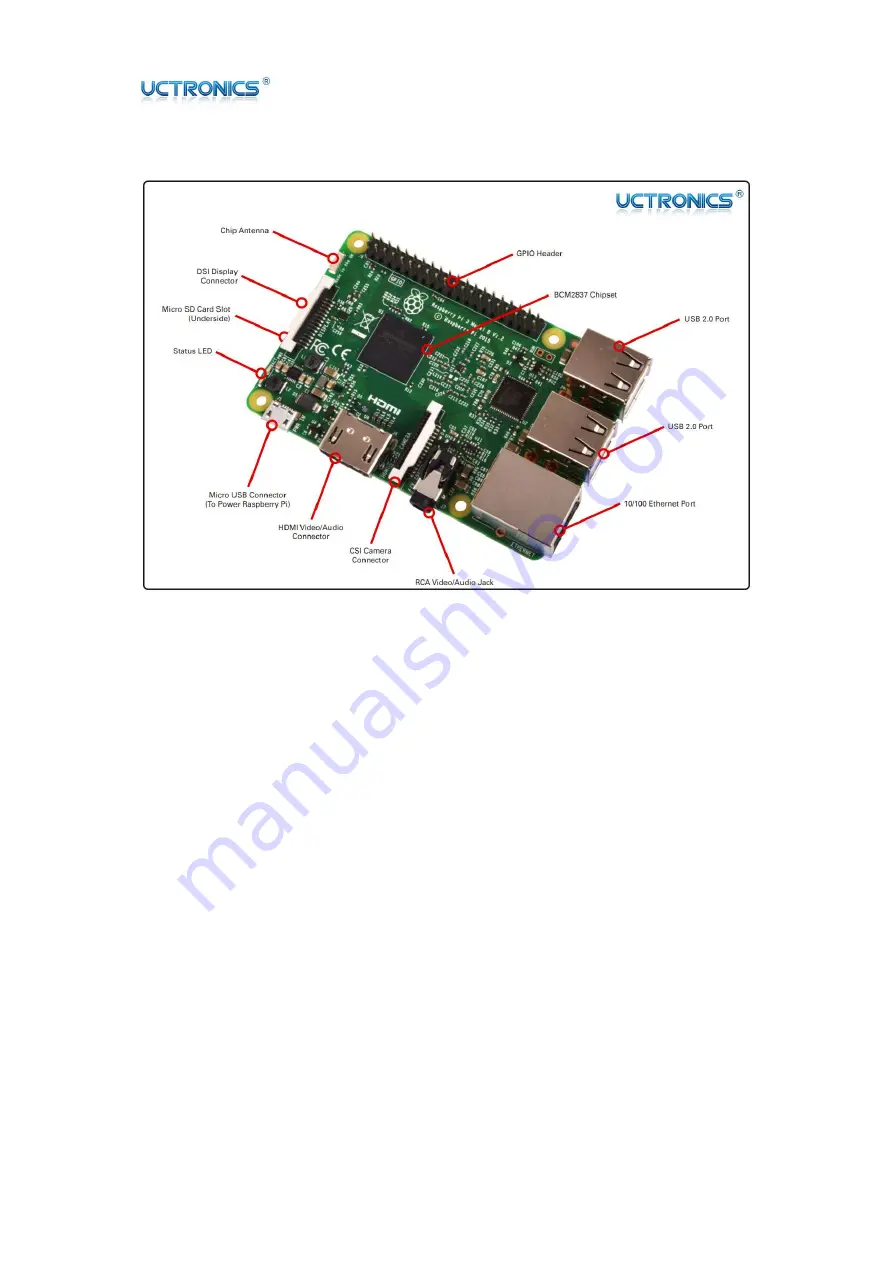
1. If you have a case, start by installing the Raspberry pi inside the case. 

2. Insert a pre-programmed MicroSD card into the MicroSD card slot on the bottom side 

of the Raspberry Pi. 

3. Connect a USB keyboard and mouse to the USB ports. 

4. Connect a HDMI monitor or TV to the Raspberry Pi using a HDMI cable. Ensure your 

monitor or TV is turned on and that you have selected the correct input. 

5. Once all connections have been made, it is now time to connect the MicroUSB Power 

Supply to the board. When the power is connected, the Raspberry Pi will start to boot.   


Содержание K0058

Страница 1: ...Raspberry Pi Game Quick Start Guide Rev 1 0 Mar 2017...

Страница 2: ...Pre Loaded with the dual system 3 B USB MicroSD Card Reader 4 C Power Supply Adapter Charger 5V 2 5A US 5 D USB cable with ON OFF switch 6 E ABS Protective Case Enclosure 7 F Premium High Speed HDMI...

Страница 3: ...o get in on the RPi craze check out the Raspberry Pi 3 Starter Kit UCTRONICS team has carefully done the compatibility test for all components and offer the plug and play dual boot operation system li...

Страница 4: ...SD card pre loaded with the dual system Raspbian and Recalbox Specification Capacity 32GB Speed Class 10 Weight approx 0 2g Simply plug this SD card into your Raspberry Pi Fully tested to work with t...

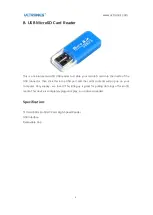
Страница 5: ...e USB connector then stick this into a USB port and the card s contents will pop up on your computer Very sneaky we love it This little guy is great for pulling data logs off microSD media This device...

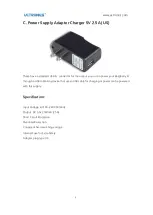
Страница 6: ...your Raspberry Pi through a USB cable Any device that uses a USB cable for charging or power can be powered with this supply Specification Input Voltage AC100 240V 50 60Hz Output DC 5 0v 2500mA 2 5A...

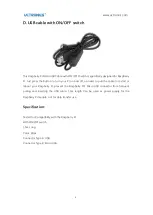
Страница 7: ...ed to pull the cable to restart or reboot your Raspberry Pi prevent the Raspberry Pi s Micro USB connector from frequent pulling and inserting the USB cable 1 5m length Can be used as power supply for...

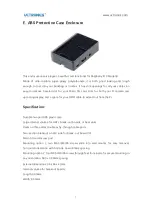
Страница 8: ...ble to extend out from the Pi Specification Durable two part ABS plastic case Large internal volume for HATs break out boards or heat sinks Vents on three sides double as fly through cable ports Two s...

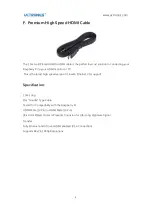
Страница 9: ...or TV This is the latest high speed version V1 4 with Ethernet 3D support Specification 1 5m Long Flat Noodle Type Cable Tested for Compatibility with the Raspberry Pi HDMI Male 19 Pin to HDMI Male 1...

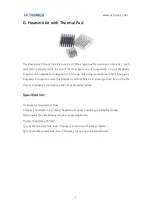
Страница 10: ...C s Keep your Raspberry Pi super cool with this Raspberry Pi Heat Sink Kit in stunning silver Extend the life of your Raspberry Pi and reduce the risk of hardware failure Specification 3 x Silver Alum...

Страница 11: ...eplica of the Super Nintendo Famicom unit produced in the early 90 s The SNES USB controller with eight way steering wheel and four digital buttons allows you to enjoy the look and feel of your favori...

Страница 12: ...www uctronics com 11 3 Installation diagram Figure1 Figure2...

Страница 13: ...de of the Raspberry Pi 3 Connect a USB keyboard and mouse to the USB ports 4 Connect a HDMI monitor or TV to the Raspberry Pi using a HDMI cable Ensure your monitor or TV is turned on and that you hav...

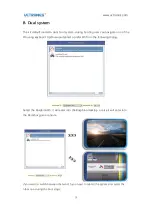
Страница 14: ...f the OS using keyboard Up Down and select a prefer OS from the following dialog Select the Raspbian OS it will enter into the Raspbian desktop or else it will enter into the Recalbox game console If...

Страница 15: ...top overview recalbox game console over view NOTE Our gamepad has been configured in the system See the following diagrams for reference For more information about how to use recalbox please refer to...

Отзывы: