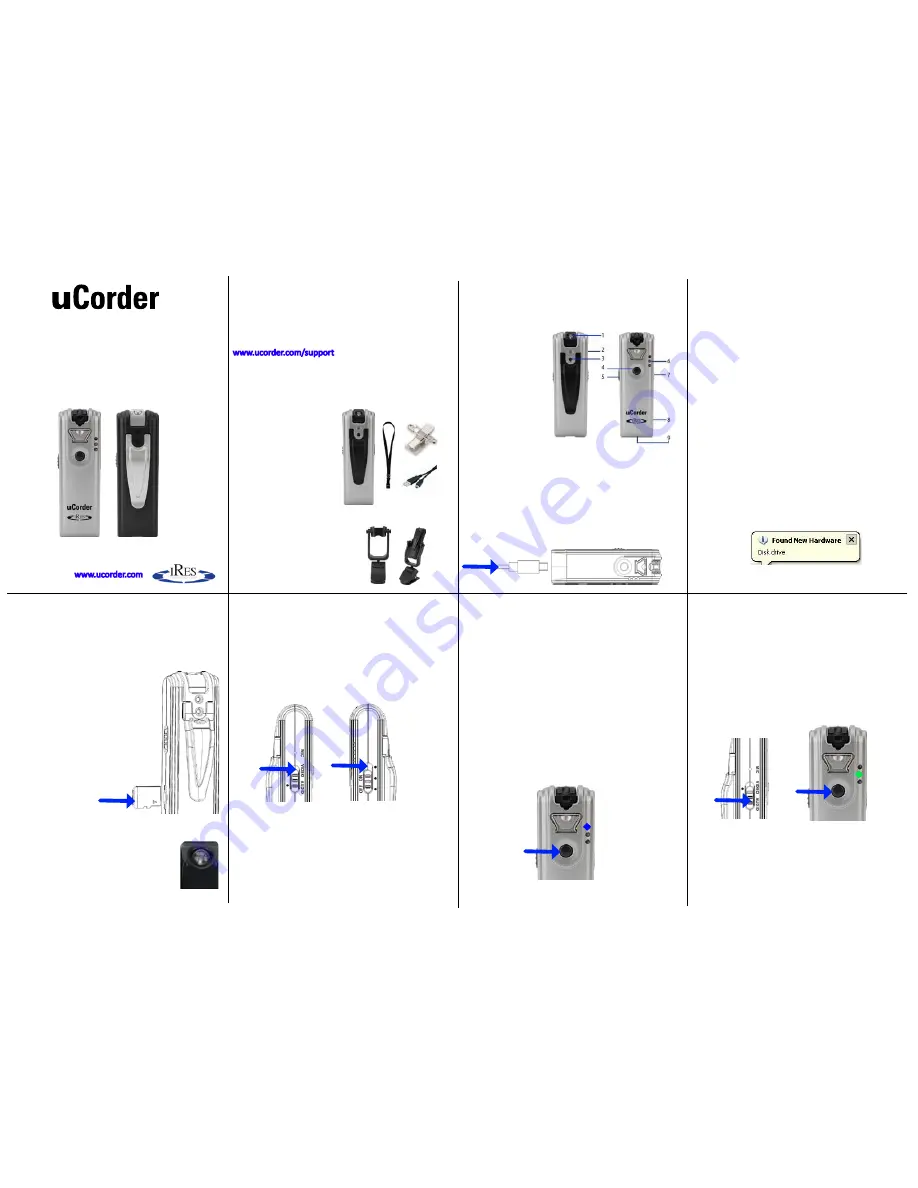
INTRODUCTION
Thanks for purchasing the uCorder from IRES Technology.
Before using the uCorder to record aspects of your life,
please review the instructions in this Guide plus the
additional information found in the online references at
1) CONTENTS
The IRDC150 package includes the following:
• uCorder
• Neck Strap
• Clothing Clip
• USB cable
• 1 GB Internal memory
• Quick Start Guide
• Warranty Card
The IRDC250 also features Webcam functionality and
includes:
• 2 GB Internal memory
• PC Webcam mounting bracket
2) CONTROLS - OVERVIEW
1) Mini LED Flashlight
2) Microphone
3) CMOS camera lens
4) Record/Stop button
5) Mode selector
(Video/Audio)
6) LED indicators
Blue LED (Video)
Green LED (Audio)
Red LED (Power)
7) ON/OFF switch
(plus flashlight)
8) Memory Card slot*
9) USB Connection
* Micro SD memory card is optional and not included.
3) BATTERY CHARGING
Before using the uCorder, you must first charge its built-
in lithium battery directly from a running computer via
mini USB cable.
Complete charging time takes 3-4 hours.
Follow these steps for Computer Connection:
1) Use the mini USB cable to connect the uCorder to a
computer. Insert the small end of the mini USB cable into
the socket at the bottom of the unit, the large end at the
computer’s USB input.
2) The Red light on the uCorder will flash while the unit
is charging. It will stop flashing and remain ON once the
battery power is fully charged.
Note: it is not possible to record while USB is connected.
4) INSTALLATION
The uCorder does not require any proprietary software
interface. Your operating system will read the Flash / SD
memory just like it would a USB Memory drive.
Depending on your operating system, Driver installation
messages may appear as the new USB Device hardware
is detected.
Click “Continue” if prompted.
7) PREPARE TO RECORD VIDEO
With a charged uCorder, you’re almost ready to record.
Follow these steps to prepare for Video recording:
1. Set the Video/Audio switch to Video.
2. Set the ON/OFF switch to ON.
After switching the Power to ON, the unit is in Standby
mode.
The Red LED will appear ON for a couple seconds to
indicate power-up and the Blue LED illuminates to
indicate that Video mode is ready. If the Red LED
continues blinking, the uCorder requires further
charging.
8) OPERATION - RECORD VIDEO
You can now attach the uCorder to your clothing and
enjoy hands-free video & audio recording.
Follow these steps:
1) While the system is in Video standby mode (with the
Blue LED appearing ON), press the Record button as
shown below.
2) The Blue LED will flash slowly while Recoding.
3) Press the Record button again to Stop recording.
4) The Blue LED will flash quickly, indicating that the
video file is being saved to memory. It will then return to
standby mode.
Congratulations, you have successfully recorded an AVI
video file. Remember to turn the uCorder OFF to
conserve battery life.
9) OPERATION - RECORD AUDIO
The uCorder also allows you to record Audio files to WAV
format. To record Audio only, follow these steps:
1. Set the Video/Audio switch to Audio.
2. Set the ON/OFF switch to ON. A Green LED indicates
Audio mode.
3. Press the Record button.
The Green LED flashes slowly while recording.
Press the Record button again to Stop recording.
The Green LED will then flash quickly, indicating that the
audio file is being saved to memory. When saving is
complete, it will return to standby mode.
Remember to turn the uCorder OFF when finished in
order to conserve battery life.
Wearable Video Recording
User Manual
Model IRDC150 / IRDC250
Version 1.01
DO NOT RETURN TO THE STORE
For more information visit:
5) MICRO SD MEMORY (OPTIONAL)
The IRDC150 uCorder has 1 GB built-in flash memory
and the IRDC250 is equipped with 2 GB. To extend the
memory, you may insert a Micro SD card into the
Memory Card slot.
1) Set the ON/OFF switch to OFF.
2) Insert the Micro SD card as shown.
It will lock in.
3) To remove the card, push it in
gently so that it ejects.
Note: do not remove the card
during playback or while the
power is on.
6) FLASHLIGHT
The uCorder is equipped with a bright LED
flashlight. The light found at the top of the
unit can be tilted to point at the object
you wish to record. To activate the light,
switch the ON/OFF selector above ON to the light icon.


