background image

12 


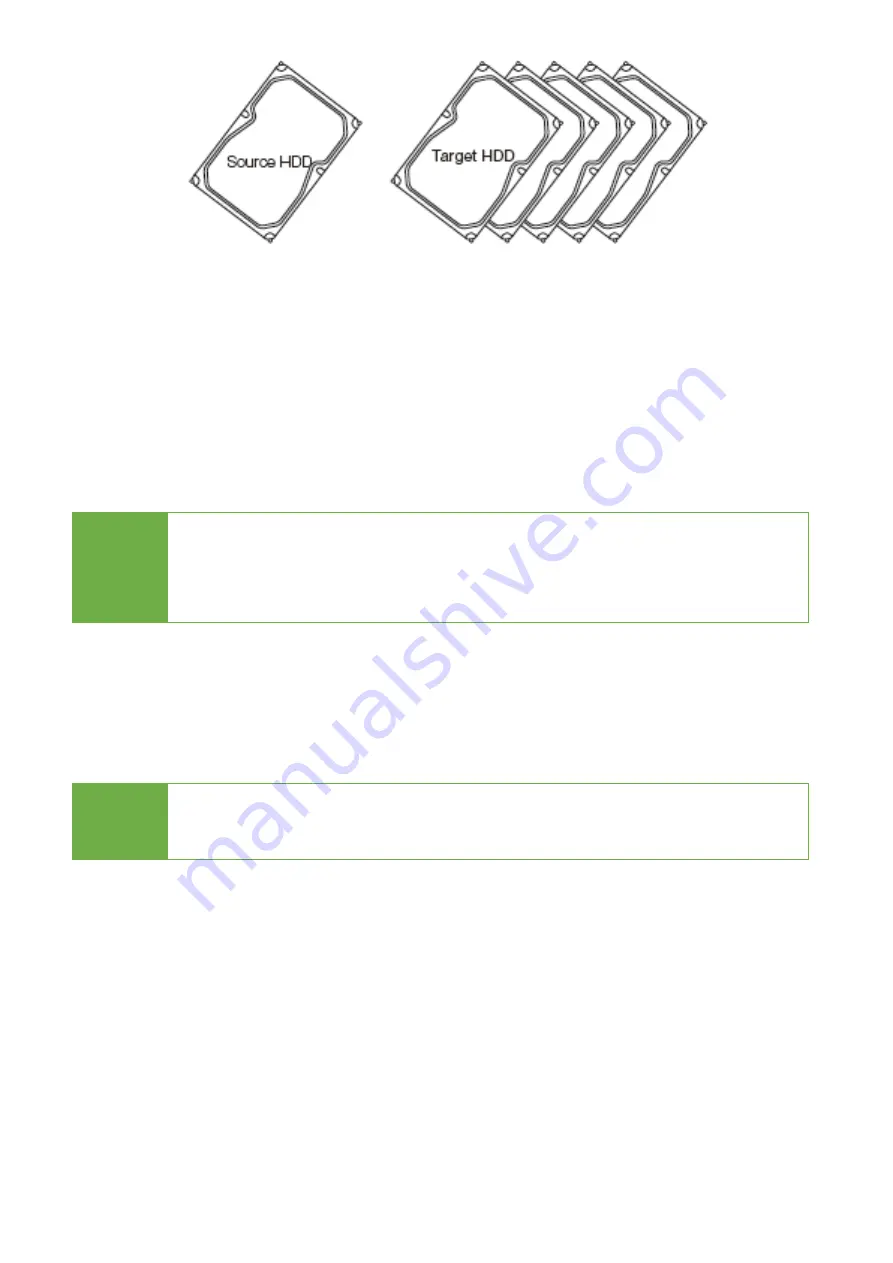
Step 2: Connect Source and Targets 

Connect the source HDD to Source port, target HDDs to Target ports. 


Step 3: Enter "7.2 Compare" 

Use 

▲▼

 to select “7.2 Compare” then press “OK”. Data compare will proceed. 


Step 4: Completion! 

The result (Pass/Fail) and time will show on LCD after comparison completes. 


Caution 

The user is responsible for verifying the targets’ quality. Please 
pick a few completed targets for testing in a mass production 
environment for QC. 


7.3 Copy+Compare 


The Copy+Compare function makes copies first and then compares copied 

HDDs with source HDD to confirm the accuracy. 
 

Note 

It is recommended to execute Compare after Copy to confirm 
the accuracy. Users can use the function “7.3 Copy+Compare”. 


7.4 Show Disk Info. 


This function will display basic information such as device model, name, 
capacity, etc. Scroll through to view connected device(s) by port number order. 


7.5 Update System 
Step 1: Prepare a USB drive for update. 

Connect a USB drive to a PC. Download the latest firmware provided by 

Содержание SA250

Страница 1: ...SAS Series 1 to 1 SAS SATA Sanitizer and Duplicator User Manual v A 02 ...

Страница 2: ... Statement 2 Notice Symbols 3 Product Overview 4 Function Table 5 Function Introduction 8 1 Quick Erase 8 2 Full Erase 8 3 DoD Erase 9 4 DoD Erase Compare 9 5 Secure Erase 9 6 7 Pass Overwrite 9 7 Utility 10 8 Setup 13 9 Log Manager 17 SA250 v A 02 ...

Страница 3: ... of our product and or software program or hardware issues can cause loss of data defective formatting or data loading The manufacturer will make efforts to resolve or repair any issues recognized by customer either within the warranty period or on a time and materials basis Specifications and features subject to change without notice or obligation Warranty The manufacturer provides a basic one ye...

Страница 4: ... power cord for 2 minutes for discharging l Use product only in a clean dry dust free and ventilated area Liquids or foreign debris can severely damage your duplicator l It is typical for the machine to heat up during operation l While in use do not move the duplicator or remove HDDs l Static electricity may cause duplication error Please pay attention to the duplicator s environment while operati...

Страница 5: ...t Red error Green steady pass Green flashing working Yellow Powered do not remove HDD Ø USB Port Connect USB drive for exporting log report Ø RS232 Serial port Connect to a printer print out real time erase report LED Light HDD Port 2 RS232 Serial Port Power Switch HDD Port 1 Navigation Buttons USB Port Asynchronous Erase Button ...

Страница 6: ...ng ATA commands to the device s requiring complete purging of data by its internal methods which conforms to NIST 800 88 standards If you interrupt the secure erase process your device s will be unusable 7 Utility 7 1 Copy Copies source device to connected target device s Refer to function 8 2 Copy Area for 5 different copy modes 7 2 Compare Verifies target device s bit by bit to the master device...

Страница 7: ...e HDD Copies all data and partitions including proprietary formats Percentage Copies the defined capacity percentage that operators set 0 99 Sector Copy Copies the defined LBA that operators set 8 3 Skip Errors Sets the number of bad sectors to skip 0 65535 or unlimited 8 4 Erase Pattern One Byte Writes a random character per byte Big Random Data Writes a set of random characters into a set area 8...

Страница 8: ...uts a set period of log data 9 4 Advanced Function Default password 123456 9 4 1 Clear ALL Log Clears all log records 9 4 2 Setup Password Allows password change 9 4 3 Adjust Clock Sets time and date 9 4 4 Add Watermark at text File Creates watermark on the log report Above functions and features are subject to change without notice ...

Страница 9: ...e HDDs for disposal Step 2 Place HDDs Insert HDDs for disposal into target ports Step 3 Select erasing methods between function 1 6 Use to select the erasing method and then press OK Data Erase will proceed 1 Quick Erase This function will ONLY erase the index of the HDD It is the quickest way to erase the HDD 2 Full Erase This function will erase the whole sectors on the target HDD It will take l...

Страница 10: ...e 1 The erasing duration of DoD Erase mode is 3 times longer than full erase mode 2 The duration of DoD EraseComp is 4 times longer than full erase mode 5 Secure Erase This function sends an ATA Secure Erase command It overwrites every single track on the hard drive with 00 Even HPA DCO or other hidden data areas can be erased all together Note If you want to cancel execution of Copy Compare Erase...

Страница 11: ...trongly recommended that the source and target are the same capacity Caution Various adapters are required to copy devices with different interfaces e g IDE eSATA mSATA etc Step 2 Connect Source Targets Connect source HDD to source port target HDDs to Target ports Step 3 Enter Function 7 1 Copy Use to select 7 1 Copy and then press OK Duplication will start The information below shows on the LCD d...

Страница 12: ... of the HDD they can set 8 3 Skip Error 7 2 Compare The compare function is used to check if the data on source HDD is identical to target HDD after duplication Step 1 Prepare Source and Targets Prepare the source HDD and target HDDs to compare after duplication is completed Copy Process Bad Sector R 0 0 01 48 W 1 Source bad sector Target bad sector Copied Time Copy Process Pass 0 05 No Bad Sector...

Страница 13: ... testing in a mass production environment for QC 7 3 Copy Compare The Copy Compare function makes copies first and then compares copied HDDs with source HDD to confirm the accuracy Note It is recommended to execute Compare after Copy to confirm the accuracy Users can use the function 7 3 Copy Compare 7 4 Show Disk Info This function will display basic information such as device model name capacity...

Страница 14: ...8 2 Copy Area Users can set the copy area of source HDD Appropriate copy area can greatly reduce operation time and provide better efficiency u System and Files Quick Copy data area only This setting will copy source HDD s System and Files instead of the whole HDD The system will analyze the source HDD and identify the data area to copy As long as the source HDD s data is within the target HDD s s...

Страница 15: ...Whole HDD Copies the whole source HDD no matter the content format partition or empty space This mode does not analyze the data Only 120G data area will be copied Source Duplication Target 500GB 150GB Unallocated Partition Partition1 150GB Data 30 GB Partition2 200GB Data 90GB 350GB of all Partitions along with its contents will be copied Source Duplication Target 500GB 150GB Unallocated Partition...

Страница 16: ...e HDD Set Start Sector LBA and Sector Qty for sector range All 500GB of data will be copied Source Duplication Target 500GB 150GB Unallocated Partition 150GB Unallocated Partition 150GB Unallocated Partition 500GB Partition1 150GB Data 30 GB Partition2 200GB Data 90GB Only copies the selected area Source Duplication Target 500GB 150GB Unallocated Partition Start 25 End 35 25 35 ...

Страница 17: ...B Data System and files 100GB 250GB 500GB 60GB Data 150GB Unallocated Partition All Partitions 70GB 190GB 30GB Data 100GB 250GB 500GB 60GB Data 150GB Unallocated Partition Whole Device 70GB 190GB 30GB Data This function will analyze and copy only data and skip empty spaces This function will copy the entire device This function will copy all data within the defined partitions Only copies the selec...

Страница 18: ...fter erase job is completed This watermark will show when executing 7 4 Show Disk Info and can be printed out when connecting to a thermal printer 8 6 Restore Default Select to go back to the manufacturer s default setting 9 Log Manager Scroll to select from 9 1 9 3 then press OK to output log report to a USB drive 9 1 Out Today Report Outputs current day log report 9 2 Out Recent Report Outputs r...

Страница 19: ... Adjust Clock Change time and date 9 4 4 Add Watermark at text File Creates watermark on the log report The log report can be checked by software iSecuLog exe to prevent modifying Specifications subject to change without notice Note If you want to change your Log password please keep your password in a safe place in case you lose it Please understand that the manufacturer does not provide password...

Отзывы: