background image

PAGE 3 OF 9 

0122 IH-9881

INSTRUCTIONS FOR UNIT ASSEMBLY

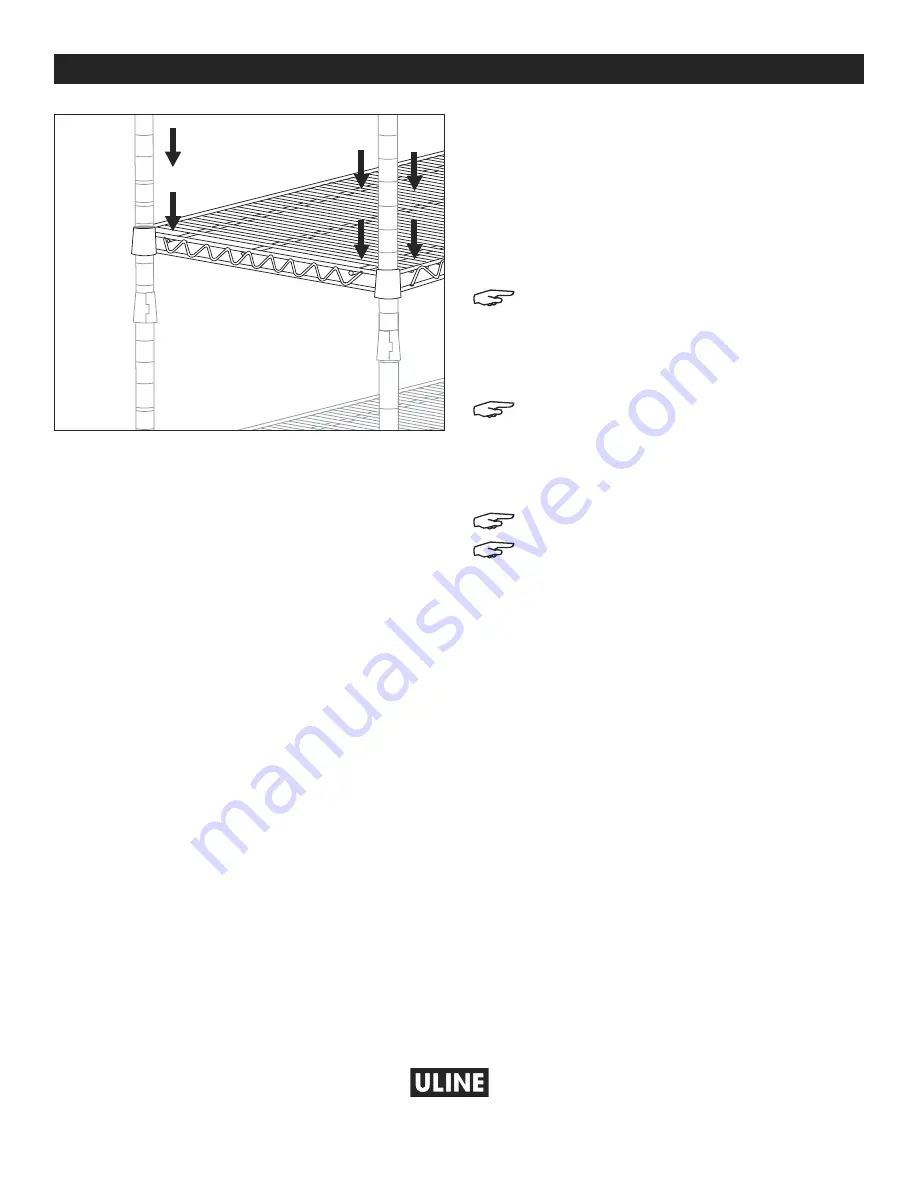
4. 

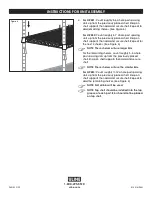
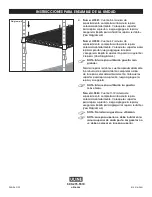
For H-9881:

 Count roughly 5-6 whole post spacing 

slots up from the previously placed shelf. Snap on 

shelf supports then add and secure shelf. Repeat to 

add remaining shelves. (See Figure 6) 


For H-9882:

 Count roughly 6-7 whole post spacing 

slots up from the previously placed shelf. Snap on 

shelf supports then add and secure shelf. Repeat for 

the next 2 shelves. (See Figure 6) 

NOTE: These shelves will use larger bins. 


For the remaining shelves, count roughly 5-6 whole 

post spacing slots up from the previously placed 

shelf. Snap on shelf supports then add and secure 

shelf. 

NOTE: These shelves will use the smaller bins. 


For H-9883:

 Count roughly 11-12 whole post spacing 

slots up from the previously placed shelf. Snap on 

shelf supports then add and secure shelf. Repeat to 

add the remaining shelves. (See Figure 6)

NOTE: Not all bins will be used. 

NOTE: Top shelf should be installed into the top 
groove of each post. Bins should not be placed 

on top shelf. 


Figure 6

1-800-295-5510

uline.com

Содержание H-9881

Страница 1: ...Use rubber mallet or tap on ground until self leveler slides into post 4 Repeat steps 2 and 3 for other posts TO INSTALL OPTIONAL CASTERS 1 Make sure post is positioned as shown See Figure 2 2 Engage...

Страница 2: ...ce on the remaining posts See Figure 3 NOTE NSF requires food service applications to keep the lowest shelf at least 6 above the floor 2 Slide post through underside of shelf until shelf slides firmly...

Страница 3: ...ee Figure 6 NOTE These shelves will use larger bins For the remaining shelves count roughly 5 6 whole post spacing slots up from the previously placed shelf Snap on shelf supports then add and secure...

Страница 4: ...ste 3 Use un mazo de caucho o golpee en el piso hasta que el autonivelador se deslice dentro del poste 4 Repita los pasos 2 y 3 para los otros postes PARA INSTALAR RUEDAS OPCIONALES 1 Aseg rese de que...

Страница 5: ...ma 3 NOTA La NSF requiere que las aplicaciones para servicio de alimentos mantengan la repisa m s baja a un m nimo de 6 del piso 2 Deslice los postes a trav s de la parte inferior de la repisa hasta q...

Страница 6: ...TA Estas repisas utilizar n gavetas m s grandes Para las repisas restantes cuente aproximadamente 5 6 ranuras de espaciamiento completas arriba de la repisa colocada anteriormente Coloque los soportes...

Страница 7: ...out ouvert du montant 3 Tapotez le pied sur le sol ou avec un maillet jusqu ce qu il se glisse l int rieur du montant 4 R p tez les tapes 2 et 3 pour les autres montants POUR INSTALLER LES ROULETTES O...

Страница 8: ...Voir Figure 3 REMARQUE La NSF exige que pour l emploi dans le service alimentaire la tablette la plus basse ne se trouve pas moins de 6 po du sol 2 Faites glisser les montants travers le dessous de l...

Страница 9: ...ation avec de plus grands bacs Comptez les prochains 5 6 fentes sur le montant partir de la derni re tablette pour installer les tablettes restantes Enclenchez les supports de tablette puis ajoutez et...

Отзывы:

Похожие инструкции для H-9881