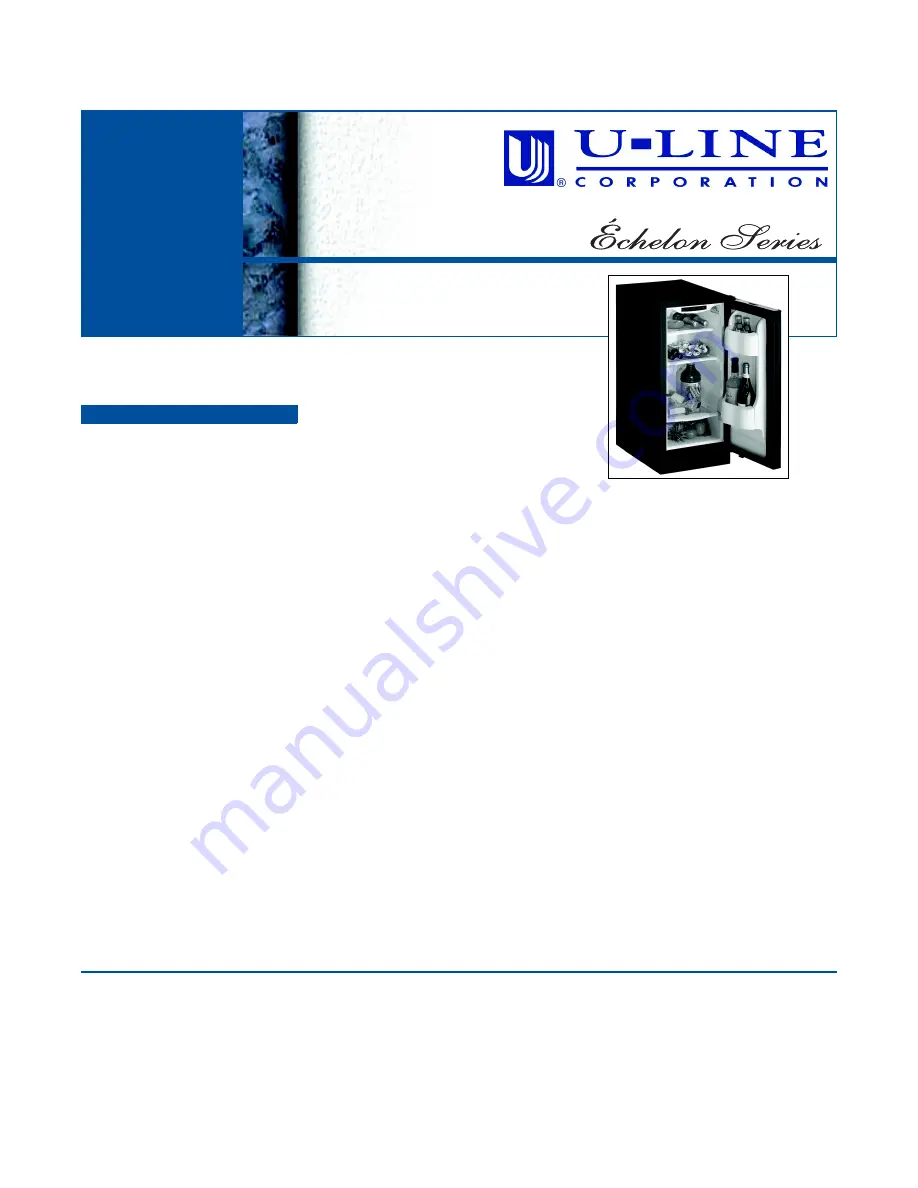
background image

www.U-LineService.com

Phone (414) 354-0300 • FAX (414) 354-7905

Service & Parts Tech Lines Phone (800) 779-2547 • FAX (414) 354-5696

[email protected]

©2006 U-Line Corporation

08/2006

2115R — Refrigerator

Installation Guide

Содержание Echelon 2115RS00

Страница 1: ...ineService com Phone 414 354 0300 FAX 414 354 7905 Service Parts Tech Lines Phone 800 779 2547 FAX 414 354 5696 OnlineService U Line com 2006 U Line Corporation 08 2006 2115R Refrigerator Installation...

Страница 2: ...TANT PLEASE READ all instructions completely before attempting to install or operate the unit This unit requires connection to a grounded three prong polarized receptacle that has been placed by a qua...

Страница 3: ...place for future reference Your unit is Black White or Stainless Steel Black and White units have a reversible door with a slightly contoured handle across the top They come with a flush mounted door...

Страница 4: ...lead to rust Some installations may require cleaning on a weekly basis Do not clean with steel wool pads Do not use cleaners that are not specifically intended for stainless steel this includes glass...

Страница 5: ...by moving the hinge hardware to the opposite side The top hinge hardware will be used on the bottom of the other side and the bottom hinge hardware will be used on the top of the other side see Figur...

Страница 6: ...ly The unit requires a grounded and polarized 115 VAC 60 Hz 15A circuit normal household current See Electrical Specifications on Page 13 Environmental Requirements Many U Line models are designed to...

Страница 7: ...or accent the surrounding d cor a Custom 1 4 Insert or a Full Overlay If no custom door panel is used go on to 5 Adjust Door Custom 1 4 Door Panel Insert Door Panel Preparation A custom door panel ca...

Страница 8: ...inge pin and install upper hinge screw Full Overlay Door Panel Door Panel Preparation A full overlay door panel completely covers the doorframe and handle to give a built in appearance See your U Line...

Страница 9: ...Phillips screwdriver Remove the door by tilting forward and lifting off the bottom hinge pin 3 Pull door gasket out of the groove top edge of door only Start in the middle and pull outward moving tow...

Страница 10: ...and secure with the two screws removed in Step 4 under Removing Existing Door 3 Attach Overlay cap to door opposite side of where hinges will be see Figure 23 Removed Door Panel Top of Wood Panel Bac...

Страница 11: ...te IMPORTANT Pivot posts must be cleaned Closers must also be clean and greased to ensure proper operation 5 Place the modified door onto the pivot post 6 Position door and install the pivot post into...

Страница 12: ...epending on your unit s construction see Figure 28 Remove door by tilting forward and lifting off bottom hinge pin 2 With door upside down loosen but do not remove the two screws on the door s bottom...

Страница 13: ...apter Never use an extension cord to connect power to the unit Go on to 7 Level the Unit Leveling Information Note It is recommended that the unit is level 1 Use a level to check the levelness of the...

Страница 14: ...ppropriate rib Door Shelves 1 First pull shelf up at a 45 angle then straight out see Figure 34 2 Choose new location and line up on bosses First push straight in then down at a 45 angle Installation...

Страница 15: ...mation about Adjusting the Temperature Control see the Use and Care Guide Start Up Troubleshooting Problem Q Unit does not appear to turn on when POWER icon is pressed Solution A Make sure unit is plu...

Страница 16: ...itself as the leader in built in undercounter ice making refrigeration and wine storage appliances Who to Call Service Information If the need for service arises call the U Line Customer Care Center...

Отзывы: