- 10 -
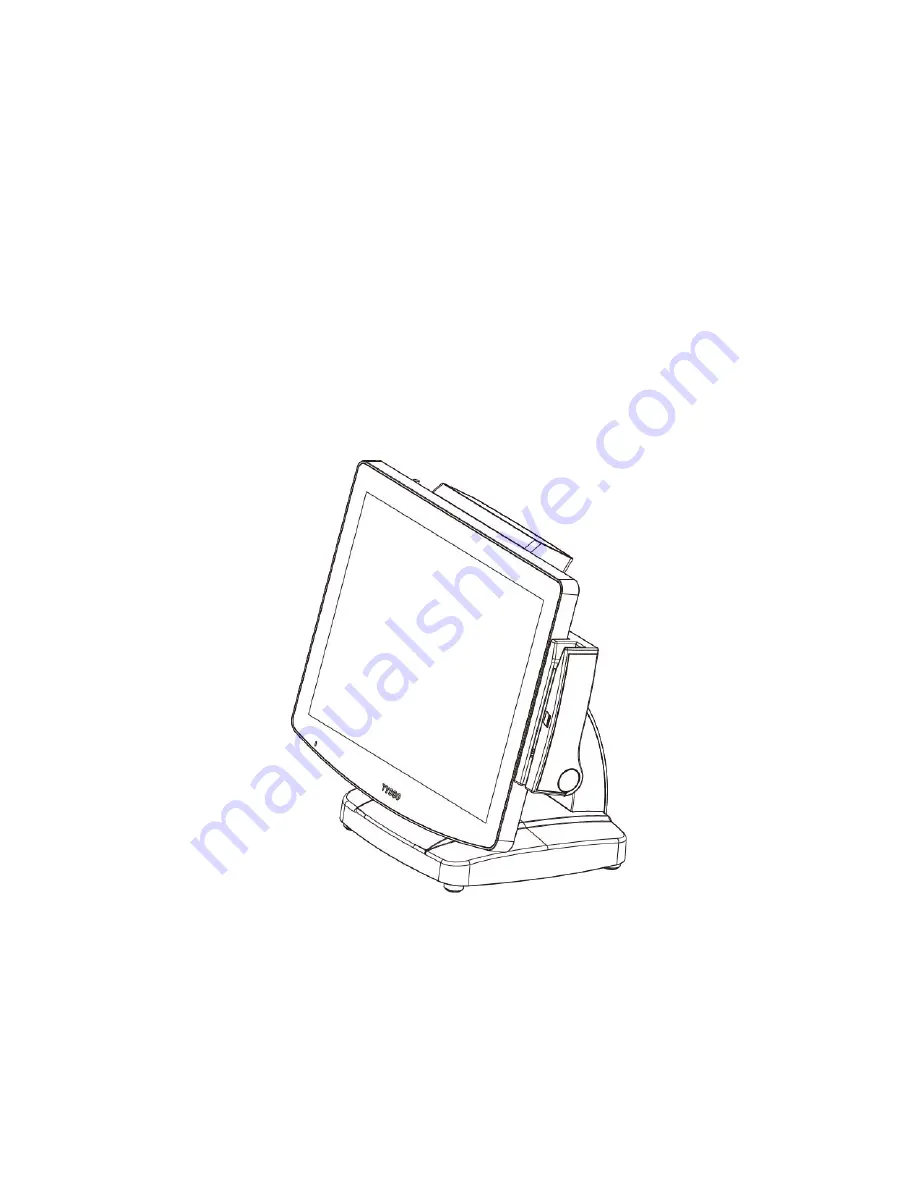
2.2. Install Your POS System
The product is a fully integrated POS System and easy for installation.
To install the POS System:
1. Place the product on the location.
2. Plug the AC power cord to the POS system
3. Connect the optional peripherals to the POS (for example: Mouse, Keyboard, and Barcode
Scanner.)
4. Plug the AC power cord to the power source (for example: electrical outlet).
5. Turn on the switch of the Printer Unit and Customer Display (if pre-installed) and the other
optional peripherals.
6. Turn on the POS system.
Note:
Always install the POS system and the optional peripherals on a flat, clean and stable
location.
To prevent obstruction on the operator, reserve appropriate space for the POS system and
remove unnecessarily objects or items.
Содержание POS-6000-i
Страница 1: ...i POS 6000 Series User Manual POS 6000 i Ver 1 0 Copyright Fametech Inc TYSSO 2014...
Страница 7: ...vi...
Страница 11: ...4 Dimensions Left View Front View Right View Rear View Bottom View...
Страница 14: ...7 1 4 I O Ports Bottom I O Ports Side I O Ports Side I O ports USB...
Страница 32: ...25 3 Select CPU Smart Fan Control 4 Select Enable...
Страница 44: ...37 Port 4 Port 5...
Страница 46: ...39 3 2 9 Network Stack This section configures settings relevant to the network stack...
Страница 51: ...44 3 3 Chipset This field is used to configure the functions of relevant chipset...
Страница 55: ...48 PCH Azalia Configuration Azalia Select the control detection of the Azalia device...
Страница 56: ...49 3 3 2 System Agent SA Configuration...
Страница 59: ...52 NB PCIe Configuration Enabled PEG Enables or disables the PEG Memory Configuration...
Страница 67: ...60...
Страница 72: ...65 b Setup is now installing the driver c Setup completed Click Exit to close the program...
Страница 79: ...72 c Click Finish to finish the installation...
Страница 88: ...81 q Now the software is installing to the system...
Страница 96: ...89 e Select Install driver only and click Next to continue f Click Install to begin Installation...
Страница 99: ...92 c i Button Test Attach the i button to the reader and the information will be displayed on the window...
Страница 103: ...96...
Страница 106: ...99 COM 5 Jumper Setting JP19...
Страница 107: ...100 Cash Drawer Power Select J2...
Страница 108: ...101 Jumper Location and Settings...
Страница 109: ...102 Jumper Settings...
Страница 110: ...103...
Страница 111: ...104 05102014...


