


LP 46 Neo User’s Manual
- 27 -
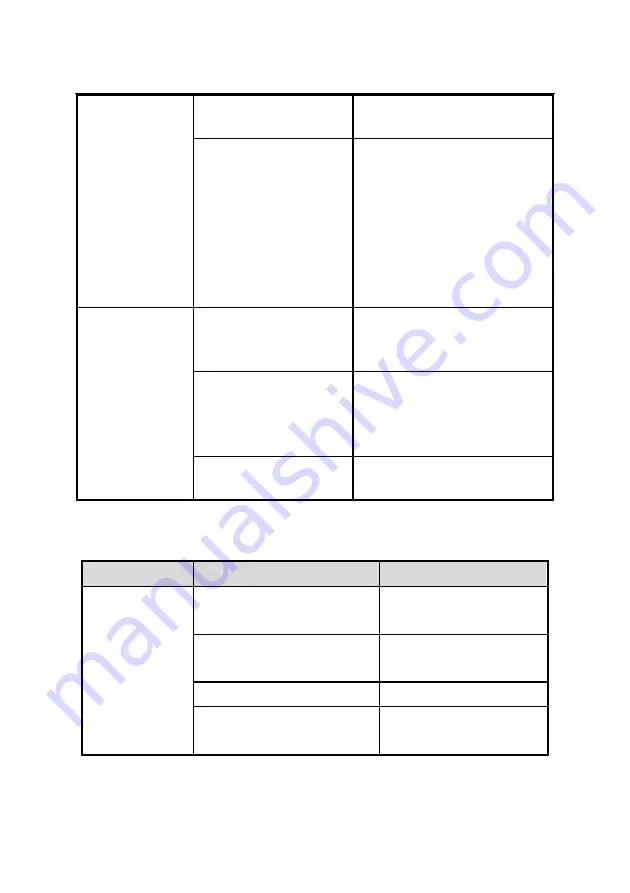
Print darkness is too
high.
Lower the print darkness
properly.
Paper is jammed in the
path, causing heat
accumulation and
overheating print head.
Clear paper jam. Check if the
print head test pattern is
normal or not after the
temperature of print head
drops. If normal, the printer
can continue to work;
otherwise please replace the
print head.
Mark location
failure or mark
calibration
failure
Paper type does not
match with sensor type.
Set the paper type in printer
driver to make it consistent
with actual paper type.
Something wrong with
marked paper (for
example: no mark or
unclear mark)
Use the required media.
Mark height is less than
the required height.
Table 5.1.1
5.2 Print quality problems
Malfunction
Reason
Solution
Printout is
unclear or has
stains.
Print head or platen roller is
dirty.
Clean the print head or
platen roller.
Paper does not meet the
requirement.
Use
recommended
paper.
Print darkness is too low.
Increase print darkness.
Paper is not installed
correctly.
Install paper roll correctly.
Table 5.2.1


