


Multi F
orma
t L
CD M
onit
or
10
Multi F
orma
t L
CD M
onit
or
10
Multi F
orma
t L
CD M
onit
or
11
Controls, Indicators and Connections
◦
[Ethernet & USB]
- Ethernet and USB port for easy firmware updates.
◦
~ AC IN
- 100 ~ 240V AC 50/60Hz
<Video input>
Video input connection method.
<Warning!!>
When using the product, make sure to connect the GND first before connecting the input signal line.
The unit may not operate properly if the input line is connected before the GND is connected.
Connector
Composite
RGB
Component
S - Video
1
CVBS 1
Y
R
Y
2
CVBS 2
Pb
G
No Con.
3
CVBS 3
Pr
B
C
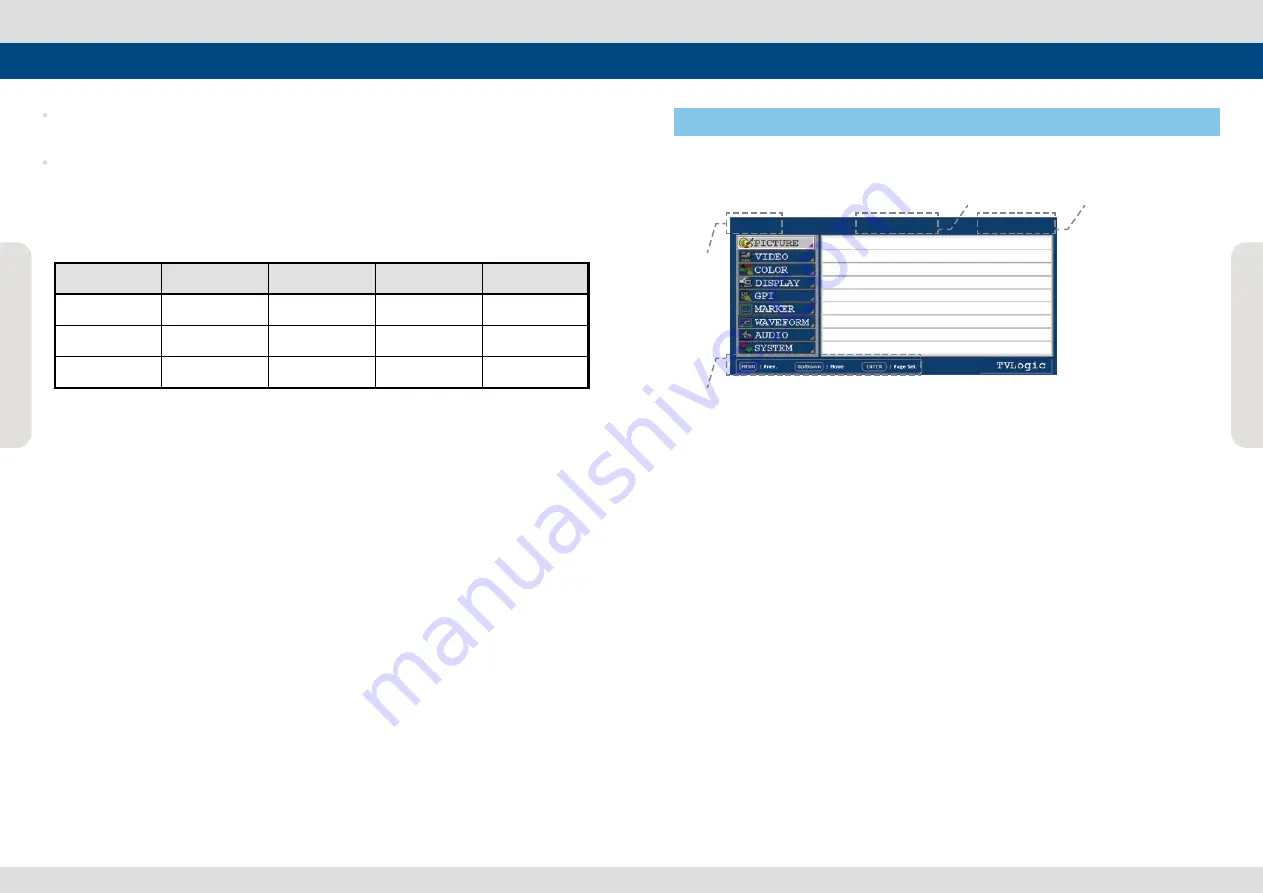
Menu Organization & Adjustment
The product may be controlled and set system-wise through OSD displayed on the screen.
1) Menu Organization
Below is the organization of the product’s menu.
2) Menu Control
You may control various functions using MENU, UP/DOWN and ENTER buttons on the bottom
front of the monitor.
3) Menu Control Sequence
Menu control sequence follows the order below :
1. Press MENU button to bring the OSD menu on the screen.
2. Display the desired sub menu with the UP/DOWN button.
3. After selecting a sub menu, press ENTER to select an item with the UP/DOWN button.
4. Press ENTER to select the desired item (verified by highlighted field text turning red).
5. Press ENTER to save the new value after adjusting the value with UP/DOWN button (Verified
by highlighted field returning to default black color).
6. Press MENU to remove OSD menu from the screen.
7. To view next page in the sub menu, press ENTER button at PAGE I >> PAGE II.
4) Main Menu Window Information
A.
Menu item and page info
B.
Model name
C.
Current input signal
D.
Current input signal resolution
PAGE I >> PAGE II
BRIGHT 0
CONTRAST 0
CHROMA 0
PHASE 0
APERTURE 0
NTSC SETUP 7.5IRE
VGA H POSITION MIN
VGA V POSITION MIN
C
B
D
A
SDI A LVM-420A 1080/60i


