background image

11

12

USB/SD


Operation

While the USB/SD  is playing, and if you Insert the disc, will go to DVD playing. Pull out 
the USB/SD when you want to stop


playing. Click the file directly can play the selected file.

00:12   02:27
002/013

MP3

Mp3

Mp3

Mp3

1

2

3

4

5

6

7

RPT

.

8


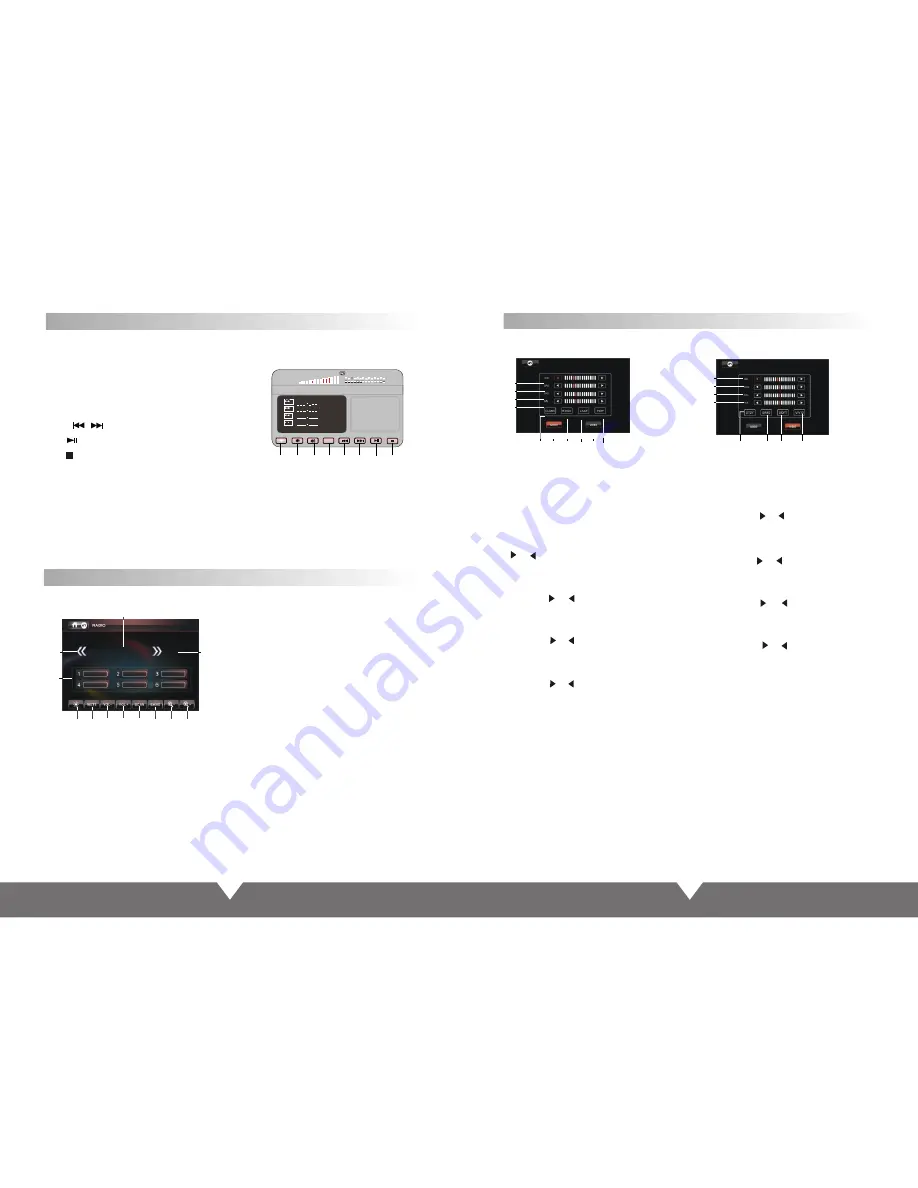
When the unit connect USB/SD, touch the “USB” or “SD” icon in main interface, will auto 

    read .As shown

:

1.

/ .

4
5 6
7
8

Close the screen display, and then click

 on the screenback to normal.
2 3 Volume control button

.PRT
/ .     /      

 Previous/Next

.      

Play/Pause

.     

Stop

After opening the machine

Select main screen or select on the remote control "mode" to 

switch to the RADIO

,

As shown:

Radio Function Interface 

1

.

2

Close the screen display, and then click on

 the screenback to normal.

. MUTE

:

3

/

4. Volume adjustment buttons

5.  SCAN: Touch "Scan" Department, will 
automatically search for and select "SGAN"
 will automatically save
6. BAND: Select FM

/

AM wave band.

7

/

8

.

Touch MUTE to turn off the sound,

 press again to resume to previous volume
 level.

Click the Search radio channel up / down

9

/

10

.

Receiving frequency tuning

11

Status Information shows column.

12.

FM

/

AM band shows

Audio/Video Menu Setup

1. 

2. 

3

.


4. BAS: 


5. 


6.


7

.

CLASS

8

.

ROCK

AUDIO mode: Touch this icon, the icon is 

concave, then will enter to audio setting mode.

VIDEO mode: Touch this icon, the icon is 

concave, then will enter to video setting 
mode.

TRE: Alt volume adjustment, Touch the

” “

” icon, on the screen, the alt 

volume will change.

BAS: Bourdon volume adjust. 

Touch the “

” “

” icon on the screen, the 

bourdon volume will change.

FAD: Front and Rear volume adjustment, 

Touch the “

” “

” icon on the screen, the 

front and Rear volume will change.

BAL: Left and right track adjustment, 

Touch the “

” “

” icon on the screen, the 

left right track volume will change.

11. 


12

.


13

.

COL: Color, 


14

.


15. 
16. 
17. 
18

.

VIVID

BRI: Brightness

 Touch the“

” “

” icon on the screen, 

to adjust  the picture brightness.

CON: Contrast, 

Touch the“

” “

” icon on the screen, 

to adjust the picture contrast.

Touch the “

” “

” icon on the screen, 

to adjust the picture color.

HUE: Hue, 

 Touch the “

” “

” icon on the screen, 

to adjust the picture hue.

STDY: Standard mode.

BRIG: Brightness.

SOFT: Soft.

9

.

JAZZ

10

.

POP

Under DVD mode, touch “SET” button enter to “AUDIO/VIDEO”menu setting interface. 


(Picture 1) Audio setting interface

(Picture 2) Video setting interface

1

2

3

4

5

6

7

8

9

10

11

12

13

14

15

16 17

18

87

.

75

88

.

65

89

.

00

92

.

35

91

.

15

89

.

45

87

.

75

Mhz

Fm1

1

2

3

4

5

6

7

8

8

9

10

11

When playing USB or SD card, Touch the DVD menu arrow keys to move the cursor to the file
bag, file, MP3 or JPEG icon icon you want, and then press to confirm the selection, the selected
file will automatically play . Play JPEG photo files, touch to confirm the current picture to exit 
picture playback, press the stop button to exit

.

Note: 

Click the bottom half of the screen can appear "Actions" menu, then click the "

disappeared.

Содержание D75TSB

Страница 1: ...OWNER S MANUAL Printing Color White Black Material QUALITY 100g wood free printed paper Size A6 ...

Страница 2: ... And Operation DVD Mode Menu Interface Radio Function Interface Function Index Sign User Introduction 3 Wiring Diagram 3 Unit Rear Side Connection 4 5 5 Remote Control Operation 6 9 Bluetooth system settings 9 10 11 Audio Video Menu Setup 12 Warning 16 Trouble Shooting 16 USB SD Operation 11 SYS System Settings 13 DVD System Settings 14 15 ...

Страница 3: ...ic shell debase the display quality and products quality Installation should be very tight and secured to prevent the fallen unit hurt people and damage the unit when moving on or a sudden brake Please install carefully to avoid damaging working platform Please clean the internal working platform and ensure sufficient space for installation Inner shell will be installed on the working platform The...

Страница 4: ... AMP CON Control power amplifier switch 12 13 Brown Steering wheel button 1 Brown Black Steering wheel button 2 Connected to the steering wheel button positive pole 14 Orange PWM Headlight control 15 Red ACC Trigger power 16 Yellow B 12V 12V power cable Unit Rear Side Connection TV SUB L R RR FR CAM V AUX IN RCA OUT RL FL V V WHITE AUDIO L IN WHITE RL OUT WHITE FL OUT RED AUDIO R IN RED RR OUT RED...

Страница 5: ... mode 16 Switching sub menu 17 Subtitle on off 18 Anycast title chapter audio subtitle 19 MODE Change modes 20 Stop playing 21 DVD display disc there are more angle select need the disc support 22 SLOW slow forward slow playing 23 SETUP DVD system setup 24 TITLE Return to the menu title Precautions Before Using Remote Control Unit 1 Please pull out the PVC when the remote control unit is first usi...

Страница 6: ...e in order of 1 2 1 4 1 8 and1 16 of normal size Note When playing MP3 USB SD this button is invalid 13 Press SLOW on the remote control to slow playing Change the playing speed to 1 2 1 4 1 8 and 1 16 through pressing SLOW button 14 During playback press the AUDIO voice key can be included on the DVD disc in a variety of audio languages to choose 15 GOTO chooses play button Press it the play info...

Страница 7: ...ch the bluetooth by presentation 3 Input 4 figures pass code 0000 this unit s bluetooth will be set up to the authorized equipment of the mobile phone If the match is successful the status of the bluetooth picture will show LINK OK Tips If it unable to match please starting up again After setting up the unit to authorized equipment the bluetooth will connect or enter into mobile phone bluetooth sy...

Страница 8: ... then will enter to video setting mode TRE Alt volume adjustment Touch the icon on the screen the alt volume will change BAS Bourdon volume adjust Touch the icon on the screen the bourdon volume will change FAD Front and Rear volume adjustment Touch the icon on the screen the front and Rear volume will change BAL Left and right track adjustment Touch the icon on the screen the left right track vol...

Страница 9: ...oices SYS System Settings Steering operate 2 3 4 5 6 CANCEL 7 MODE When the user want to re set steering wheel keys for short cut purpose firstly press the Delete key to delete the previously set before re designate functions on steering wheel Secondly long press he buttons of the car s steering wheel and hold down the function keys on car and then click learn button on the steering wheel of the u...

Страница 10: ...ch disc otherwise will damage the DVD play capability 6 Be sure to distinguish the anode and the cathode when connecting the power If connect wrong the fuse in filter box will melt immediately to protect unit Then please replace the same parameter fuse 7 DC 12V should be best to connect with the power adapter to prevent from the over voltage drop the may influence the normal work of the monitor 8 ...

Отзывы: