7
5.0
OPERATION OF THE LM-1750HD
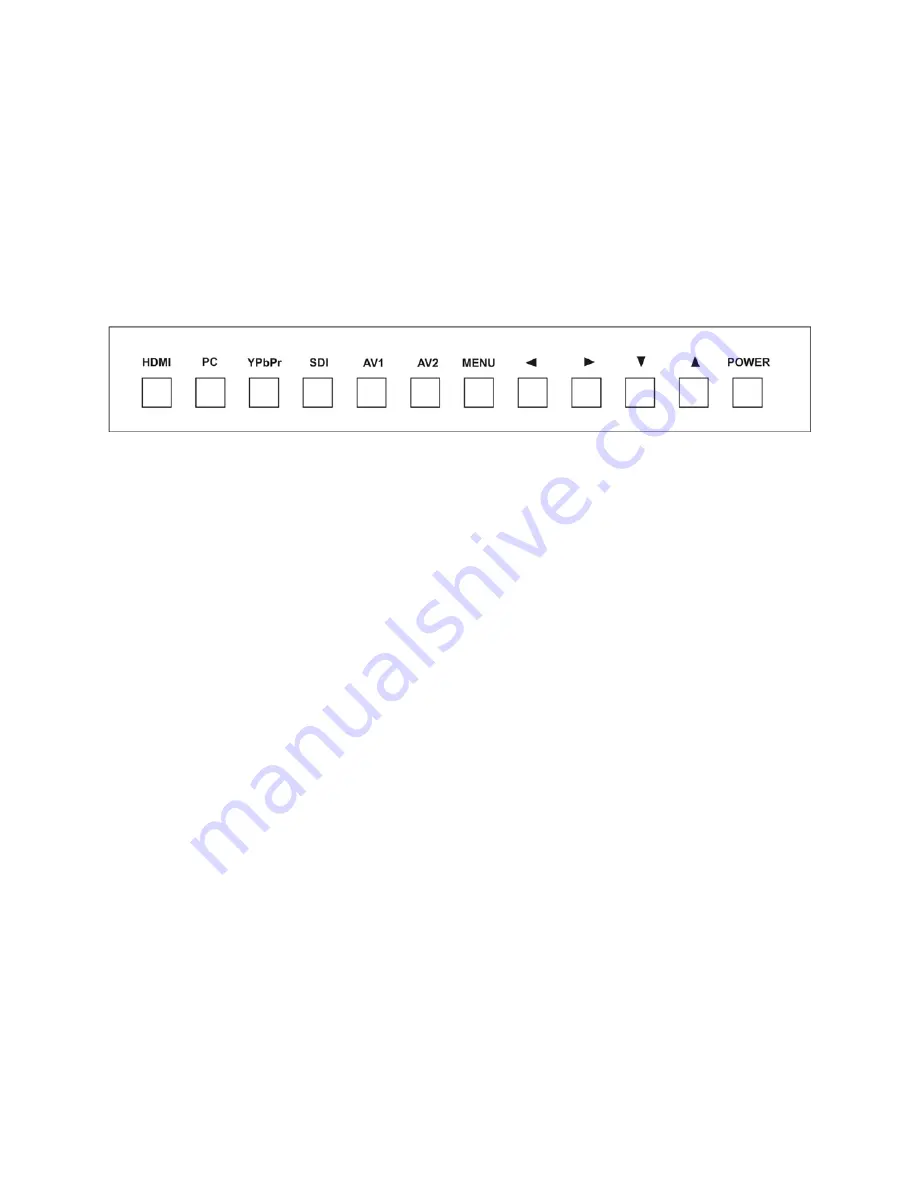
After mounting the LM-1750HD in a rack and connecting the appropriate cables and the
AC adapter, press the power button, select the appropriate input and adjust the vertical
viewing angle if desired.
Input selection is made by pressing the appropriate button on the front panel. The
possible selections are HDMI, PC, YPbPr, SDI, AV1 (either Composite Video or S-
Video, but not both at the same time) and AV2 (Composite Video).
Once the input selection has been made, you may choose the image’s aspect ratio and
also adjust the audio volume of the monitor’s built in speakers.
5.0.1 Aspect Ratio Adjustment
The vertical arrows allow you to cycle through three possible aspect ratios: 4:3, 16:9
and 1:1. 4:3 is the standard analog aspect ratio used in NTSC and PAL formats for
most video signals. 16:9 is the de-facto standard for High Definition Video signals as
well as some standard definition video such as the occasional non-HDTV DVD video
signal. The 1:1 selection equals a pixel ratio of 1:1. It allows a display of signals in their
native resolution. If the signal does not fill the screen due to its resolution, it will be
displayed in actual size. Resolutions beyond the capability of the LM-1750HD will not be
visible.
5.0.2 Audio Level Adjustment
To adjust the audio level, use the two horizontal arrows. The right arrow increases the
audio level and the left arrow reduces the audio level.
5.1
Using the On Screen Display Menus
Beyond simple use of the monitor, users should acquaint themselves with the On
Screen Display (OSD) and Menu structure. Within this functionality the user can fine
tune the operation of the unit and often make improvements to the appearance of the
displayed image. Using the OSD menu is not difficult and allows you to adjust the
picture quality of the monitor.
Содержание LM-1750HD
Страница 1: ...Instruction Manual LM 1750HD Multiple Format 17 Color LCD Monitor...
Страница 2: ......


