background image

iVIBE Outdoor Installation, Issue 4, MJL, Nov 2016 

10 

DISCLAIMER 

Turnkey Instruments Ltd will not be liable for damage caused by water ingress or by the 

blowing over of equipment unless these installation instructions are followed exactly. 


NOTES 


If you need assistance, please contact: 


Turnkey Instruments Ltd, Dalby Court, Gadbrook Business Centre, Northwich, England CW9 7TN 

Tel: +44 (0) 1606 330020   Fax: +44 (0) 1606 331526 

Email: [email protected] 


Please visit 

www.iVIBE.uk


 to access other iVIBE and iDB documentation


Revision History 


Original RP, Oct 2016 


Issue 2, edited MJL, Nov 2016 


Issue 3  & 4, Power Portal instructions added 


© 2016 Turnkey, MJL, Issue 4, November 2016 

CE 2016 

www.turnkey.tel


Turnkey ® is a WTO registered trademark 

Содержание iVIBE

Страница 1: ...screw Please contact Turnkey Instruments Ltd if any parts are missing When being used outside it is very important that the microphone and other parts and connectors of the equipment are properly prot...

Страница 2: ...ing rise to higher readings than those to which the adjacent structure is being subjected DO NOT place a brick or similar heavy object on top of the iVIBE There is a very strong chance that it will le...

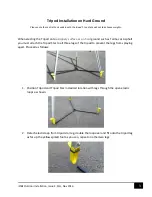
Страница 3: ...on hard ground such as Tarmac or Asphalt you must attach the Tripod Star to all three legs of the tripod to prevent the legs from splaying apart Proceed as follows 1 Position Tripod and Tripod Star in...

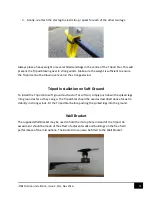
Страница 4: ...ipod Installation on Soft Ground To install the Tripod into soft ground such as turf or soft soil simply push down the spiked legs into ground as far as they can go The Tripod Star should be used as d...

Страница 5: ...op plate of the Tripod 2 Screw the Microphone Clip to end of Boom Microphone Weather Shield For added microphone protection from heavy rain and snow the Weather Shield can be fitted if desired 1 Attac...

Страница 6: ...r Windscreen and a double booted 5 metre cable This connects the microphone to the iVIBE microphone input Make sure the ACO 7146 Class 1 microphone has the rubber sleeve fitted as shown in the above p...

Страница 7: ...microphone is now ready to be fitted to the microphone clip on the boom arm The ACO 7146 is a free field microphone and should always be pointed towards the direction of the noise source Always make s...

Страница 8: ...ed sandbags loosely fill and place so that its sides touch the ground around the iVIBE Level the iVIBE on top of the sandbag using the three adjustment feet and lock off Using a sandbag will also help...

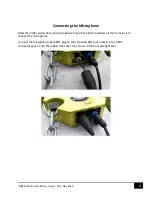
Страница 9: ...fter the iVIBE seismic body and microphone tripod have been installed all that remains is to connect the microphone Connect the microphone cable BNC plug to the shrouded BNC jack socket on the iVIBE c...

Страница 10: ...please contact Turnkey Instruments Ltd Dalby Court Gadbrook Business Centre Northwich England CW9 7TN Tel 44 0 1606 330020 Fax 44 0 1606 331526 Email techsupport turnkey instruments com Please visit w...

Отзывы: