Touch Board Plus
8
Connecting the Video Projector
TIP
For optimal usage and viewing, the minimum
required screen resolution should be set at 1024 x
768.
1
With the computer turned on, connect the projector
video
cable
from the computer to the video projector.
2
Turn on the video projector.
3
With the video projector aimed at the Touch Board Plus, align
the
projected image
onto the Touch Board Plus so that it is
within the board's active area.
Connecting the Touch Board Plus
via USB
The Touch Board Plus connects to your computer via a USB cable. A separate power supply is not necessary since the Touch
Board Plus is powered through the USB connection.
1
Plug the
USB cable
into the
USB port
on the right side of the board.
2
Plug the other end of the
USB cable
into a working
USB port
on your
computer.
TIP
A powered USB hub may be used.
3
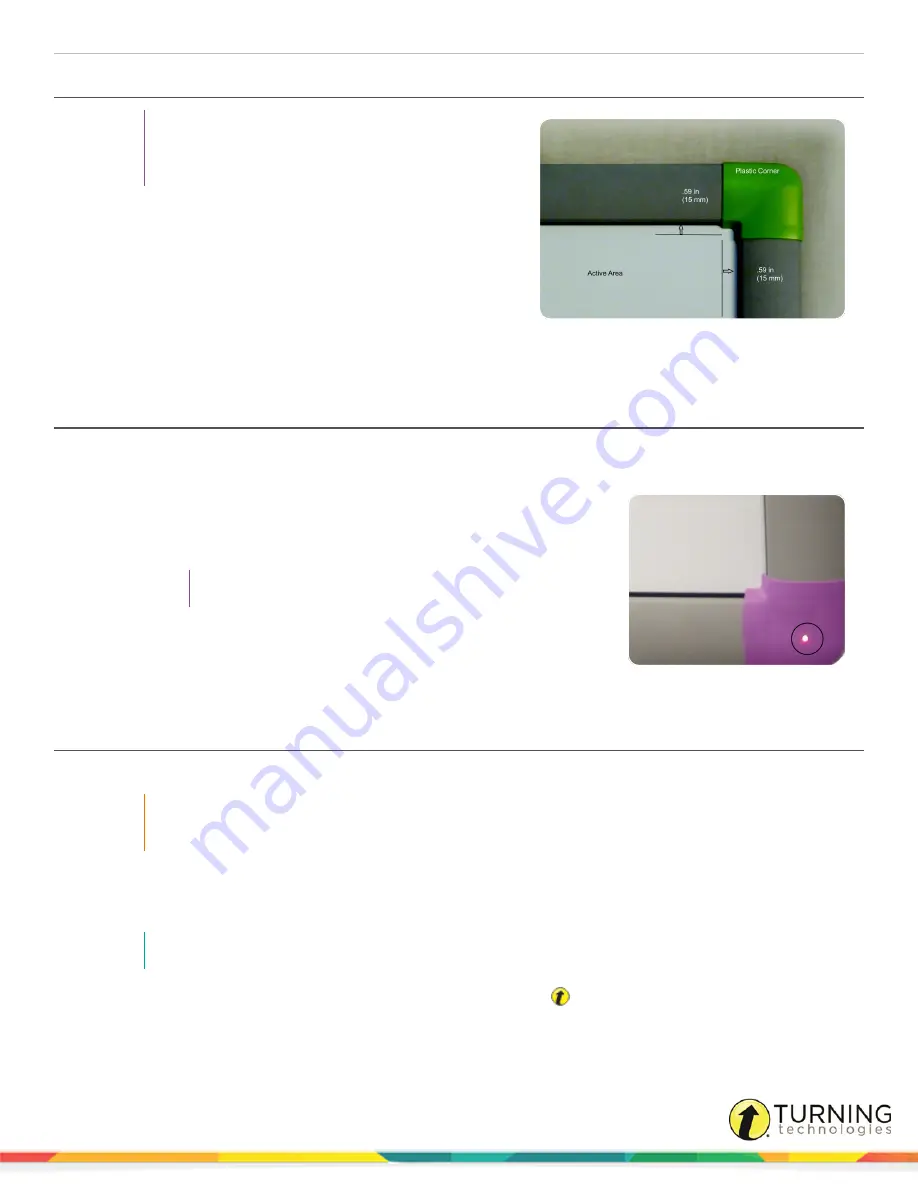
A
red light
at the bottom of the board indicates that the board is receiving
power through the USB cable. A
blue light
indicates the proximity of the
pen to the board.
Calibrating the Touch Board Plus via Device Manager
Recommended for OS X and Linux platforms, as well as PC users who need to recalibrate Touch Board Plus.
IMPORTANT
Linux users must calibrate the DualBoard in the Ubuntu GNOME environment. Refer to
Installing
Ubuntu GNOME
on page 5
.
The steps below walk you through performing a calibration via Device Manager. Aside from using these steps on an OS X or
Linux platform, you can also perform them on a PC if you moved the Touch Board Plus. It is strongly recommended to
recalibrate the Touch Board if the board or projector has been moved.
NOTE
If an error occurs during the calibration process, end the process and start over.
1
From your computer, right click/control-click the Turning Technologies
icon in the notification area (PC)/Menu
Extras area (Mac)/Applications (Ubuntu GNOME).
turningtechnologies.com/user-guides
Содержание Touch Board Plus
Страница 1: ...Touch Board Plus User Guide...


