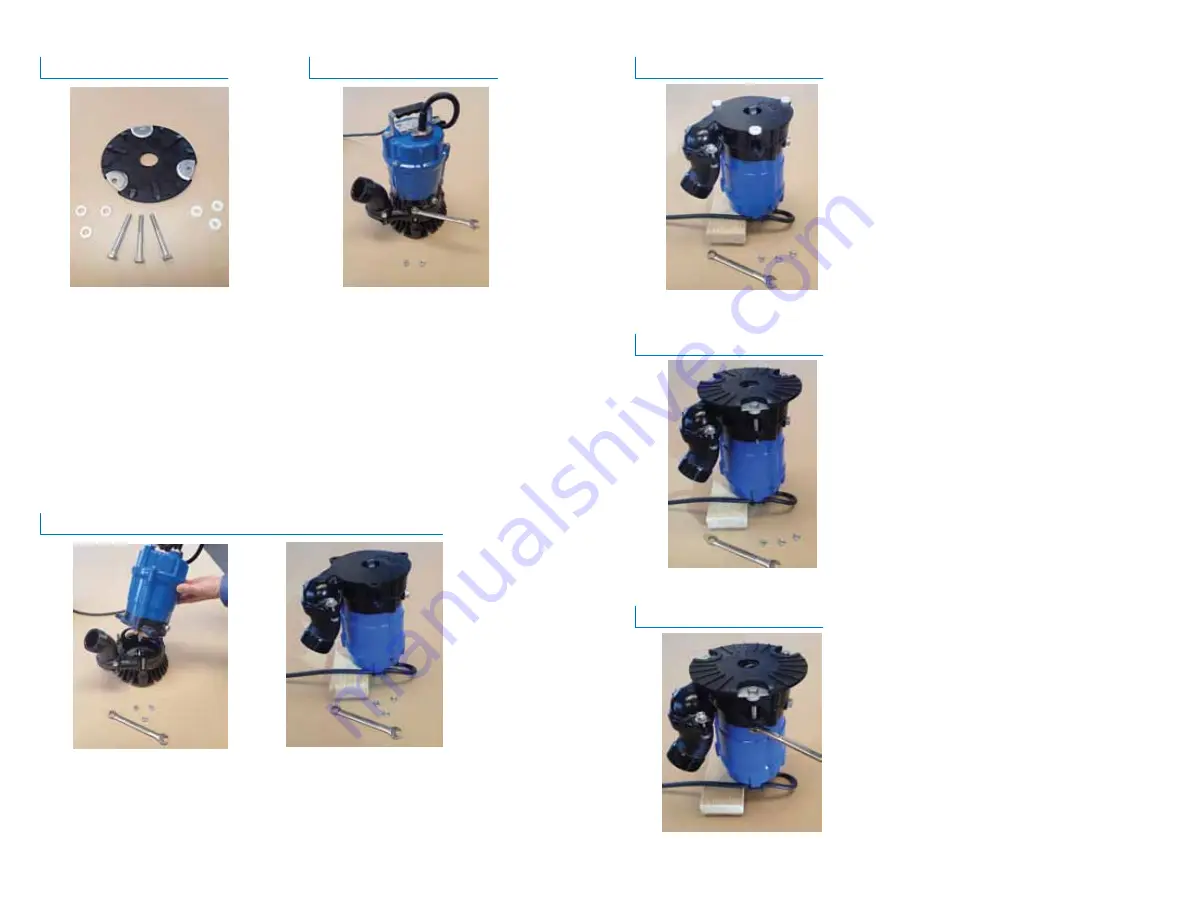
Step 1:
Remove the strainer stand from
pump by removing the (3) M8
nuts using a 13mm wrench or
socket.
Make sure your Residue Kit has all
components on hand:
• Residue plate
• Hex bolt M8 x 65 (Qty 3)
• Flat washer M8 (Qty 3)
• Nylon Spacer M8 (Qty 3)
Lift the pump assembly from the pump casing / discharge assembly and invert
the pump upside down on a sturdy level surface. Block the pump in place as
illustrated to assure it is stable during installation of the residue plate.
If a suitable size block is not available, the strainer stand may be used to
support the pump.
Replace the pump casing / discharge assembly to
the pump assembly and place either set of (3) flat
washers (for lowest pump down level), or (3)
nylon spacers (to retain solids handling
capability).
<CAUTION>
Use the nylon spacer option when
the pump is used on a finished surface or flexible
material such as a swimming pool or pond liner.
Place the residue plate, assuring that the bolt
through-holes are aligned with the washers or
spacers. Install the (3) M8 x 65mm hex bolts
from the Residue Kit as illustrated.
To complete the Residue Kit installation, reinstall
the (3) nuts removed in Step 2, and carefully
return the pump to its upright position.
<CAUTION>
When small stones are present, clear
a large area free of stones and place the pump on
a hard level surface (such as a board) to prevent
stones from passing through the pump.
Step 3:
Step 2:
Step 4:
Step 5:
Step 6:


