background image

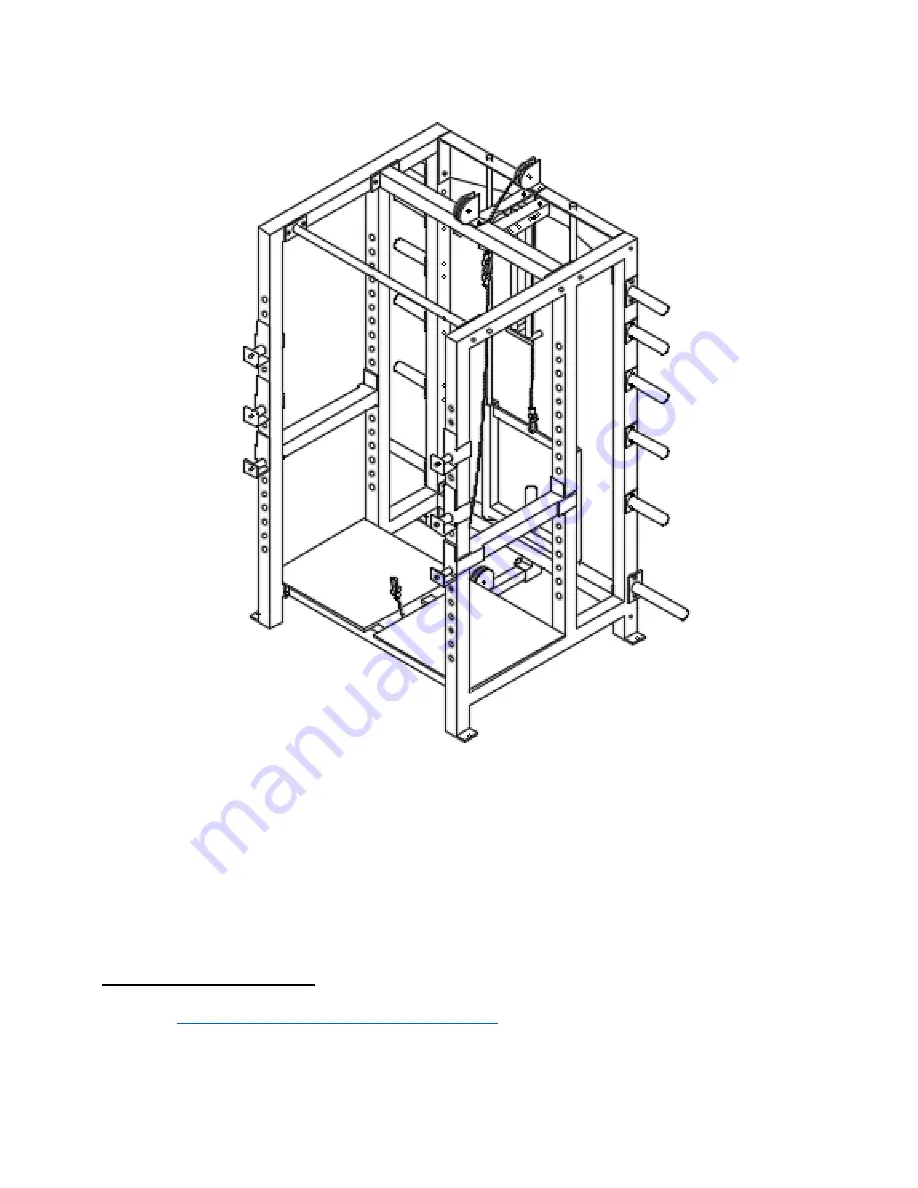
You have now completed assembling your very own 3x3 Rack with
Weight Storage and Belt Squat Attachment! Thank you for choosing
Texas Strength Systems for your fitness needs. If you have any questions,
comments, or concerns please don’t hesitate to contact our staff.

Contact Information
Email:

[email protected]

Phone:

(210) 233-6110, (210)-920-4877

17

Содержание 2.5 x 2.5 Power Rack with Belt Squat

Страница 1: ...2 5 x 2 5 Power Rack with Belt Squat...

Страница 2: ...s alcohol or medication A moment of inattention while operating or assembling the strength equipment may result in serious or fatal injury EQUIPMENT USE AND CARE Visually inspect all components in ord...

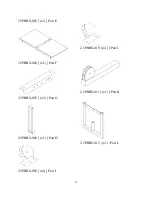
Страница 3: ...ed Tools Crescent Wrench 9 16 Socket and Wrench 5 32 Allen Key Parts 2 5PRBS 001 x1 Part A OR 2 5PR 100 x1 Part MB Upgrade Replaces Part A 2 5PRBS 002 x1 Part B 2 5PRBS 003 x1 Part C 2 5PRBS 004 x2 Pa...

Страница 4: ...2 5PRBS 005 x1 Part E 2 5PRBS 006 x1 Part F 2 5PRBS 007 x2 Part G 2 5PRBS 008 x1 Part H 2 5PRBS 009 x1 Part I 2 5PRBS 010 x1 Part J 2 5PRBS 011 x1 Part K 2 5PRBS 012 x1 Part L 3...

Страница 5: ...2 5PRBS 013 x2 Part M 76 Cable x1 Part N 84 Cable x1 Part O 2 5PRBS 016 x2 Part R 2 5PRBS 017 x2 Part S 2 5PRBS 018 x10 Part T 2 5PRBS 014 x2 Part P 4...

Страница 6: ...Q Carabiner x3 Part V Flat Washer x32 Part W Lock Nut x40 Part X Wing Nut x2 Part AB x 7 5 Bolt x2 Part Y Rubber Stopper x2 Part Z Spacer x2 Part AC Set Screw Collar x2 Part AD x 4 Bolt x40 Part AA P...

Страница 7: ...Assembly Image 1 above displays the assembly of the L M Z and AD 6...

Страница 8: ...h parts R and O respectively The organization of the hardware for these locations can be seen in Image 3 below Part C will have part R placed with it in the organization displayed in Image 3 above and...

Страница 9: ...Image 4 above displays where parts A B and C will be attached and the organization of the hardware can be seen in Image 5 8...

Страница 10: ...Using the parts that were assembled in image 1 place them into part E until the assembly is above part C and slide them into part C Once inserted tighten part part AD with a 5 32 allen key 9...

Страница 11: ...arts Y H G AB and AE will come pre assembled in the manner displayed above Parts H and AE can be placed in different locations as desired above simply shows them placed in the center holes of part G 1...

Страница 12: ...as seen in image 8 above The assembly created in image 7 will be placed beneath the parts I and J as seen in image 8 Parts I J and the previous assembly will be attached with parts AA and X Part AC wi...

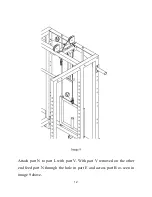
Страница 13: ...Attach part N to part L with part V With part V removed on the other end feed part N through the hole in part E and across part B as seen in image 9 above 12...

Страница 14: ...Image 10 above displays the organization of the remaining hardware which will be used for part T 13...

Страница 15: ...Place P R and S in desired location 14...

Страница 16: ...ace part F on top of part D Attach part O to N with part V Feed part O underneath part F ensuring that it lines up with the pulley underneath part F These parts can be removed and attached as desired...

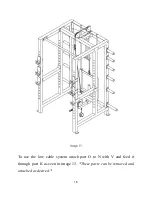
Страница 17: ...To use the low cable system attach part O to N with V and feed it through part K as seen in image 13 These parts can be removed and attached as desired 16...

Страница 18: ...and Belt Squat Attachment Thank you for choosing Texas Strength Systems for your fitness needs If you have any questions comments or concerns please don t hesitate to contact our staff Contact Inform...

Отзывы: