12
ASSEMBLY STEPS
1. PREPARATION
•
Before assembling make sure that you will have enough space around the item.
•
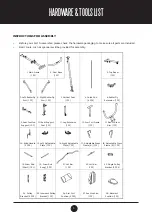
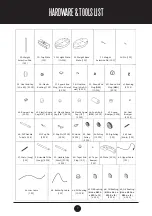
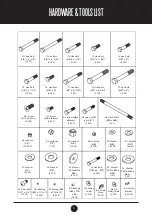
Use the supplied parts and hardware for the assembly.
•
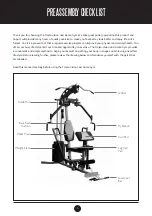
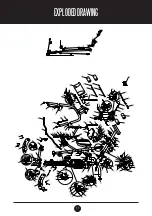
Before assembling please check whether all the required parts have been supplied as per the exploded
drawing on the previous page.
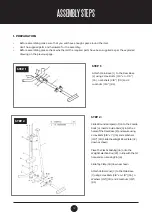
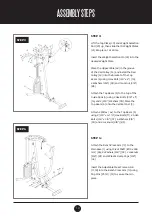
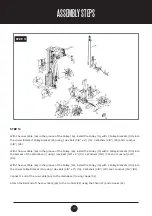
STEP 1:
Attach Main Base (1) to the Rear Base
(2) using 2 Hex Bolts (3/8” x 4-1 /8”)
(94), 4 Washers (3/8”) (90) and 2
Locknuts (3/8”) (85).
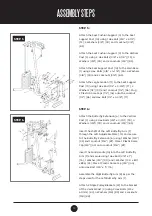
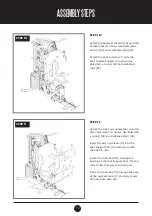
STEP 2:
Slide 2 Round Bumpers (47) onto the 2 Guide
Rods (4). Insert 2 Guide Rods (4) into the 2
holes of the Rear Base (2) and secure using
2 Hex Bolts (3/8” x 1”) (16) and 2 Washers
(3/8”) (90). Slide the Weight Base Plate (32)
down as shown.
Place the Plastic Bushing (36) onto the
Weight Selection Rod (29), in line with the 1st
hole, and secure using Pin (34).
Slide Top Plate (30) down as shown.
Attach Vertical Post (3) to the Main Base
(1) using 2 Hex Bolts (3/8” x 4-1 /8”) (94), 4
Washers (3/8”) (90) and 2 Locknuts (3/8”)
(85).
STEP 2
10230
- 9
STEP 1
Содержание VISION 360
Страница 11: ...11 EXPLODEDDRAWING 10230 25...

