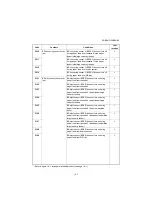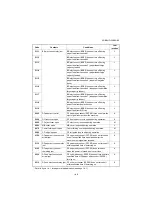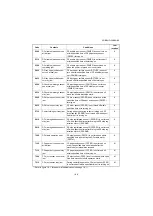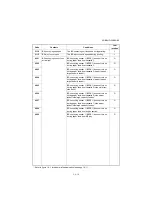
3NB/3ND/3N0/3NK-2
1-4-19
1-4-4 Troubleshooting
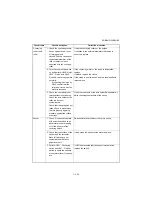
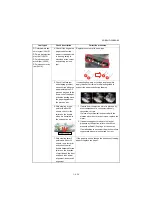
(1) First check items
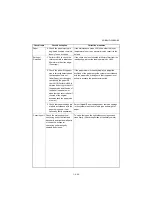
If the paper is fed askew, jammed, curled, or leading-edge dog-eared, first perform to check the following
items.
Check items
Check description
Corrective measures
Paper
1. Check the paper delivered is
dog-eared, skewed, rumpled,
loosely fused, or curled.
If a dog-ear has happened, check there are no objects
existing in the conveying paths and, if any, fix.
If the paper is fed askew or crumpled, perform the fol-
lowing No.2.If an inferior fusing or curling is observed
and the fuser temperature is set to a abnormal value,
when measured by performing maintenance mode
U161, reset to the default.
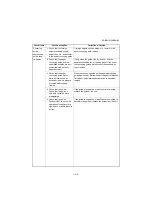
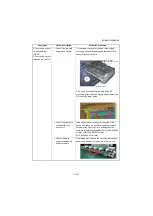
2. Check how paper is loaded in
the cassette (deck).
Check that the paper has
been properly aligned with
width adjuster cursor and the
rear guide; it has been loaded
without skewing; or it is not
damaged. (Crumpled paper,
main unit/DF jam)
Adjust the cursors to the size of the paper.
(If paper is fed askew, perform a skew cancellation
adjustment of the width adjuster cursor.)
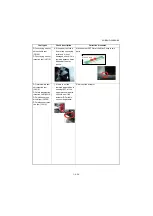
3. Check how paper is loaded.
Check if the cutting edge of
the paper bundle inside is
cumpled or bent.
If the cutting edge of the paper bundle is crumpled, fan
the paper before loading.
If the paper is folded, stretch before loading in the
cassette
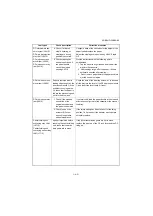
4. If a large-capacity deck is
being used, check how paper
is loaded in the deck.
Check if the paper inside the
deck is placed above the
guide.
Reloard the paper so that its edges won't be situated
above the platform.
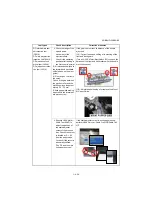
5. Check the paper is damp,
wavy, or curled.
1. Load the paper bundle in the cassette upside down.
2. Load the paper bundle after rotating it 180°and
reload.
3. Change the paper.
6. Check if the paper loaded
was stored in a continuously
humid place.
Instruct the user to store paper in a dry, less humid
place.
Install a cassette heater and configure using U327.
7. Check if the paper conforms
to the requirements.
Isolate the cause of the problem by replacing the paper
with the recommended paper.
Содержание UTAX AK 730
Страница 5: ...This page is intentionally left blank ...
Страница 11: ...This page is intentionally left blank ...
Страница 15: ...3NB 3ND 3N0 3NK This page is intentionally left blank ...
Страница 25: ...3NB 3ND 3N0 3NK 1 1 10 This page is intentionally left blank ...
Страница 43: ...3NB 3ND 3N0 3NK 1 2 18 3 Remove tape and pad Figure 1 2 23 Tape Pad ...
Страница 45: ...3NB 3ND 3N0 3NK 1 2 20 This page is intentionally left blank ...
Страница 81: ...3NB 3ND 3N0 3NK 1 3 36 This page is intentionally left blank ...
Страница 157: ...3NB 3ND 3N0 3NK 1 4 76 This page is intentionally left blank ...
Страница 169: ...3NB 3ND 3N0 3NK 1 5 12 This page is intentionally left blank ...
Страница 206: ...3NB 3ND 3N0 3NK 2 2 11 This page is intentionally left blank ...
Страница 246: ...1 1 INSTALLATION GUIDE INSTALLATION GUIDE FOR 4000 SHEETS FINISHER ...
Страница 269: ...INSTALLATION GUIDE FOR FINISHER ATTACHMENT KIT MFP A ...
Страница 283: ...INSTALLATION GUIDE FOR FINISHER ATTACHMENT KIT MFP B ...
Страница 284: ...E F A H G I J B D C ...
Страница 291: ...INSTALLATION GUIDE FOR FINISHER ATTACHMENT KIT PRINTER ...
Страница 295: ...INSTALLATION GUIDE FOR CENTER FOLDING UNIT ...
Страница 312: ...INSTALLATION GUIDE FOR MULTI TRAY ...
Страница 326: ...INSTALLATION GUIDE FOR MULTI TRAY ATTACHMENT KIT PRINTER ...
Страница 330: ...INSTALLATION GUIDE FOR PUNCH UNIT ...


