


Using the Operation Panel
4-27
8
Press
[Enter]
(
[Right Select]
). If the entered access code is
correct, the
Copies
menu screen appears.
If the entered access code is incorrect, the
ID
menu screen
reappears.
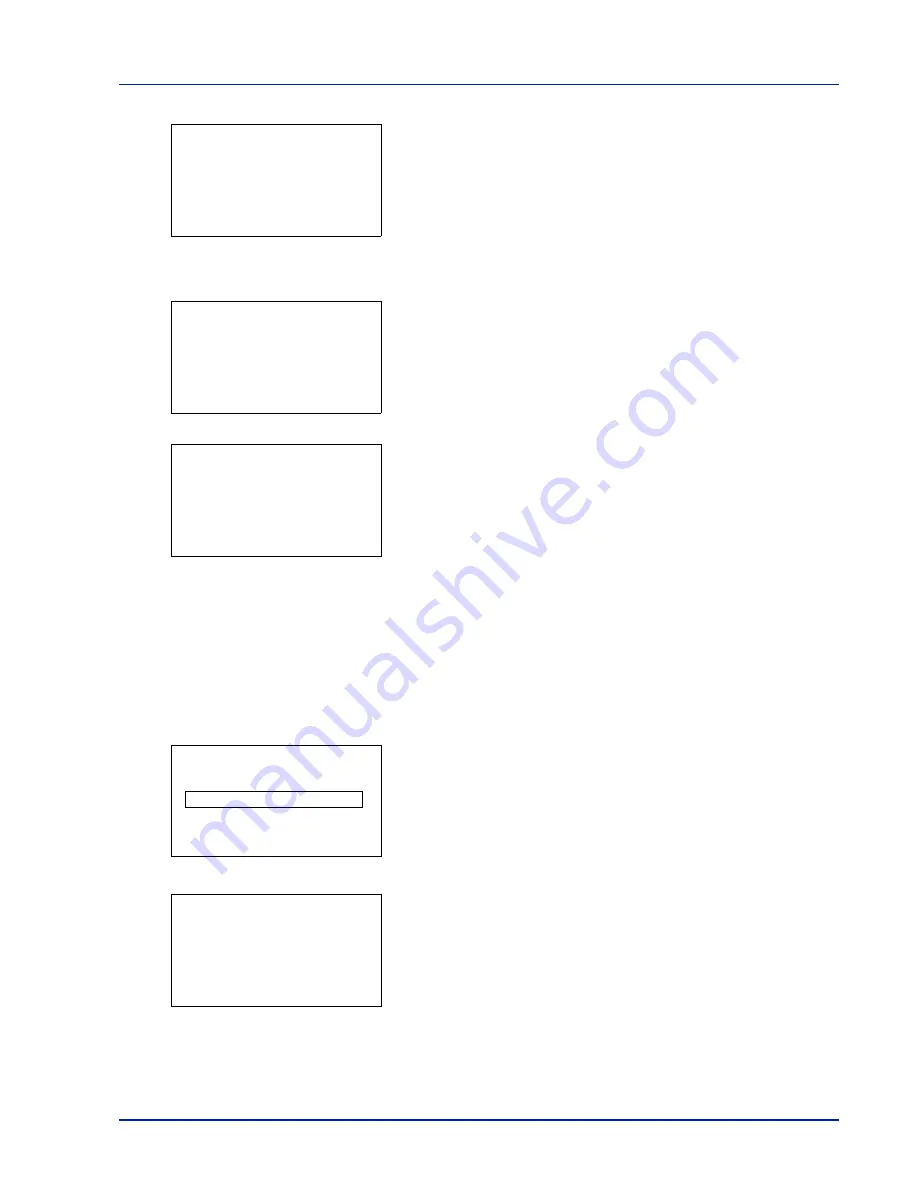
To print 2 or more copies, use the arrow keys to set the number of
copies to be printed.
Press
U
or
V
to increase or decrease, respectively, the value at the
blinking cursor.
Use
Y
and
Z
to move the cursor right and left.
9
Press
[OK]
. A confirmation message is displayed.
10
Press
[Yes]
(
[Left Select]
). The message
Accepted.
appears and
the printer prints the selected job.
Pressing
[No]
(
[Right Select]
) returns you to the Job Box menu
without printing the job.
Deleting a Private/Stored Job
You can individually delete stored jobs by performing the following
procedure. Jobs saved using Private Print will be automatically deleted if
you turn the power off after printing, but jobs saved using Stored Job will
not be deleted automatically.
1
Refer to steps 1 to 5 in
Private/Stored (Printing a Private Print/Stored
Job) on page 4-26
to select the job to be deleted.
2
Press
[Delete]
(
[Right Select]
). The
ID
menu screen appears.
3
Enter the access code entered in the printer driver.
Use the
Y
or
Z
to select a number and then press
[OK]
to enter the
number.
You can go back one character by pressing
[Bckspace]
(
[Left
Select]
).
4
Press
[Enter]
(
[Right Select]
). If the entered access code is
correct, the Delete menu screen appears. If the entered access code
is incorrect, the
ID
menu screen reappears.
Copies:
a
b
(1 - 999)
/**1-
copies
M
Print.
Are you sure?
z
Q
Data01
[
Yes
] [
No ]
Accepted.
ID:
P
b
(0000-9999)
S
0
123456789
[Bckspace] [ Enter ]
Delete.
Are you sure?
z
Q
Data01
[
Yes
] [
No ]
Содержание CLP 4635
Страница 1: ...Instruction Handbook CLP 4635 Colour Printer ...
Страница 2: ......
Страница 33: ...Printing Operation 2 9 13The selected printer is added This completes the printer setup procedure ...
Страница 40: ...2 16 PrintingOperation ...
Страница 70: ...4 12 Using the Operation Panel Menu Map Sample Menu Map Printer Firmware version ...
Страница 161: ...Using the Operation Panel 4 103 Sample Color Registration Correction Chart Detail ...
Страница 168: ...4 110 Using the Operation Panel ...
Страница 178: ...5 10 Maintenance ...
Страница 212: ...A 14 ...
Страница 216: ...Glossary 4 ...
Страница 219: ...Index 3 Remove 4 19 Slot 1 3 W Waste Toner Box 1 2 Replacing 5 6 Wide A4 4 53 X XPS Fit to Page 4 53 ...
Страница 220: ...Index 4 ...
Страница 222: ...UTAX GmbH Ohechaussee 235 22848 Norderstedt Germany ...


