background image

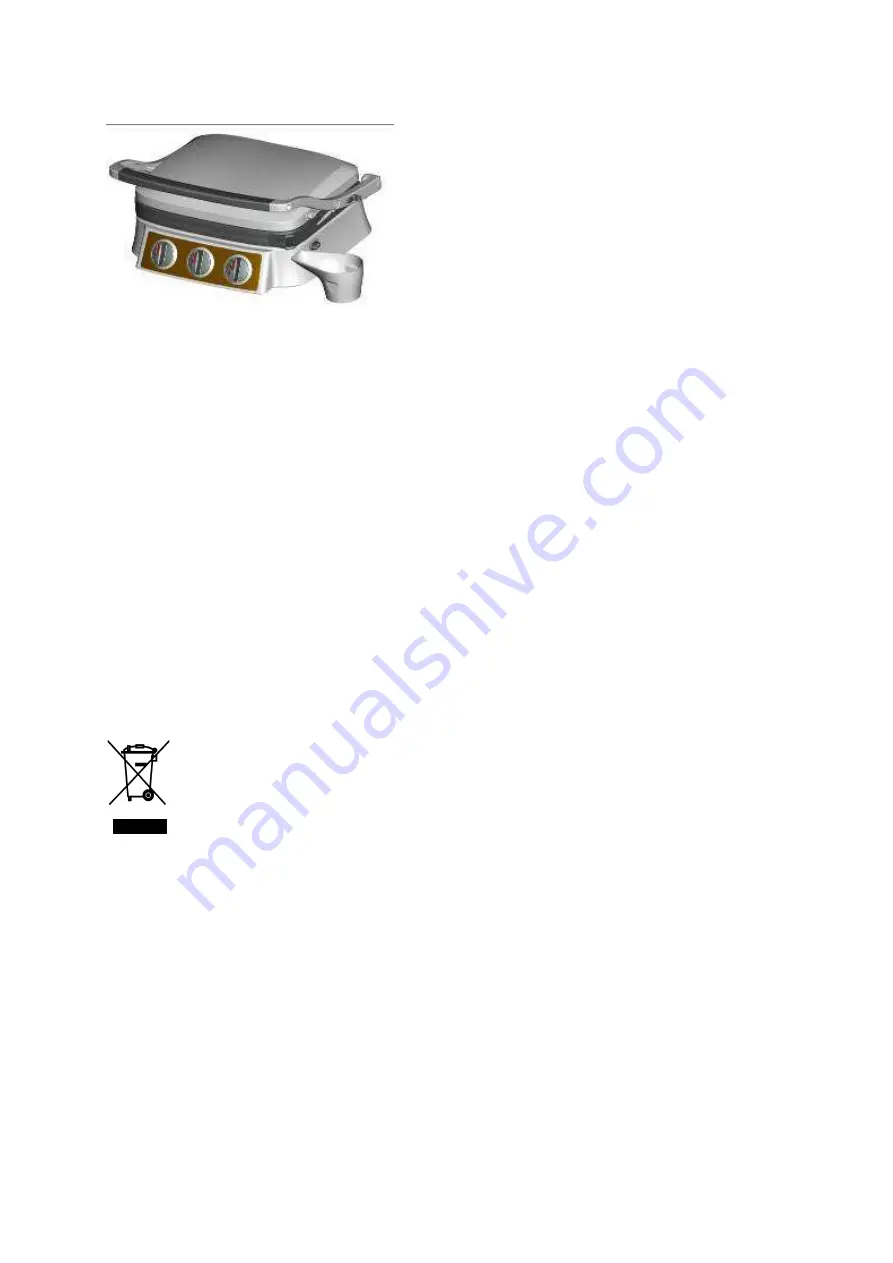
Using the Panini grill (closed position) 


The Panini grill knob (5) has 4 settings: LOW, MEDIUM, HIGH  and MAXIMUM. The temperature will variety 
from start position 100° Celsius up to MAXIMUM 250° Celsius. These are temperatures based on a closed grill 
and without any food on it. Make sure you open the grill by grabbing the plastic part of the handle (2). The 
cover and the metal parts can be very hot.  
 
The Panini grill is extremely useful for grilling sandwiches and bread. Panini is a Italian word for grilled 
sandwich. For example you can take two slices of bread and in between you put different ingredients like meat 
or cheese. Put this on the lower plate  then close the grill with the upper flat plate and press it a little, so the 
slices and the ingredients become warm.   
 
Besides the sandwiches you can also bake hamburgers e.g. when the appliance is in closed position.  For meat 
you have to use the griddle knob (3) This will go more fast then when using the open/ flat position. When you 
want the grilling motif on both sides you have to turn the bread/ meat. 

 
Cleaning 

Make sure the appliance is totally cooled down before cleaning. Turn the selector knob (4) to the off position, 
the grill and griddle knob to the starting position and wait for about 30 minutes. The plates (6&8), drip cups 
(11) and the grill cleaner (12) are suitable for the dishwasher.  
You can remove the plates from the grill by pushing the buttons on the side (7&9). The other parts of the grill 
can be cleaned with an damp cloth. 
 

Guidelines for protection of the environment 

This appliance should not be put into the domestic garbage at the end of its useful life, but must be disposed of at a central point for 

recycling of electric and electronic domestic appliances.  This symbol on appliance, instruction manual and packaging puts your attention to 

this important issue. The materials used in this appliance can be recycled.  By recycling used domestic appliances you contribute an 

important push to the protection of our environment. Ask your local authorities for information regarding the point of recollection. 

Содержание GR-2837

Страница 1: ...GR 2837 ...

Страница 2: ... hun veiligheid Om kinderen te beschermen tegen de gevaren van elektrische apparatuur mag u ze nooit zonder toezicht bij het apparaat laten Selecteer daarom een plek voor uw apparaat op dusdanige wijze dat kinderen er niet bij kunnen Zorg er voor dat de kabel niet naar beneden hangt Test het apparaat de stekker en de kabel regelmatig op schade Als er schade is dan dient het apparaat niet gebruikt ...

Страница 3: ... 7 Knop voor verwijdering van de grilplaat indrukken om de plaat te ontgrendelen en verwijderen 8 Bakplaat 9 Knop voor verwijdering van de bakplaat indrukken om de plaat te ontgrendelen en verwijderen 10 Knop om de bakplaat in horizontale stand te zetten 11 Opvangbakjes 2 stuks 12 Grillreiniger Opmerking onze grill heeft één vlakke plaat en één grillplaat 1 12 0 11 2 5 4 3 7 8 6 10 9 ...

Страница 4: ...bruiken open horizontale stand Om de bakplaat te gebruiken dient u de grill volledig te openen door op de beveiligingsknop aan de zijkant 10 te drukken U kunt vervolgens de grill volledig uitklappen en de bakplaat 8 op de hendel 2 laten rusten Uw grill is voorzien van een grillplaat 6 en een vlakke bakplaat 8 De afbeelding toont de wijze waarop de opvangbakjes 11 gebruikt kunnen worden De bakplaat...

Страница 5: ...ijd korter dan wanneer u de open horizontale stand gebruikt Als u graag een motief op beide zijden wilt hebben dient u het brood vlees om te draaien Na gebruik Controleer of het apparaat volledig is afgekoeld voordat u het schoonmaakt Draai de selectieknop 4 naar de uit stand de grill en bakplaatknop naar de startstand en wacht ca 30 minuten De platen 6 8 opvangbakjes 11 en grillreiniger 12 kunnen...

Страница 6: ...erät um sie vor den Gefahren im Umgang mit elektrischen Geräten zu schützen Suchen Sie für das Gerät also einen Platz aus der für Kinder unzugänglich ist Achten Sie darauf dass das Kabel nicht herunterhängt Überprüfen Sie das Gerät den Stecker und das Kabel regelmäßig auf Schäden Verwenden Sie das Gerät nicht bei Vorhandensein irgendwelcher Schäden sondern lassen Sie es von einem Techniker reparie...

Страница 7: ...tere Grillplatte 7 Taste zum Entfernen der unteren Platte zum Lösen drücken und die Platte entfernen 8 Obere flache Platte 9 Taste zum Entfernen der oberen Platte zum Lösen drücken und die Platte entfernen 10 Taste zum horizontalen Drehen der oberen Platte 11 Auffangschalen 2 Stück 12 Grillreiniger Bitte beachten Sie dass unser Grill eine flache Platte und eine Grillplatte hat 1 12 0 11 2 5 4 3 7 ...

Страница 8: ...fanne offene flache Position Zum Benutzen der Grillpfanne müssen Sie den Grill durch Drücken der Sicherungstaste an der Seite 10 vollständig öffnen Sie können dann den Grill vollständig öffnen und die obere flache Platte 8 liegt auf dem Griff 2 Denken Sie daran dass der Grill eine Grillplatte 6 und eine flache Platte 8 hat Auf dem Bild sehen Sie wie Sie die Auffangschalen 11 verwenden müssen Der B...

Страница 9: ...ie offene flache Position anwenden Wenn Sie auf beiden Seiten das Grillmotiv haben möchten müssen Sie das Brot Fleisch umdrehen Reinigung Vergewissern Sie sich dass das Gerät vor der Reinigung vollständig abgekühlt ist Drehen Sie den Wählschalter 4 in die AUS Position Grill und Bedienknopf für Grillpfanne in die START Position und warten Sie etwa 30 Minuten Platten 6 8 Auffangschalen 11 und Grillr...

Страница 10: ... assurer qu ils ne jouent pas avec l appareil Afin de protéger les enfants des dangers des appareils électriques ne les laissez jamais sans surveillance à proximité de l appareil En conséquence lorsque vous choisissez l emplacement de l appareil faites le de telle manière que l enfant n aura pas accès à l appareil Vérifiez et assurez vous que les câbles ne pendent pas Testez régulièrement l appare...

Страница 11: ... la plaque inférieure enfoncez le pour dégager et retirer la plaque 8 Plaque supérieure plate 9 Bouton de retrait de la plaque inférieure enfoncez le pour dégager et retirer la plaque 10 Bouton pour mettre la plaque supérieure à l horizontale 11 Tasses de récupération de la graisse 2 pièces 12 Nettoyeur du gril Veuillez noter que votre gril est équipé d une plaque plate et d une plaque gril 1 12 0...

Страница 12: ...n de la plaque chauffante ouverte position à plat Pour utiliser la plaque chauffante vous devez ouvrir complètement le gril en appuyant sur le bouton de sécurité situé sur le côté 10 Ensuite vous pourrez ouvrir complètement le gril et la plaque chauffante supérieure 8 pourra reposer sur la poignée 2 Veuillez noter que votre gril est équipé d une plaque gril 6 et d une plaque plate 8 Vous pouvez vo...

Страница 13: ...ue chauffante 3 Cela sera plus rapide que lorsque vous utilisez la position ouverte à plat Lorsque vous voulez que les deux côtés soient grillés vous devez simplement retourner le pain la viande Nettoyage Assurez vous que l appareil est complètement froid avant de le nettoyer Tournez le sélecteur 4 sur la position off le gril et le bouton de la plaque chauffante en position de démarrage et attende...

Страница 14: ...r their safety In order to protect children from the dangers of electrical appliances never leave them unsupervised with the device Consequently when selecting the location for your device do so in such a way that children do not have access to the device Take care to ensure that the cable does not hang down Test the device plug and the cable regularly for damage If there is damage of any kind the...

Страница 15: ...ll plate 7 Button for removing the lower plate push in to release and remove the plate 8 Upper flat plate 9 Button for removing the upper plate push in to release and remove the plate 10 Button for changing the upper plate to horizontal 11 Drip cups 2pieces 12 Grill cleaner Note that our grill has one flat plate and one grill plate 1 12 0 11 2 5 4 3 7 8 6 10 9 ...

Страница 16: ...onstick plates Using the griddle open flat position For using the griddle you have to open the grill totally by pushing on the safety button at the side 10 Then you can open the grill totally and the upper flat plate 8 can rest on the handle 2 Keep in mind that your grill has a grill plate 6 and a flat plate 8 You can see on the picture how to use the drip cups 11 The griddle knob 3 can be changed...

Страница 17: ...hen when using the open flat position When you want the grilling motif on both sides you have to turn the bread meat Cleaning Make sure the appliance is totally cooled down before cleaning Turn the selector knob 4 to the off position the grill and griddle knob to the starting position and wait for about 30 minutes The plates 6 8 drip cups 11 and the grill cleaner 12 are suitable for the dishwasher...

Страница 18: ...a loro sicurezza Per proteggere i bambini dai pericoli degli apparecchi elettrici non lasciarli mai senza controllo con il dispositivo Di conseguenza quando si sceglie il luogo per il dispositivo si deve farlo in modo che i bambini non vi abbiano accesso Fare attenzione che il cavo non penzoli Controllare regolarmente che il dispositivo la spina e il cavo non siano danneggiati Se c è un qualche da...

Страница 19: ...stra inferiore premere il pulsante per staccare e rimuovere la piastra 8 Piastra piatta superiore 9 Pulsante per la rimozione della piastra superiore premer il pulsante per staccare e rimuovere la piastra 10 Pulsante per portare la piastra superiore in orizzontale 11 Dispositivi raccogli grasso 2 pezzi 12 Dispositivo di pulizia griglia Notare che il grill è dotato di una piastra piatta e una piast...

Страница 20: ...erta piatta Per utilizzare la piastra è necessario aprire completamente il grill spingendo il pulsante di sicurezza a lato 10 A questo punto è possibile aprire completamente il grill e la piastra piatta superiore 8 può rimanere appoggiata al manico 2 Ricordare che il grill é dotato di piastra grill 6 e piastra piatta 8 Fare riferimento alla figura per l uso dei dispositivi raccogli grasso 11 Il pu...

Страница 21: ...atta Quando si desidera l impronta del grill da entrambe le parti è necessario girare il pane la carne Pulizia Attendere che il dispositivo si sia raffreddato prima di procedere alla pulizia Girare il selettore 4 in posizione OFF SPENTO il selettore griglia e piastra in posizione di avviamento e attendere circa 30 minuti Le piastre 6 e8 I dispositivi raccogli grasso 11 e il dispositivo di pulizia ...

Страница 22: ...ger a los niños de los peligros de los aparatos eléctricos nunca los deje solos con el aparato sin supervisión Consecuentemente al seleccionar el emplazamiento del aparato piense en un lugar fuera del alcance de los niños Asegúrese de que el cable no quede colgando Pruebe el aparato el enchufe y el cable para detectar cualquier daño posible En caso de detectar cualquier tipo de daño no utilice el ...

Страница 23: ...car la plancha inferior presionar adentro para liberar y sacar la plancha 8 Plancha plana superior 9 Botón para sacar la plancha superior presionar adentro para liberar y sacar la plancha 10 Botón para cambiar la plancha superior a horizontal 11 Recipientes para goteo 2 piezas 12 Limpiador de la parrilla Observe que nuestra parrilla tiene una plancha plana y una plancha de parrilla 1 12 11 2 5 4 3...

Страница 24: ...ntes Uso de la plancha posición abierta plana Para usar la plancha tiene que abrir totalmente la parrilla presionando el botón de seguridad lateral 10 Ahora podrá abrir totalmente la parrilla y la plancha superior plana 8 podrá reposar sobre el asa 2 Tenga en cuenta que la parrilla tiene una plancha de parrilla 6 y una plancha plana 8 Puede ver en la imagen cómo usar los recipientes para goteo 11 ...

Страница 25: ...n abierta plana Cuando quiera la marca de parrilla en ambos lados tiene que girar el pan la carne Limpieza Asegúrese de que el aparato esté totalmente frío antes de limpiarlo Ponga el mando selector 4 en posición de apagado la parrilla y el mando de plancha en posición inicial y espere unos 30 minutos Las planchas 6 y 8 recipientes de goteo 11 y el limpiador de parrilla 12 pueden ponerse en el lav...

Страница 26: ...aparelhos eléctricos nunca as deixe sem supervisão junto do aparelho Da mesma forma quando seleccionar o local onde vai colocar o aparelho faça o de modo a que as crianças não lhe consigam aceder Certifique se de que o cabo não fica suspenso Verifique regularmente se o dispositivo a ficha e o cabo estão danificados Se houver algum tipo de dano não deve utilizar o aparelho Deve entregá lo a um técn...

Страница 27: ...hador 7 Botão para remover a chapa inferior empurre para libertar e remover a chapa 8 Chapa plana superior 9 Botão para remover a chapa superior empurre para libertar e remover a chapa 10 Botão para mudar a chapa superior para a horizontal 11 Taças para molho 2 peças 12 Limpeza do grelhador Tenha em atenção que o nosso grelhador tem uma chapa plana e uma chapa para grelhar 1 12 0 11 2 5 4 3 7 8 6 ...

Страница 28: ...s anti aderentes Utilizar a frigideira posição aberto plano Para utilizar a frigideira deve abrir a frigideira na totalidade ao premir o botão de segurança na parte lateral 10 Pode então abrir o grelhador na totalidade e a chapa plana superior 8 pode ficar apoiada na pega 2 Lembre se o seu grelhador tem uma chapa de grelha 6 e uma chapa plana 8 Pode ver na imagem como utilizar as taças para molho ...

Страница 29: ...o quiser tem o motivo de grelhado em ambos os lados tem de virar o pão carne Limpeza Certifique se que o aparelho está totalmente arrefecido antes de limpar Rode o botão selector 4 para a posição desligada o botão da grelha e da frigideira para a posição inicial e espere cerca de 30 minutos As chapas 6 8 as taças para molho 11 e a limpeza do grelhador 12 podem ser lavados na máquina de lavar loiça...

Отзывы: