6
Installation and Operation
4.
Press the buttons on the front panel to select the desired computer.
The Select LED will illuminate to indicate which computer is currently
selected. The monitor will show the corresponding image, and the
selected computer can by controlled via keyboard and mouse.
5.
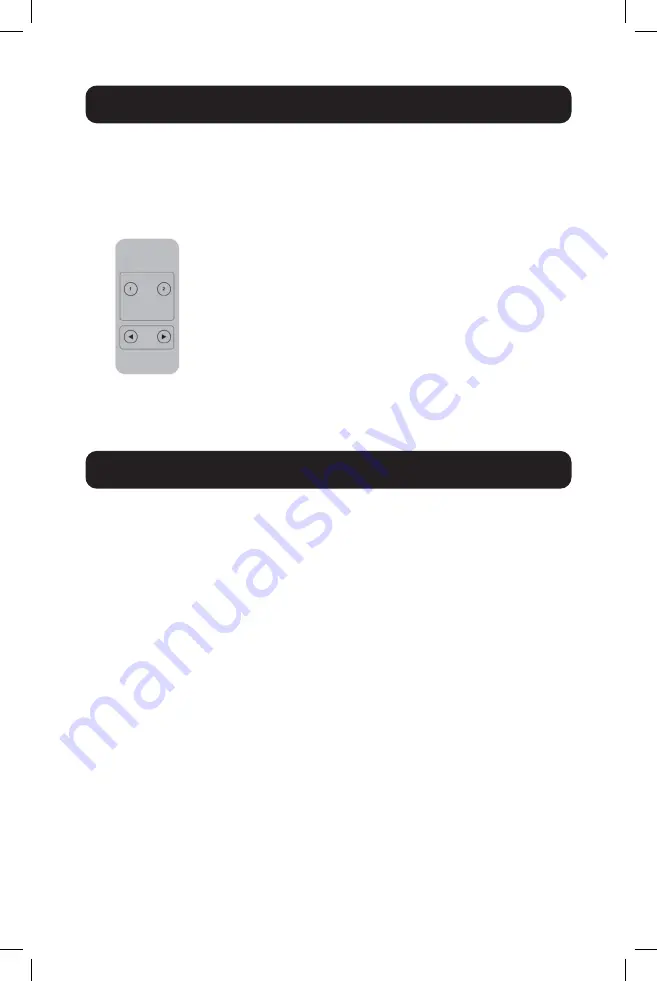
The included IR Remote Control works the same as the pushbuttons:
a.
For input: “1” specifies PC1 and “2” specifies PC2.
b.
For loop switching: Order is PC1>PC2>PC1>…
6.
USB peripherals, such as printers, scanners and thumb drives, can be
connected to the front-panel USB-A ports.
Special Function Operation
1.
Mouse Traversal Function
– Place the mouse on the far right of the
monitor, and continue to slide it to the right for 2 seconds. The KVM
switch will automatically switch to the next port. Switching order is
PC1>PC2>PC1>…
2.
USB-B Detection Switching Function:
a.
When the unit detects that a computer is connected to the USB-B
port, the unit immediately switches to that computer, and the
corresponding
Online
and
Select
LEDs illuminate. For instance,
if PC1 is already connected, then PC2 becomes connected via
USB-B, and the KVM will automatically switch to PC2.
b.
When the currently selected computer is powered off or the USB
cable is dialed out, the KVM automatically switches to the next
computer with the power on and the USB port connected.


