28
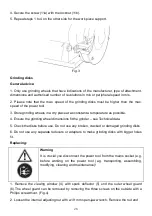
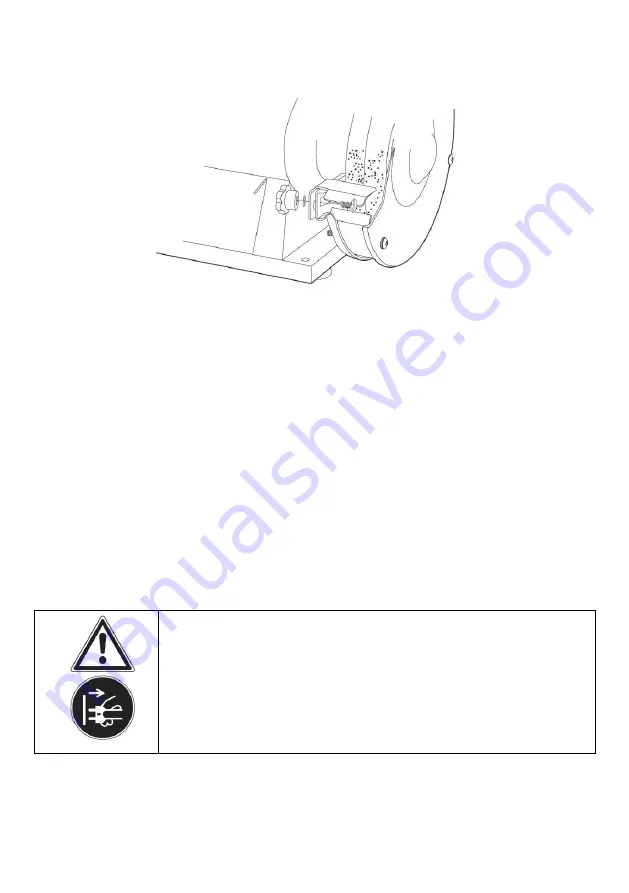
4. Secure the screw (11a) with the locknut (11b).
5. Repeat steps 1 to 4 on the other side for the work piece support.
Fig.3
Grinding disks
General advice:
1. Only use grinding wheels that have indications of the manufacturer, type of attachment,
dimensions and authorised number of revolutions in min or peripheral speed in m/s.
2. Please note that the max. speed of the grinding disks must be higher than the max.
speed of the power tool.
3. Store grinding wheels in a dry place at as constant a temperature as possible.
4. Ensure the grinding wheel dimensions fit the grinder
– see Technical data.
5. Check the disks before use. Do not use any broken, cracked or damaged grinding disks.
6. Do not use any separate reducers or adapters to make grinding disks with bigger holes
fit.
Replacing:
Warning
It is crucial you disconnect the power tool from the mains socket (e.g.
before working on the power tool (e.g. transporting, assembling,
modifying, cleaning and maintenance)!
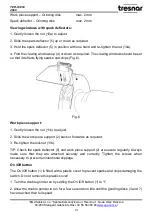
1. Remove the viewing window (4) with spark deflector (5) und the outer wheel guard
(6).The wheel guard can be removed by removing the three screws on the outside with a
Philips screwdriver. (Fig.4).
2. Loosen the internal adjusting nut with a 19 mm open-jaw wrench. Remove the nut and
Содержание 4673
Страница 34: ......
Страница 35: ...TBG 200 350 4673 ...


