- 50 -
2.5.14.1 Management Web UI
Web UIs of “Agent Management” and “Stacking Management” look similar.
In this page, user can add or delete managed network devices here. If user disables the IP agent
function, that is, he/she sets the management mode to “Agent Slave” or “Stacking Slave” in the IP
setting webpage, this item will not show up in the main menu.
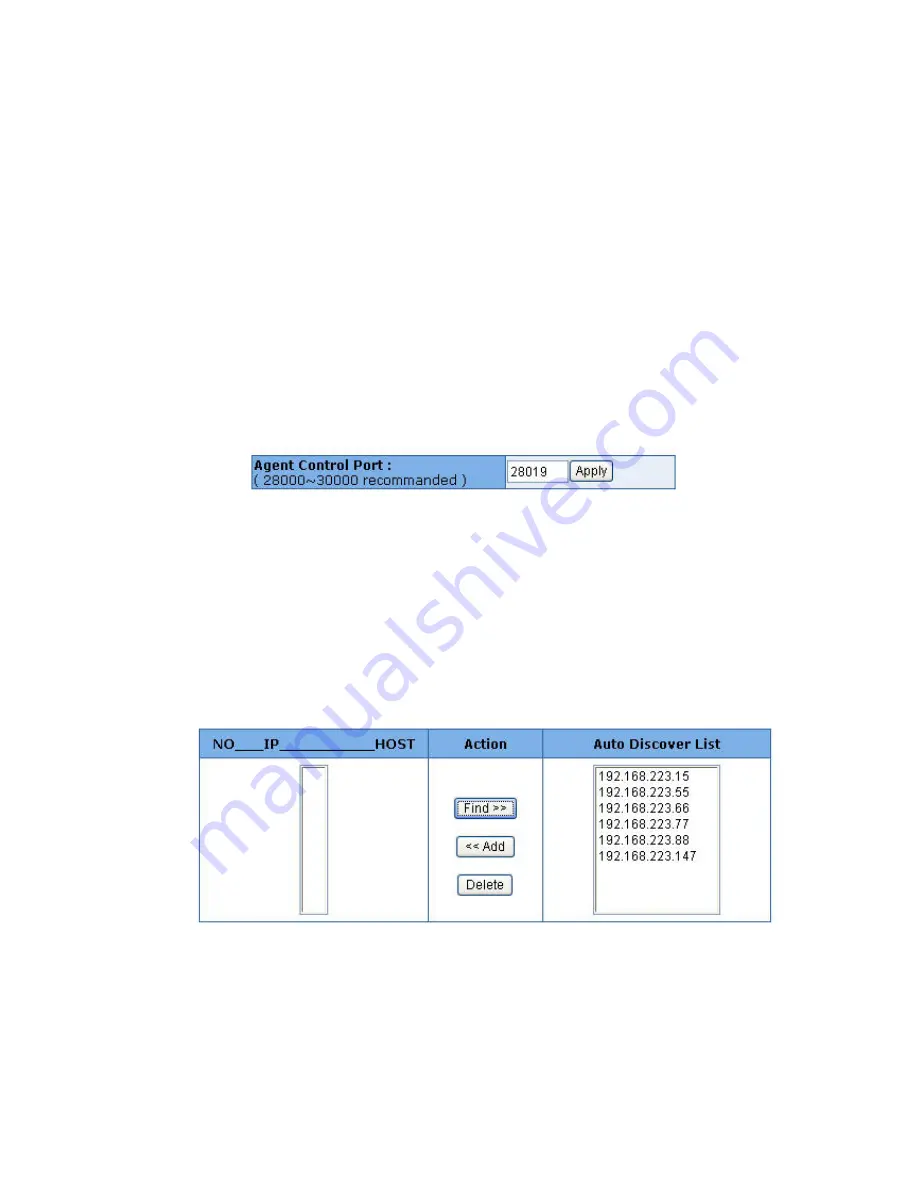
Agent Control Port:
The control port defines the specific TCP/UDP port the single IP switch is
listening, which the agent manager sends its command to. Agent manager use this specific port to tell
single IP switch to change the current forwarding target host. The range of available port number is
28000 ~ 30000. Ignore the default settings of “Agent Control Port” unless user has the special need
for this protocol port, like virtual server.
The default port number is 28019.
There are two ways to add the members: “Auto-discover” and “Manual”.
Auto-discover method:
Press “Find >>” and the found stackable switches will be gathered in “Auto Discover List”.
Select these found members and press “ << Add” to add the selected hosts to the list.
The searching range bases on
Class C IP domain within Agent IP
. Changing “Agent IP”
domain in “Administrator/IP & Management Mode” webpage will alter the search range. For
example, Agent IP is set to 192.168.223.100, and then the auto-discover function will search
available switchs in the range from 192.168.223.1 to 192.168.223.255.
Note:
“Stacking Master” finds the “Stacking Slaves” only
, while “Agent Master” will find all
slaves and masters.
Manual method:
User can add members by manual. Fill up the “IP Address” and “Host Name”, then press
“Apply” to complete the addition of a new member.
Содержание TEG-S2500i
Страница 1: ...1 TEG S2500i 24 2G Stackable Switch User s Guide Version 11 01 4 26 2004...
Страница 44: ...44...
Страница 77: ...77 4 2 4 Misc Configuration...
Страница 83: ...83...
Страница 86: ...86 4 2 5 4 IP Configuration User can configure the IP setting and fill in the new value...
Страница 93: ...93...
Страница 96: ...96...
Страница 115: ...115 4 3 6 802 1x Protocol This page can configure and view all the 802 1x status 4 3 6 1 Enable Disable 802 1x...
Страница 137: ...137 Result 1 PC 0 can access both PC 01 and PC 02...
Страница 138: ...138 2 PC 0 can only access PC 02 only PC 01 will not reply...