background image

TRENDnet User’s Guide 


TPL-4052E 


© Copyright 2015 TRENDnet. All Rights Reserved. 


18


Using the Utility 

Before using the utility, please ensure the following: 

1.


Write down the 

Device Password (DPW)

 (16-digit characters A-

Z  only)  and 

MAC  Address

  (12-digit  characters  a-f,  A-F,  0-9)  of 

each  Powerline  Adapter  as  this  will  be  required  to  change  the 
network name for multiple Powerline Adapters. See “Device Label” 
on page 5. 

2.


Make sure the computer in which you are installing the utility is 
connected to your network and your Powerline Adapters are also 
connected to your network. 

3.


If you have changed your network name using the Sync button and 
you  are  creating  a  customized  network  name,  it  is  required  to 
reset  all  powerline  devices  to  defaults  using  the  physical 

Reset


button  on  your  Powerline  Adapter  first  before  using  the  utility. 
See “Product Outlook” on page 5. 

4.


Please ensure that your Powerline Adapters are already installed 
and connected and the Ethernet port on each adapter is connected 
to a device powered on. 


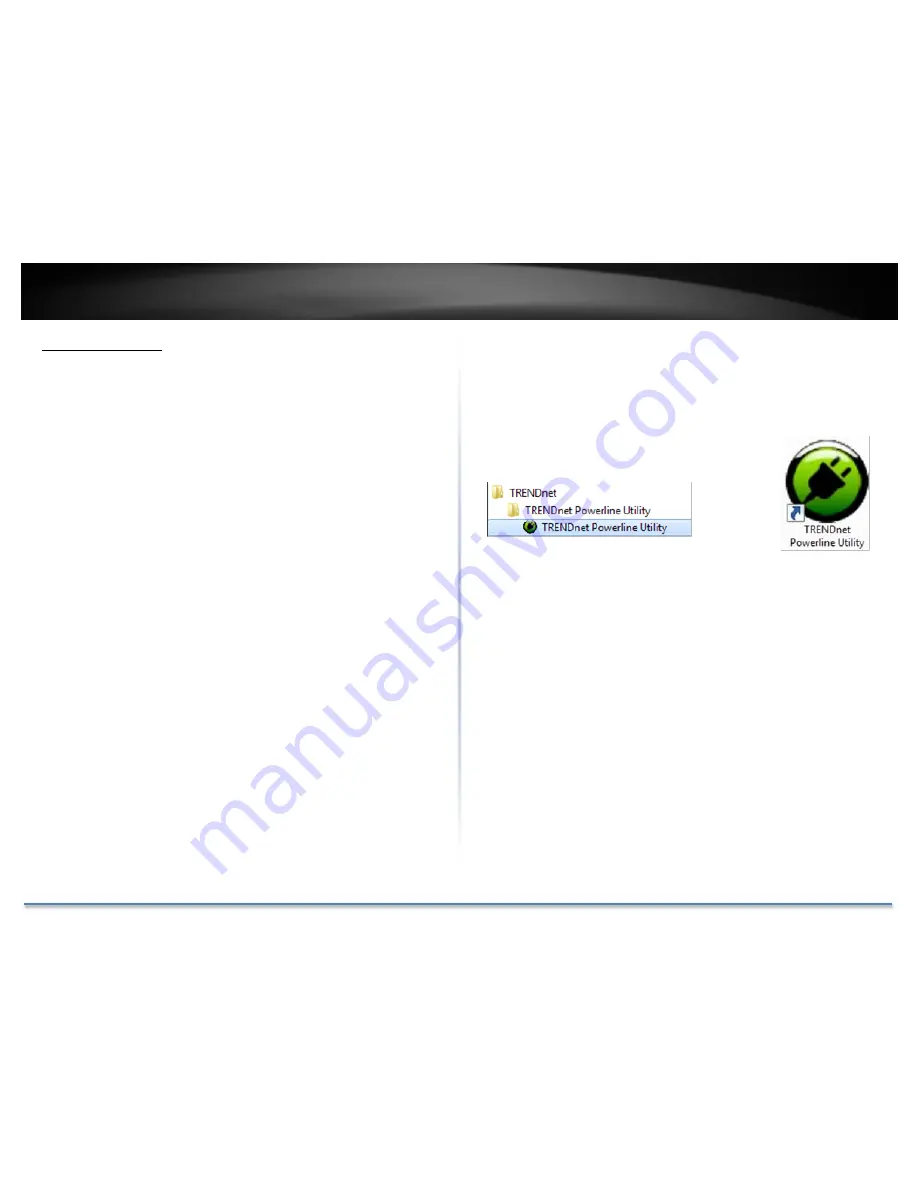
Upon  completing  the  software  installation,  a  desktop  shortcut  is 
automatically created. Double-click the icon to start the utility or open the 
utility if it is already running. Closing the utility will exit the application. 

You  can  also  launch  the  utility  from  Start  Menu. 

Start  >  Programs  (or  All  Programs)  > 
TRENDnet  > TRENDnet Powerline Utility.


Содержание TPL-4052E

Страница 1: ......

Страница 2: ...Adapters 10 Start connecting 10 Connecting Additional Powerline Adapters 10 Physical Installation 11 Create Multiple Powerline Networks 12 Move Powerline adapters between different overlapping powerline networks 13 The Powerline Utility 14 Powerline Utility System Requirements 14 Software Installation 14 Using the Utility 18 Before using the utility please ensure the following 18 Powerline Utility...

Страница 3: ...TRENDnet User s Guide TPL 4052E Copyright 2015 TRENDnet All Rights Reserved 3 Energy Efficiency 27 Directives 27 ErP Statement 28 Limited Warranty 31 ...

Страница 4: ...rk Connect network ready TVs media players game consoles and computers to the four Ethernet ports No CD installation required encrypted TRENDnet adapters auto connect out of the box No CD Installation Simply plug in the adapters all TRENDnet adapters auto connect out of the box Cross Compatible TRENDnet Powerline 500 and 200 adapters work with each other Pre Encrypted For your security the adapter...

Страница 5: ...e devices must be plugged into power outlets that are on the same electrical system GFCI outlets and AFCI circuit breakers may degrade Powerline network signals Device Label Product Outlook TPL 4052E GA0112300001 Model Number Serial Number 00 14 D1 00 14 D 1 Network MAC Address Device Password DPW Hardware version Firmware version Power PWR LED Powerline PL LED Network 1 4 LED 10 100 Network Ports...

Страница 6: ...link for 2 minutes Start the synchronization session on another power adapter within the time to synchronize the network name and exchange the encryption keys Power Save Mode The Powerline adapter will automatically going into standby mode to reduce power usage when there is no network traffic for more than 10 20 minutes All LEDs are going off It can be wake up automatically when the network traff...

Страница 7: ...ine is not connected or synchronized ETH Green Solid Network connection established Ethernet Green Blinking Data transmission through network port N A Off Network standby or no network connection Powerline Connections Powerline PL LED color indicates the strength and quality of the Powerline connection through the electrical system The following factors may affect the Powerline network s connectio...

Страница 8: ... networked to a router which is in turn connected to a modem typically supplied by your Internet Service Provider ISP that provides Internet connectivity A second Powerline Adapter is plugged into a wall power outlet near a media center and is providing Internet connectivity to a game a game console and a Blu ray player media player via Ethernet ...

Страница 9: ...ctory default settings by pressing the Reset button for 1 second If you want to use the default network name for easy connection skip the synchronization steps and go directly to Physical Installation on page 11 Scramble your Network Name Away from the Factory Default There are two ways to change the default network name 1 Recommended Use the physical Sync button on your Powerline adapter to gener...

Страница 10: ...e for your Powerline adapter 3 Make sure the second Powerline adapter is powered on and plug in the same electric network No power strip power break or any kind of power switch in between Start connecting 4 Push and hold the Sync button on the first the one with scrambled network name Powerline adapter for 2 seconds and then release it The Powerline adapter is starting a 2 minutes synchronization ...

Страница 11: ...ryers as this may degrade performance Make sure there is an available wall power outlet in the room where the router is installed and also near the router Make sure there is an available wall power outlet in the room where you want to extend network connectivity 1 Plug the Powerline adapter into an available wall power outlet near your router 2 Connect the included network cable from the Ethernet ...

Страница 12: ...owerline networks will work and communicate independently of each other which can provide security between different groups of Powerline adapters For example if you have five Powerline adapters adapter A through E you can group adapters A B and C together on one Powerline network and group adapters D and E on a different Powerline network Each group will use a different network name Scramble the P...

Страница 13: ...d connected to adapters D and E 1 Push and hold the Reset button on adapter B for 1 second and release it All LEDs will turn off and turn back on This will make adapter B settings to factory default 2 Push and hold the Sync button on adapter D for 2 seconds and release it The Power LED will start blinking 3 Within 2 minutes push and hold the Sync button on adapter B for 2 seconds and release it Th...

Страница 14: ...stem is estimated Actual link speed may vary Powerline Utility System Requirements Windows 8 Windows 7 Windows Vista or Windows XP Microsoft NET Framework 3 5 installed Software Installation 1 Insert the included CD ROM into your computer s CD ROM drive 2 At the CD Autorun Prompt window click Run Autorun exe Note If the Autorun prompt does not appear automatically open the CD contents and double c...

Страница 15: ...cap please uninstall it manually And then start the installation from the beginning 5 At the WinPcap installer window click Next 6 Click Yes to allow installation 7 Review the license agreement and click I Agree 8 In the Installation Options window leave the Automatically start the WinPcap driver at boot time checked and click Install ...

Страница 16: ...t All Rights Reserved 16 9 Wait for the WinPcap installation to complete 10 After the process has been completed click Finish 11 At the TRENDnet Powerline Utility Setup Wizard click Next 12 In the License Agreement window click I Agree and then click Next ...

Страница 17: ...15 TRENDnet All Rights Reserved 17 13 In the Select Installation Folder window click Next 14 In the Confirm Installation window click Next 15 Wait for the Powerline Utility installation to complete At the Installation Complete window click Close ...

Страница 18: ... have changed your network name using the Sync button and you are creating a customized network name it is required to reset all powerline devices to defaults using the physical Reset button on your Powerline Adapter first before using the utility See Product Outlook on page 5 4 Please ensure that your Powerline Adapters are already installed and connected and the Ethernet port on each adapter is ...

Страница 19: ...pecific intervals default 2 sec you can change it from 2 to 60 secs Auto scan can be disabled by deselecting it Remote adapters can be scanned manually by clicking the Scan button below Network Type The default network type is public When the network name is customized and changed it becomes private Scan Manually scan remote Powerline devices which has same network name Add Device Add remote Power...

Страница 20: ...sword Click and select a remote device and then click Enter Password button in Map View The device password DPW can be found on device label You have to enter DPW in order to manage Powerline Adapter remotely Add Device Click Add Device button in Map View Enter device name and DPW to add an adapter manually Scan Click Scan button in Map View to scan other Powerline Adapters manually ...

Страница 21: ...how Active Device s Only Un check this check box you can include all device information on network even it is not in active state Add Device Print Report Click this button sending above information to your default printer Save Report Click this button to save above information for later use Delete Delete the device from status report Un select auto scan in About section to prevent the deleted devi...

Страница 22: ...etwork name Private Network Name It will be encrypted and save to device Even Powerline Utility cannot read it in plain text again When you visit this Private Settings again and the Private Network Name show UnknownNetworkName it means the network name is private Use Default If you don t remember what network name you set previously you can set the network public Then set it back to private later ...

Страница 23: ... the advance setting Upgrade Firmware Click this button to upgrade device firmware Reset Device Cleanup device active jobs and start fresh again Factory Defaults Clean up all your settings on adapter Always click this button after you upgrade firmware Reset Device Cleanup device active jobs and start fresh again Factory Defaults Clean up all your settings on adapter Always click this button after ...

Страница 24: ...werline Utility Options Scan Options By default the Powerline utility scans adapters attached to the network every 2 seconds You can change the scanning frequency from 2 seconds up to 60 seconds or stop auto scan You can then scan devices manually by clicking Scan button in Map View ...

Страница 25: ... 2015 TRENDnet All Rights Reserved 25 Powerline Utility About About Powerline Utility This Powerline Utility manages TPL 4052E and most legacy HomePlug certified Powerline Adapters For more information please visit our website www trendnet com ...

Страница 26: ...ct the equipment into an outlet on a circuit different from that to which the receiver is connected Consult the dealer or an experienced radio TV technician for help FCC Caution Any changes or modifications not expressly approved by the party responsible for compliance could void the user s authority to operate this equipment This device complies with Part 15 of the FCC Rules Operation is subject ...

Страница 27: ...4052E overholder de væsentlige krav og øvrige relevante krav i direktiv 2004 108 EF 2006 95 EF og 2009 125 EF Deutsch German Hiermit erklärt TRENDnet dass sich das Gerät TPL 4052E in Übereinstimmung mit den grundlegenden Anforderungen und den übrigen einschlägigen Bestimmungen der Richtlinie 2004 108 EG 2006 95 EG und 2009 125 EG befindet Eesti Estonian Käesolevaga kinnitab TRENDnet seadme TPL 405...

Страница 28: ...Y ja 2009 125 EY oleellisten vaatimusten ja sitä koskevien direktiivin muiden ehtojen mukainen Svenska Swedish Härmed intygar TRENDnet att denna TPL 4052E står I överensstämmelse med de väsentliga egenskapskrav och övriga relevanta bestämmelser som framgår av direktiv 2004 108 EG 2006 95 EG och 2009 125 EG ErP Statement Česky Czech Toto síťové zařízení je rok Energy Související produkt ErP ou dopi...

Страница 29: ...apildu enerģijas ietaupījumu Networked gaidīšanas 2 76 vati Gaidīšanas režīmā 0 37 vati Lietuvių Lithuanian Šis tinklas įrenginys metus Energijos susiję produktai ERP ou laišku Automatiškai persijungia į energijos taupymo budėjimo mados Per 10 minučių be duomenų perdavimo Kai prietaisas nenaudojamas jis gali būti ict išjungtas naudojant maitinimo mygtuką arba tiesiog atjunkite maitinimo adapterį s...

Страница 30: ...sporného pohotovostného módu do 10 minút bez dátového prenosu sily Keď prístroj nepoužívate možno ho ict vypnutý pomocou tlačidla napájania alebo jednoducho odpojte napájací adaptér pre ďalšie úspory energie Sieťové standby 2 76 W pohotovostný režim 0 37 W Suomi Finnish Tämä verkkolaite on vuosi Energy Related Product ErP ou kirjeitse Automaattinen vaihto virransäästö valmiustilassa muoti 10 minuu...

Страница 31: ...T PRODUCT DOES NOT OPERATE AS WARRANTED ABOVE THE CUSTOMER S SOLE REMEDY SHALL BE AT TRENDNET S OPTION REPAIR OR REPLACE THE FOREGOING WARRANTIES AND REMEDIES ARE EXCLUSIVE AND ARE IN LIEU OF ALL OTHER WARRANTIES EXPRESSED OR IMPLIED EITHER IN FACT OR BY OPERATION OF LAW STATUTORY OR OTHERWISE INCLUDING WARRANTIES OF MERCHANTABILITY AND FITNESS FOR A PARTICULAR PURPOSE TRENDNET NEITHER ASSUMES NOR...

Страница 32: ......

Отзывы: