E-MAXX BRUSHLESS • 13
TRAXXAS TQ
i
RADIO SYSTEM
4
5. When a cell is completely charged, its corresponding LED will
glow steady green. The 3-cell pack is fully charged when all 3
LEDs are steady green to indicate the pack is fully charged.
Note:
If the charger detects any of the battery’s cells are already fully
charged when you plug it into the charger, the LEDs corresponding to
the charged cells will not glow steady red and will default to steady
green to indicate those cells are fully charged.
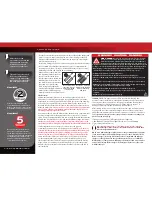
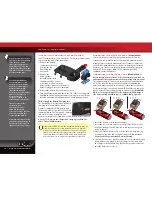
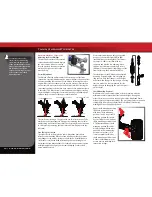
INSTALLING BATTERY PACKS
The included batteries must be fully charged
before installation in the model. The battery
packs should be removed from the vehicle
before charging. Do not leave the battery
unattended while charging.
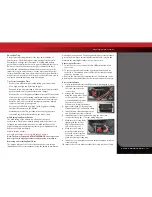
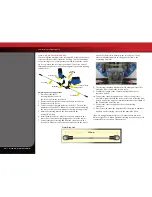
1.
Remove the battery hold-down by
pressing on the release tab and lifting out
the hold-down.
2.
Install the battery pack with the battery
wires facing the rear of the model.
3.
Insert the tabs of the battery hold-down into
the slots in the rear hold-down retainer (A).
Swing the battery hold down towards the
chassis and snap (lock) the end into the front
hold-down retainer (B).
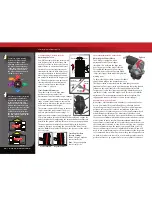
Using Different Battery Configurations
The battery hold-downs are
capable of accommodating
either side-by-side racing
style packs or the more
common stick packs. The
battery compartments are
configured for stick packs
from the factory. The
number on each side of
the hold down indicates
the battery height in
millimeters that hold-
down can accommodate.
Note that one side is labeled “25” and other side is labeled “23”. The
25mm side is for use with typical stick type battery packs. If you are
using side-by-side racing packs, simply flip the hold-down over to the
23mm side and use it on the opposite side of the chassis. Accessory hold
downs and foam (part #3927X) are available to accommodate larger
battery packs. See the 3903 E-Maxx parts list for more information.
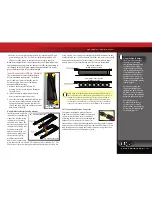
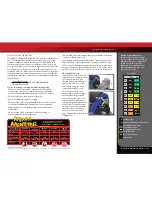
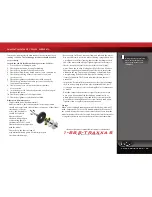
The Traxxas High Current Connector
Your model is equipped with the Traxxas
High-Current Connector. Standard connectors
restrict current flow and are not capable of
delivering the power needed to maximize the
output of the electronic speed control. The
Traxxas connector’s gold-plated terminals with a large contact surfaces
ensure positive current flow with the least amount of resistance. Secure,
long-lasting, and easy to grip, the Traxxas connector is engineered to
extract all the power your battery has to give.
25mm side: Standard
NiMH stick pack setup
23mm side: Side-by-side
NiMH pack setup
“25” - Standard stick packs
“23” - Side-by-side packs
Release Tab
When using 6-cell battery packs, install the supplied foam block
(spacer) into the front of the battery compartment. The spacers are
located in your instructions package. The spacers are shaped to
conform to the chassis. There is a right and a left. Test fit them to
confirm their location. Remove the backing from the self adhesive
strips and secure them to the front of the battery compartments.
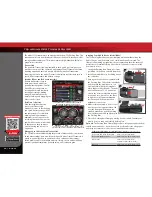
Using the Right Charger
The most convenient type
of charger for charging
the included battery packs
is an AC peak-detecting
charger that plugs directly
into an AC wall outlet, such
as the TRX EZ-Peak
™
(Part
#2930). It contains special
peak-detection circuitry
that automatically shuts the
charger off when the battery
is fully charged.
For faster charging, the
included battery may be
charged at 4 amps. The TRX
EZ-Peak is a 4 amp charger
and will charge the included
battery in about 45 minutes!
Caution: Never use a
15-minute timed charger
to recharge your model’s
battery packs. Overcharging
may result, causing damage
to the battery packs.


