TRAX RetroWave Owner’s Manual
< 10 >
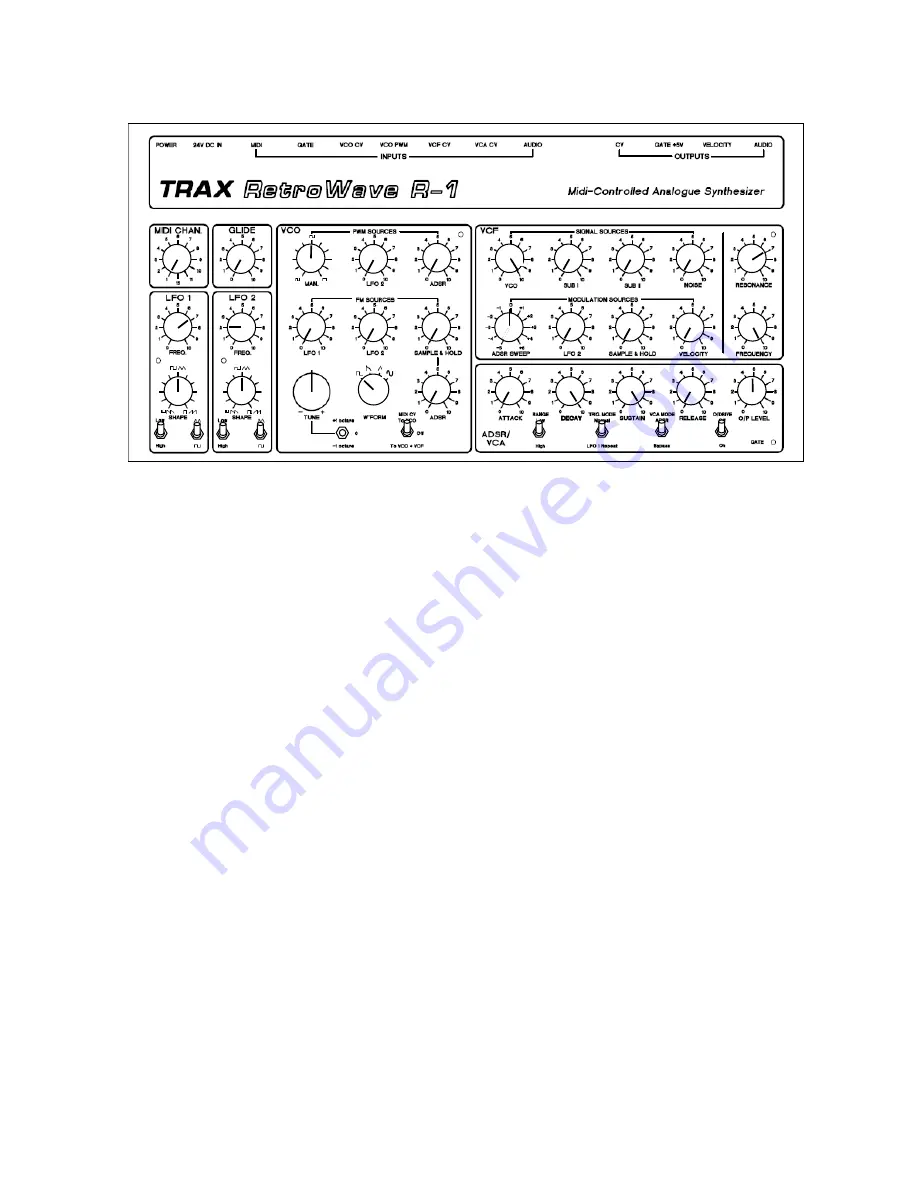
Initial positions of controls and switches
Channel Your Creativity
Select the MIDI channel you wish to use by means of the
MIDI CHAN.
switch. Set the external MIDI
device you are using to transmit on the same channel.
Switch on via the rear panel rocker switch, and the two
LFO
(Low Frequency Oscillator) LEDs should
start to flash (if one or other of the LFOs is set to a very slow speed, you may not see the LED light up
for several seconds).
After allowing a few seconds for the internal circuits to stabilize, press a key, or send a note from a
sequencer. You should hear a basic square wave tone, with no filtering or envelope shaping – pretty
much the same as you would hear from a laboratory tone generator. N.B. if the level of signal is too low,
and your amplifier’s volume control is fairly well advanced, you can turn up the
O/P LEVEL
control to
increase it.
Making it Musical
Now let’s try changing the frequency of the tone – play a few notes, and you will hear the VCO pitch
respond in a musical way, i.e. you can play a tune, albeit a rather dull sounding one. You should also be
able to shift the pitch up or down by 1 octave using the octave switch. In addition, you can further adjust
the pitch up or down by just over ±1.5 octaves with the
TUNE
control.
Play a few notes whilst turning the
GLIDE
control clockwise. You will hear the notes begin to slur, as one
note “glides” into the next. Glide can be very effective in lead solos, as anyone who has heard the early
work of Rick Wakeman will testify!
When you have finished trying out the various glide times, set the control back to zero for the next
experiment.


