5
RS-232 Connections (COM1)
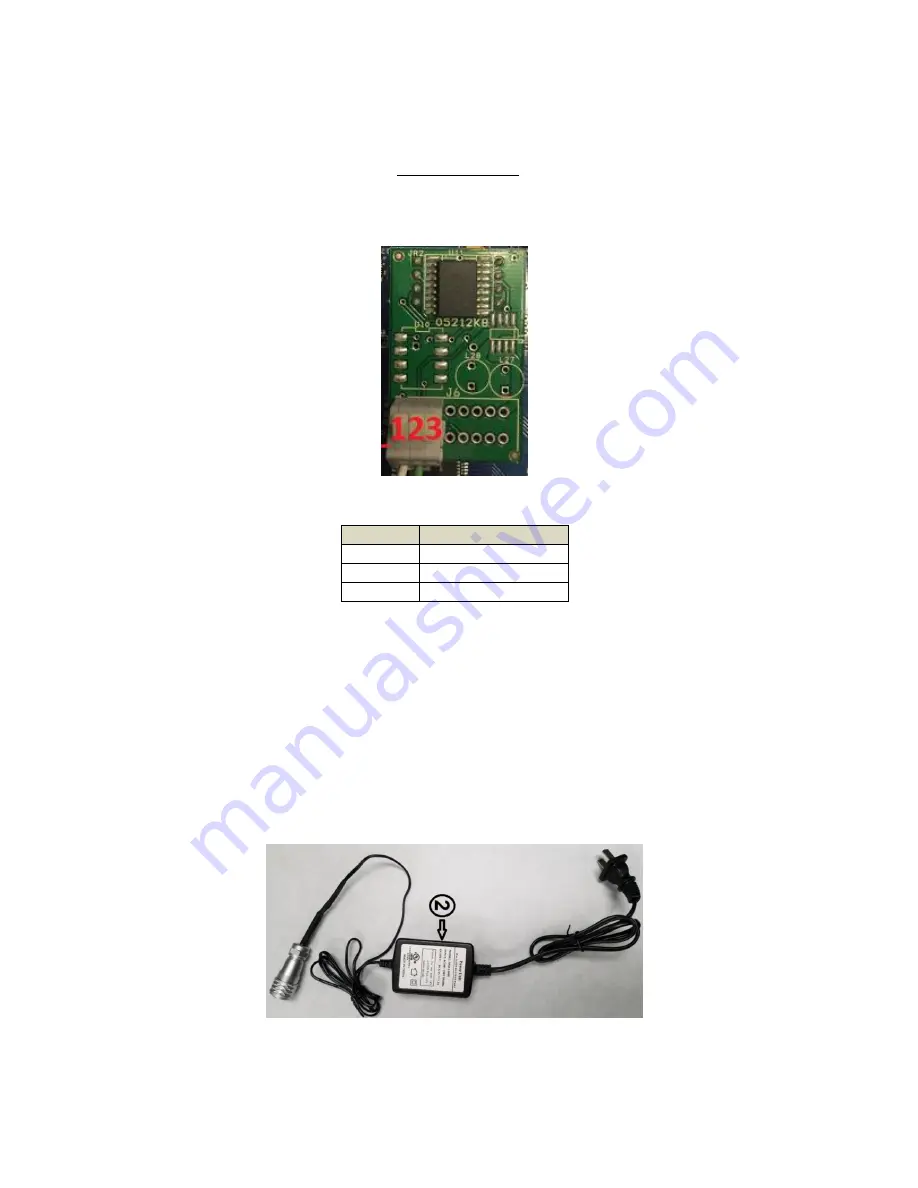
The indicator ships with a “piggyback” RS-232 communication board plugged into socket U9
(COM1). This port is configured via the
User/COM1 (“A1”) menu.
Connect your RS-232 serial communications cable to said
“piggyback” board using the table be-
low.
Pin 1 is on the left.
COM1 RS-232 Terminal Block (J6)
Pin No.
Function
1
Receive Data
2
Transmit Data
3
Signal Ground
Power Connections (AC version)
The TI-700K indicator ships with a pre-installed AC line cord. It has been pre-wired to Terminal
Block J1 at the factory. Simply plug the unit into a standard wall outlet.
Power Connections (Optional Rechargeable Battery version)
The TI-700K with rechargeable battery ships with a pre-installed battery charger connector and
an external battery charger. Simply link the two up and plug the external battery charger into a
suitable AC wall outlet.
External Battery Charger


