17
Follow the steps below to configure the
TracVision system to track a pair of linearly
polarized satellites. To complete this procedure,
you will need to connect a PC to the antenna and
use the KVH Flash Update Wizard to install your
satellites.
NOTE:
The Flash Update Wizard is available to
KVH-authorized dealers through the KVH Partner
Portal.
a.
Connect a PC to your TracVision system, as
described in the Flash Update Wizard’s Help
file. Then enter the commands below into the
Wizard’s “Antenna Comms” window.
NOTE:
For details on entering antenna commands,
refer to the Flash Update Wizard’s Help file.
b.
Apply power to the TracVision system and
set the switchplate’s POWER switch to the
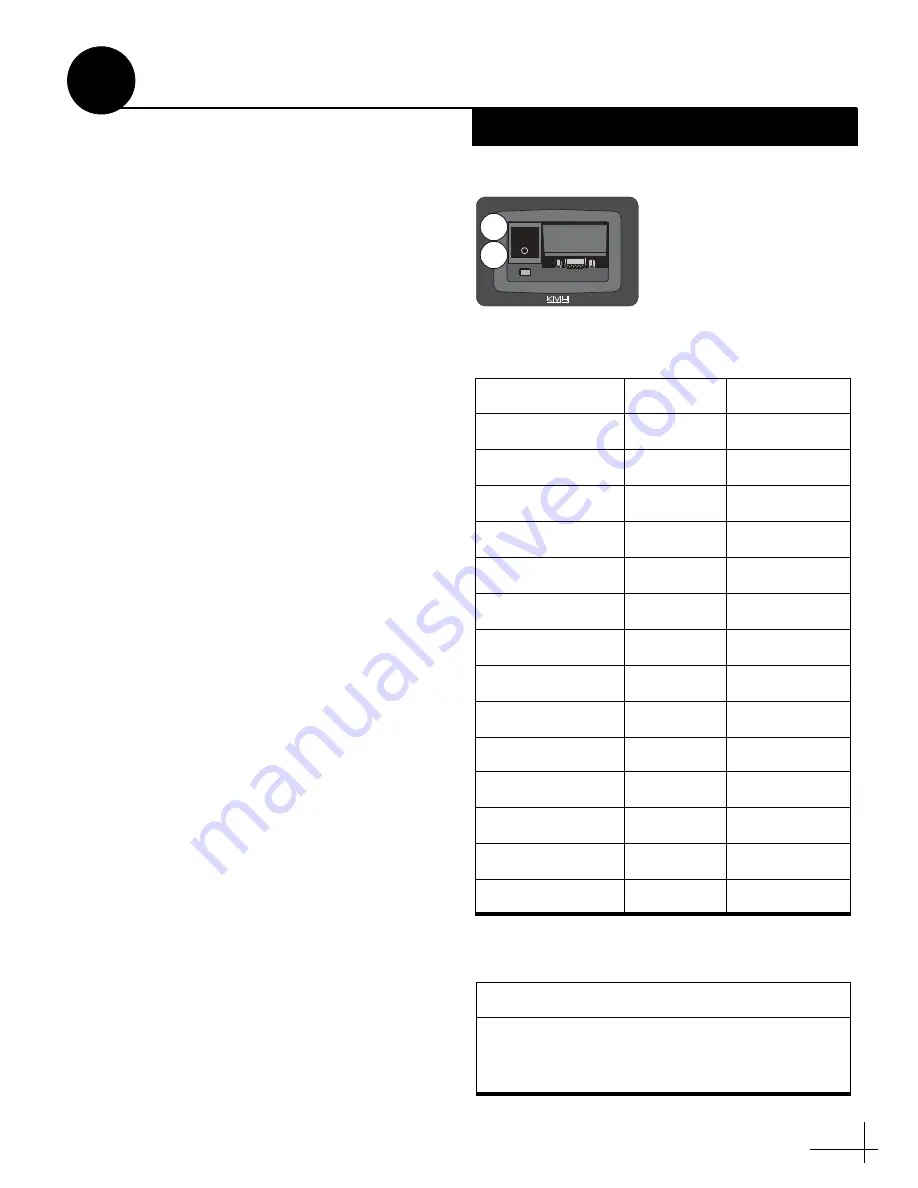
ON (|) position (see Figure 27). Wait two
minutes for system startup.
c.
In the Wizard’s “Antenna Comms” window,
type
HALT
then press Enter.
d.
Choose your desired satellites from the
satellite library (see Figure 28).
e.
Type the following command then press
Enter. Be sure to use the proper install
name(s) for your selected satellite(s).
SATINSTALL,<SAT_A_NAME>,
<SAT_B_NAME>
NOTE:
Select the satellite you want to track first as
“SAT_A”. Once the procedure is complete, the
antenna will begin tracking that satellite.
f.
Type
ZAP
then press Enter to restart the
antenna. Wait two minutes for system
startup.
g.
Keep your PC connected to the antenna. You
will need to enter additional commands in
the following steps.
Figure 27: Switchplate ON/OFF Switch
MAINTENANCE
OFF
ON
Figure 28: Linear Satellite Library
Satellite Name
Longitude
Install Name
Arabsat
26° E
ARABSAT
Astra 1
19° E
ASTRA1
Astra 2N
28° E
ASTRA2N
Astra 2S
28° W
ASTRA2S
Eutelsat W3A
7° E
EUTEL_W3A
Hispasat
30° W
HISPASAT
Hotbird
13° E
HOTBIRD
Hotbird WB
13° E
HOTBIRDWB
Nilesat 101
7° W
NILESAT
Pas 9
58° W
PAS_9
Sirius
5° E
SIRIUS
Thor
8° W
THOR
Turksat 1C
42° E
TURKSAT1C
None
-
None
Figure 29: Satellite Installation Example
Installing ASTRA2S and HOTBIRD
HALT
SATINSTALL,ASTRA2S,HOTBIRD
ZAP
Install Satellites
14
Linear Only


