


4
(Optional)
In the
Subnet Mask
option, type the Subnet Mask your LAN or network
segment is currently configured to use.
5
(Optional)
In the
Gateway
field, type the IP address of gateway.
6
When done, click
OK
button. The program will save the above settings into the print
server.
7 Done
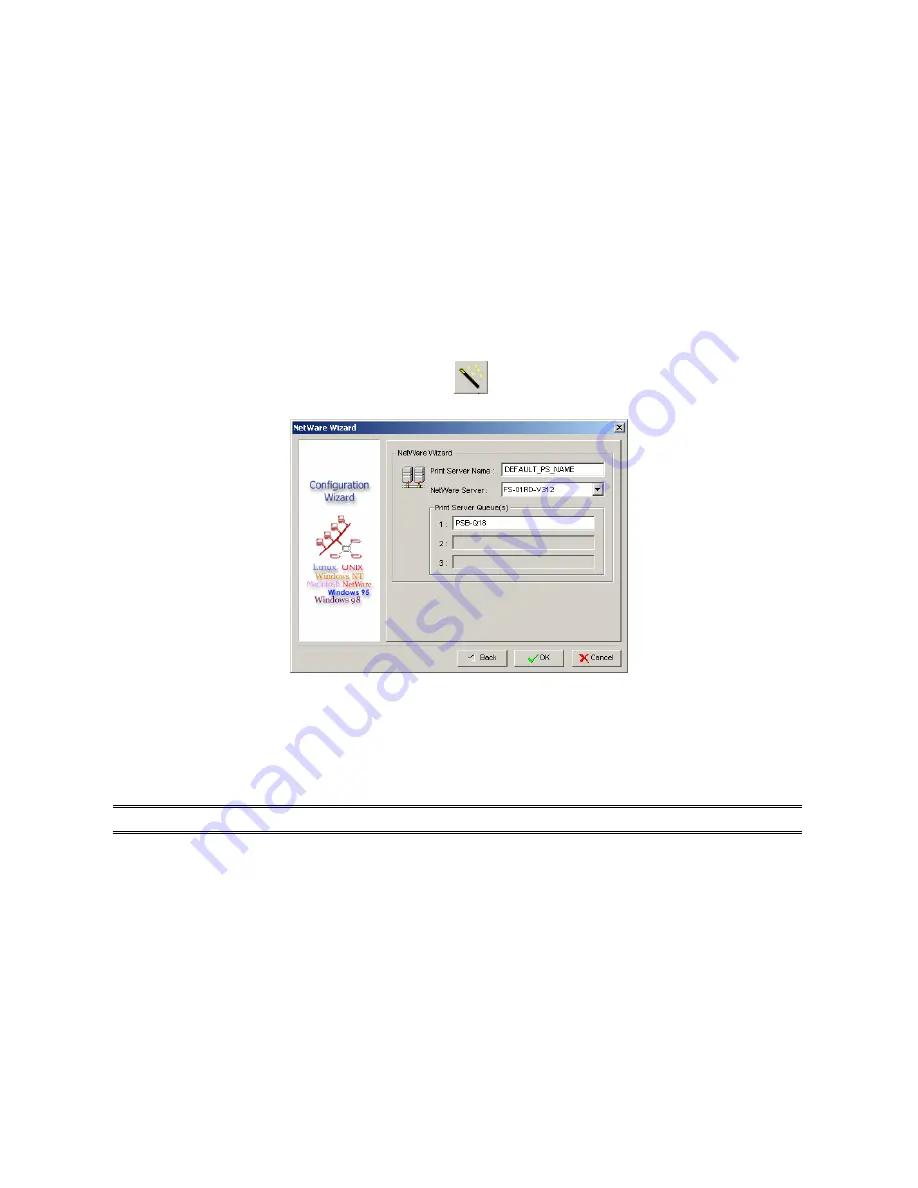
NetWare Wizard
1. Log into your NetWare file server as a Supervisor (Admin.) or equivalent.
2. Click
Wizard
button just like a picture
<
>
.and select
NetWare Wizard
, as follow
picture.
3. Select the NetWare File Server to which the print server device will be attached.
4. Type in a Print server.
5. Type in a Print Queue Names.
Note:
Each print queue corresponds to each print port of the print server.
6. Click
OK
.
7. Done.
8. From your NetWare client computer, such as Windows 95/98/Me, create a printer that is
connected (redirected) to one of the NetWare print queues serviced by the print server.
20
Содержание TL-PS110U
Страница 11: ...11 ...
Страница 17: ...16 Right click select Properties Ports and verify that the print server s port appears 17 ...
Страница 60: ...7 Click Forward button 8 In the Name field type a user defined name click Forward 60 ...
Страница 62: ...15 Done 62 ...
Страница 65: ...4 Click Browse and select the firmware file 5 Click Upgrade 6 Done 65 ...
Страница 73: ...3 Double click it again 4 Now you have to install the printer s driver 73 ...
Страница 74: ...5 Choose it from the Add Printer Wizard 6 Install printer successfully 74 ...
Страница 75: ...7 Now you can find your printer s icon and you can use the SMB printing mode 75 ...


